Happy Thursday, everyone! And more importantly for us here in the U.S., happy Thanksgiving! My family will be gathering today to celebrate but, more importantly, we will be together to laugh and spend time together. I am blessed to have a close-knit family who gathers together often, not just for holidays. We share in joys and sorrows and tough circumstances together. And when we have friends who are far away from their families for the holidays, we wrap them right into ours!
I hope you have reasons to offer thanksgiving today. And if you are far away from family, I hope God sends you friends who will love you like family. And it’s the idea of being part of a community that inspired this week’s card design. Let’s take a look!
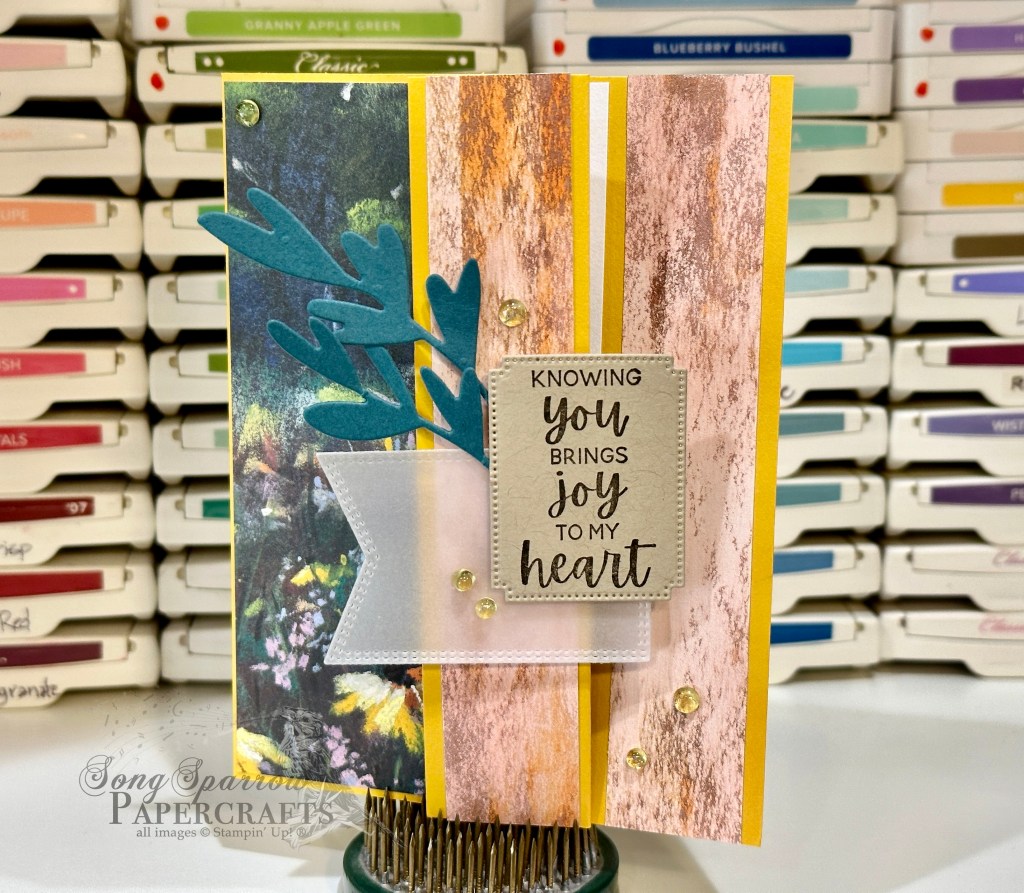
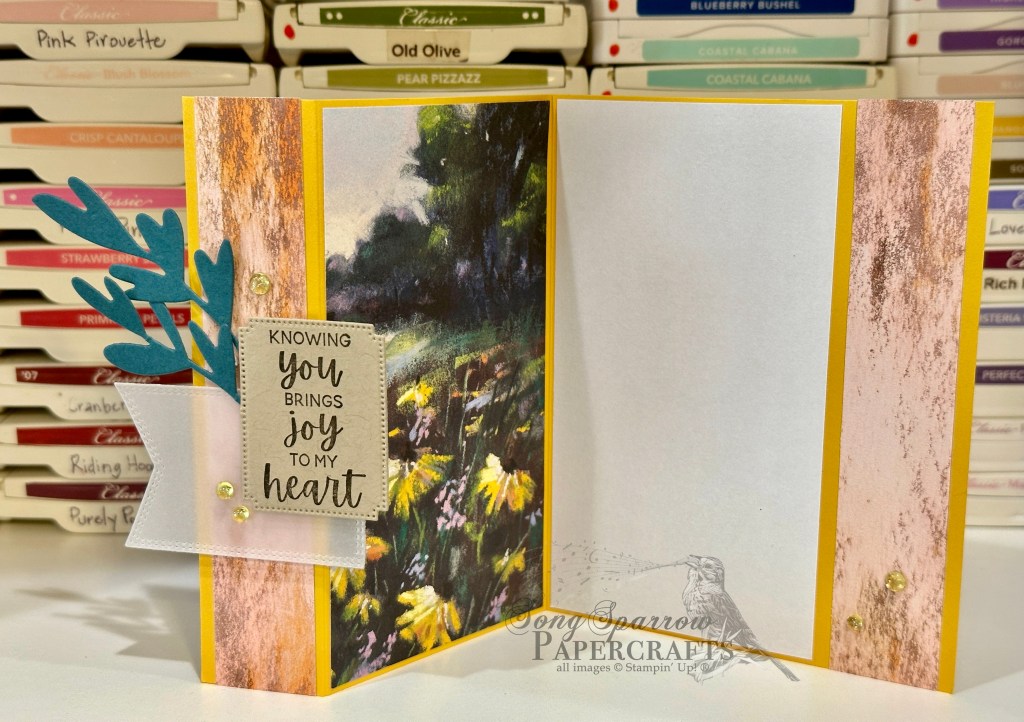
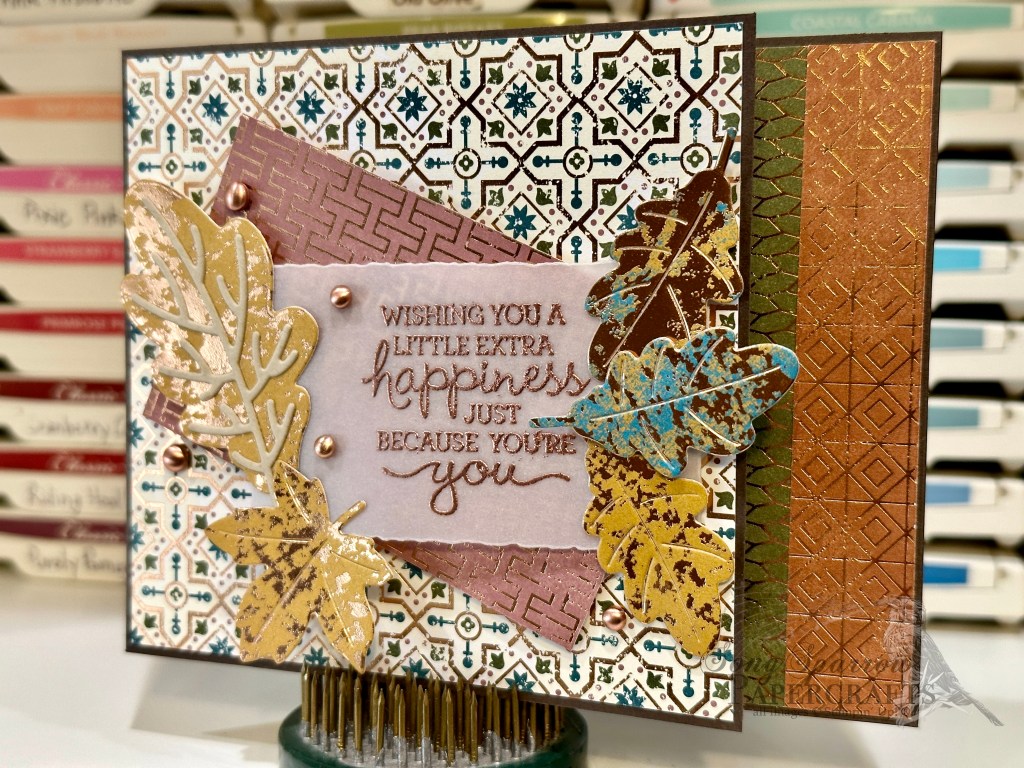
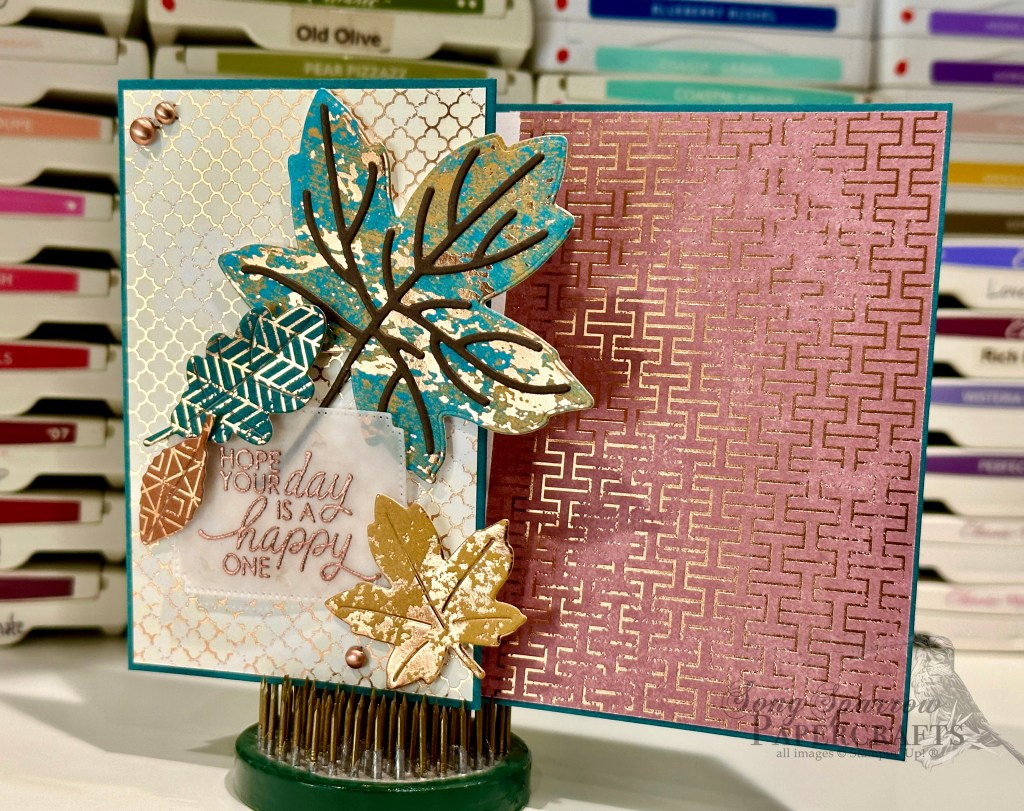
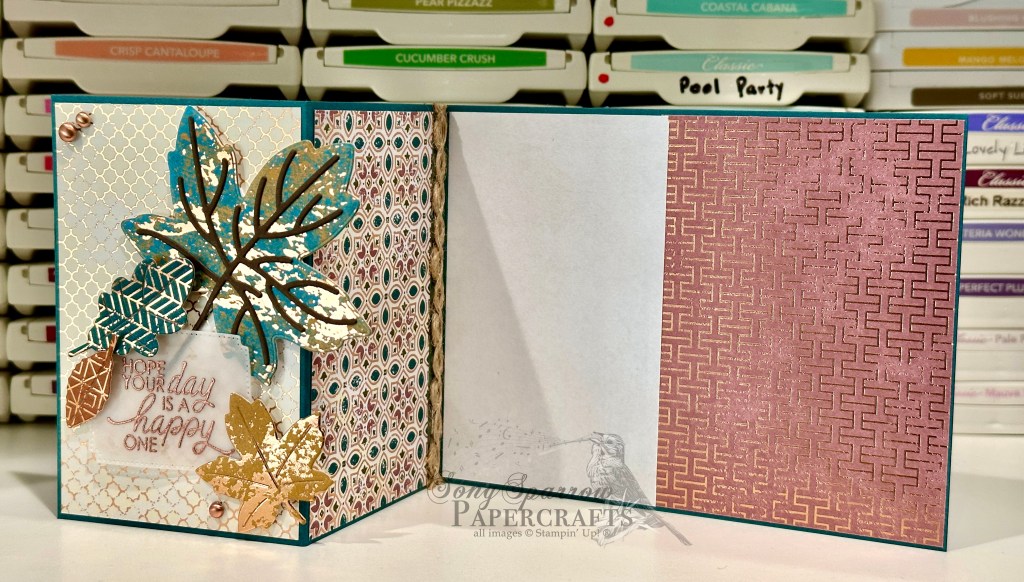
The new Meandering Meadows designer series paper currently available in Online Exclusives is simply stunning, and each of the scenic sides of these papers lend themselves to beautiful cards with very little else needed outside of the gorgeous paper. There are a whole host of fun folds that allow us to retain large sections of paper while still providing variety of design and, of course, gorgeous cards.
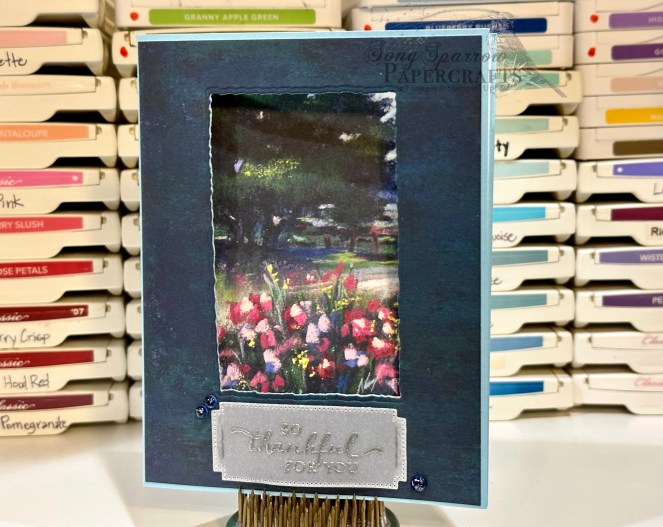
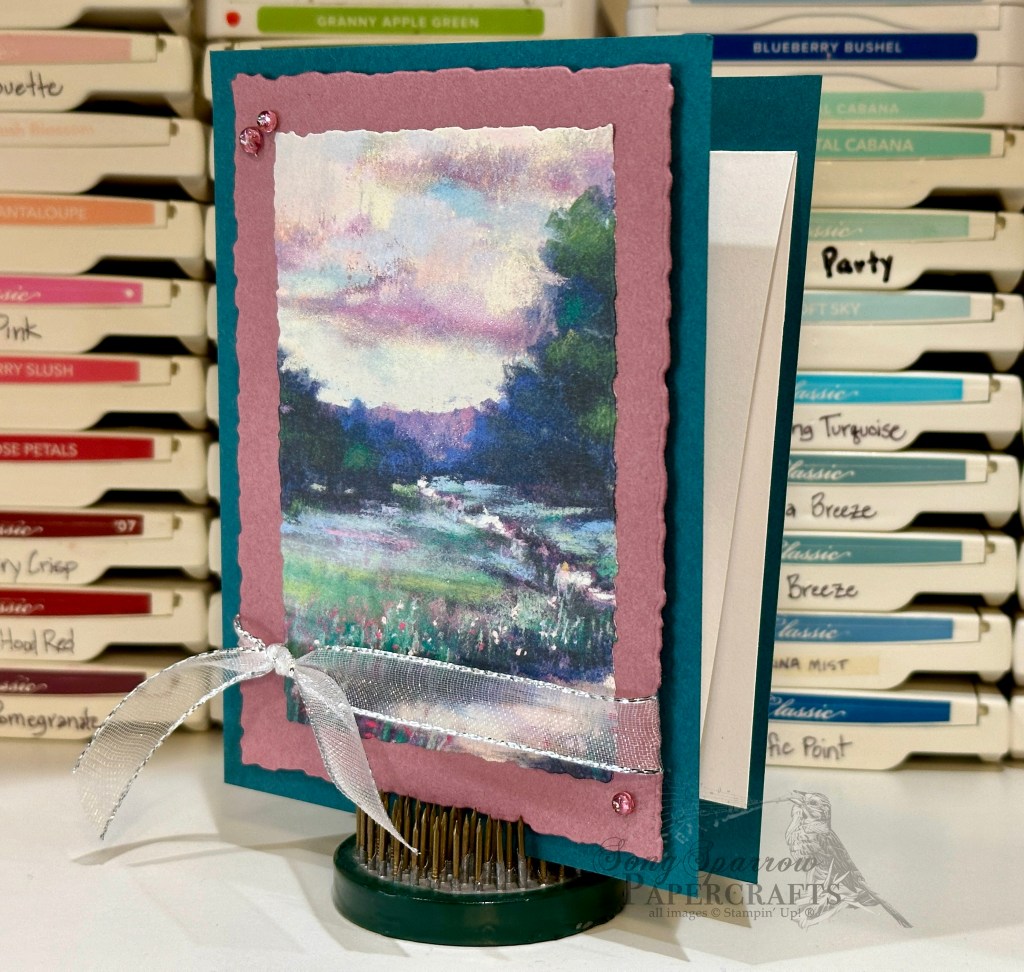
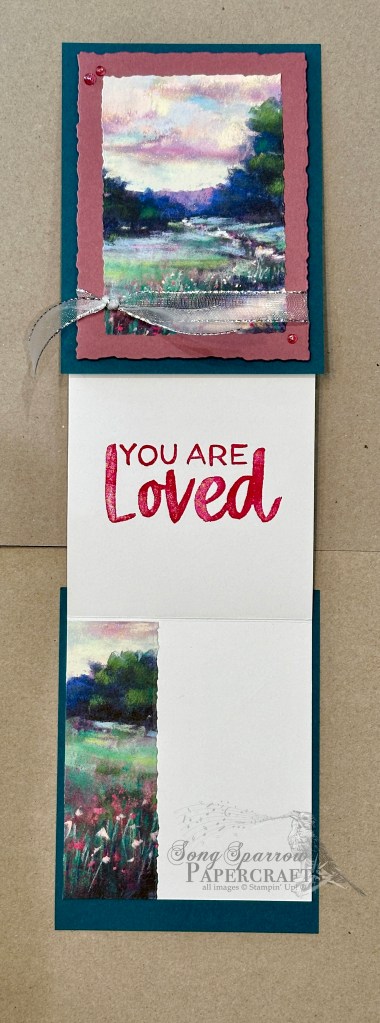
Today’s card design is based on a fun fold, known as a Split Panel, that I learned from fellow demonstrator Jackie Bolhuis with Klompen Stampers. This fold came by its name because the front and back panels are split apart and held together by a Z-fold in the center. I chose the portrait orientation, but you could easily turn the design landscape.
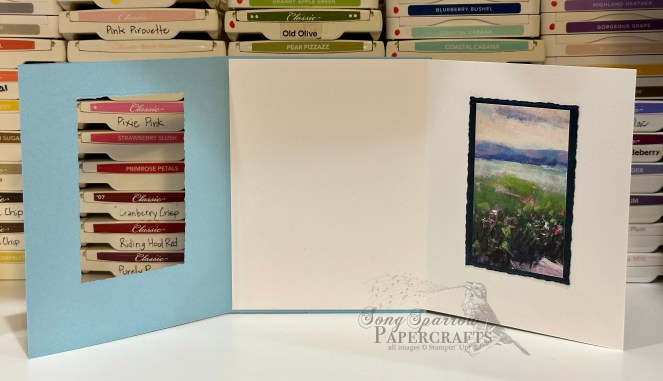
The two panels of the base of this design are Pretty Peacock cardstock. I wanted to draw out the beautiful pinks in the clouds and flowers in the sheet of Meandering Meadow DSP I selected, so I chose to mat the sheet with Moody Mauve. I used the Deckled Rectangles dies to cut both the mat and DSP panel. I tied a piece of silver and white sheer ribbon around the bottom of the panel before adhering to the card front with dimensionals. A few pink tinsel gems in opposing corners add a little sparkle and allow the eye to move across the focal panel. Although difficult to see in these photos, I highlighted the pinks in the clouds and across the mountain front by going over them with Wink of Stella. It’s a truly stunning effect in person! I stamped the sentiment, from the Softly Said stamp set, in the center of the inside fold-out. The message panel is framed on one side by a scrap of the DSP I cut for the card front.
I made this card with a particular friend in mind. Life has thrown my friend a lot of difficult things lately, and I wanted to offer a word of support. You know, I think we should do more of that these days. Life is hard for so many people, and some feel like the whole world is against them and they have no one who cares about them. A simple word of support or encouragement can make all the difference in whether that person carries on. Food for thought as so many of us are blessed to celebrate Thanksgiving with family and friends today.
Products used:
Pretty Peacock, Moody Mauve, Basic White cardstock
Meandering Meadows DSP
Deckled Rectangles dies
Silver and white sheer ribbon
Tinsel gems
Dimensionals
Adhesives
All ads on this site are posted by WordPress and are based on your personal browsing history. I do not control ad content.