
We’re rounding out our outdoorsy series of card designs this week with a look through the window at some cute little birdies — just the perfect way to say hello. We’re pairing up the Cutest Crew stamps with Everyday Arches for this one.
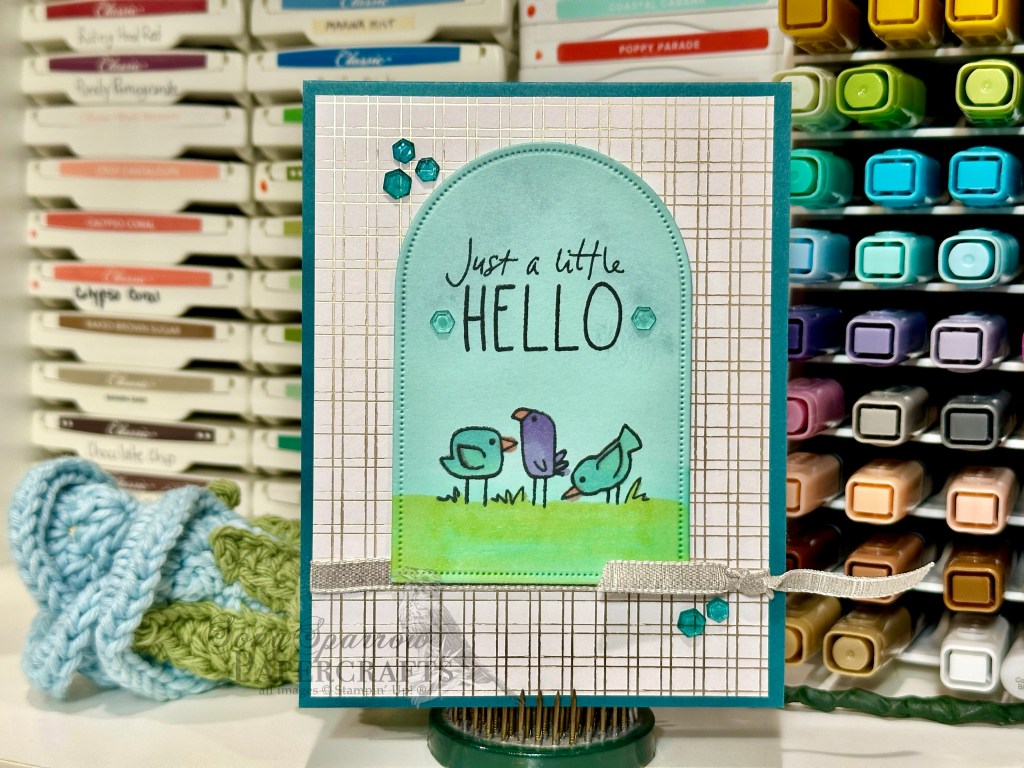
We get started with a base of Pretty Peacock cardstock. The background is a sheet of the white and gold foil plaid from the Distressed Patterns paper pack. Our focal panel is a panel of Pool Party cut with the Everyday Arches die. The sentiment and bird image from Cutest Crew are stamped in Secret Sea ink. I added a touch of sky with Cloud Cover and a blending brush. The remainder of the scene is colored with Stampin Blends. The focal panel is adhered over some Gray Granite ribbon with dimensionals. The green hexagons give us a pop of extra color and draw the eye across the full card front.
Hope to see you next week when we delve into a new design theme!
Product List![Pretty Peacock 8-1/2" X 11" Cardstock [ 150880 ]](https://assets1.tamsnetwork.com/images/EC042017NF/150880s.jpg "Pretty Peacock 8-1/2\" X 11\" Cardstock [ 150880 ]")
![Pool Party 8-1/2" X 11" Cardstock [ 122924 ]](https://assets1.tamsnetwork.com/images/EC042017NF/122924s.jpg "Pool Party 8-1/2\" X 11\" Cardstock [ 122924 ]")
![Regal Distressed Patterns 12" X 12" (30.5 X 30.5 Cm) Specialty Designer Series Paper [ 164037 ]](https://assets1.tamsnetwork.com/images/EC042017NF/164037s.jpg "Regal Distressed Patterns 12\" X 12\" (30.5 X 30.5 Cm) Specialty Designer Series Paper [ 164037 ]")
![Cutest Crew Bundle (English) [ 167149 ]](https://assets1.tamsnetwork.com/images/EC042017NF/167149s.jpg "Cutest Crew Bundle (English) [ 167149 ]")
![Everyday Arches Dies [ 164629 ]](https://assets1.tamsnetwork.com/images/EC042017NF/164629s.jpg "Everyday Arches Dies [ 164629 ]")
![Gray Granite 1/2" (1.3 Cm) Textured Weave Ribbon [ 147656 ]](https://assets1.tamsnetwork.com/images/EC042017NF/147656s.jpg "Gray Granite 1/2\" (1.3 Cm) Textured Weave Ribbon [ 147656 ]")
![Secret Sea Classic Stampin' Pad [ 165285 ]](https://assets1.tamsnetwork.com/images/EC042017NF/165285s.jpg "Secret Sea Classic Stampin' Pad [ 165285 ]")
![Shades Of Green Hexagons [ 165233 ]](https://assets1.tamsnetwork.com/images/EC042017NF/165233s.jpg "Shades Of Green Hexagons [ 165233 ]")
![Stampin' Dimensionals [ 104430 ]](https://assets1.tamsnetwork.com/images/EC042017NF/104430s.jpg "Stampin' Dimensionals [ 104430 ]")
![Basic White 8 1/2" X 11" Cardstock [ 166780 ]](https://assets1.tamsnetwork.com/images/EC042017NF/166780s.jpg "Basic White 8 1/2\" X 11\" Cardstock [ 166780 ]")
![Crumb Cake 8-1/2" X 11" Cardstock [ 120953 ]](https://assets1.tamsnetwork.com/images/EC042017NF/120953s.jpg "Crumb Cake 8-1/2\" X 11\" Cardstock [ 120953 ]")
![Soft Sea Foam 8-1/2" X 11" Cardstock [ 146988 ]](https://assets1.tamsnetwork.com/images/EC042017NF/146988s.jpg "Soft Sea Foam 8-1/2\" X 11\" Cardstock [ 146988 ]")
![Flirty Flamingo 8-1/2" X 11" Cardstock [ 141416 ]](https://assets1.tamsnetwork.com/images/EC042017NF/141416s.jpg "Flirty Flamingo 8-1/2\" X 11\" Cardstock [ 141416 ]")
![Beautiful Bokeh 6" X 6" (15.2 X 15.2 Cm) Designer Series Paper [ 164607 ]](https://assets1.tamsnetwork.com/images/EC042017NF/164607s.jpg "Beautiful Bokeh 6\" X 6\" (15.2 X 15.2 Cm) Designer Series Paper [ 164607 ]")
![Pastels Shimmer 12" X 12" (30.5 X 30.5 Cm) Specialty Paper [ 167198 ]](https://assets1.tamsnetwork.com/images/EC042017NF/167198s.jpg "Pastels Shimmer 12\" X 12\" (30.5 X 30.5 Cm) Specialty Paper [ 167198 ]")
![Rolling Waves Bundle (English) [ 167145 ]](https://assets1.tamsnetwork.com/images/EC042017NF/167145s.jpg "Rolling Waves Bundle (English) [ 167145 ]")
![Crumb Cake Classic Stampin' Pad [ 147116 ]](https://assets1.tamsnetwork.com/images/EC042017NF/147116s.jpg "Crumb Cake Classic Stampin' Pad [ 147116 ]")
![Flirty Flamingo Classic Stampin' Pad [ 147052 ]](https://assets1.tamsnetwork.com/images/EC042017NF/147052s.jpg "Flirty Flamingo Classic Stampin' Pad [ 147052 ]")
![Daffodil Delight Classic Stampin' Pad [ 147094 ]](https://assets1.tamsnetwork.com/images/EC042017NF/147094s.jpg "Daffodil Delight Classic Stampin' Pad [ 147094 ]")
![Opal Rounds Assortment [ 163298 ]](https://assets1.tamsnetwork.com/images/EC042017NF/163298s.jpg "Opal Rounds Assortment [ 163298 ]")
![Mini Stampin' Dimensionals [ 144108 ]](https://assets1.tamsnetwork.com/images/EC042017NF/144108s.jpg "Mini Stampin' Dimensionals [ 144108 ]")
![Mini Glue Dots [ 103683 ]](https://assets1.tamsnetwork.com/images/EC042017NF/103683s.jpg "Mini Glue Dots [ 103683 ]")
![Wood Grain Wonders 12" X 12" (30.5 X 30.5 Cm) Designer Series Paper [ 167428 ]](https://assets1.tamsnetwork.com/images/EC042017NF/167428s.jpg "Wood Grain Wonders 12\" X 12\" (30.5 X 30.5 Cm) Designer Series Paper [ 167428 ]")
![Delicate Dreams 12" X 12" (30.5 X 30.5 Cm) Specialty Designer Series Paper [ 167498 ]](https://assets1.tamsnetwork.com/images/EC042017NF/167498s.jpg "Delicate Dreams 12\" X 12\" (30.5 X 30.5 Cm) Specialty Designer Series Paper [ 167498 ]")
![Earthen Toned Metallic 12" X 12" (30.5 X 30.5 Cm) Specialty Paper [ 165901 ]](https://assets1.tamsnetwork.com/images/EC042017NF/165901s.jpg "Earthen Toned Metallic 12\" X 12\" (30.5 X 30.5 Cm) Specialty Paper [ 165901 ]")
![Far Away Landscapes Photopolymer Stamp Set [ 167543 ]](https://assets1.tamsnetwork.com/images/EC042017NF/167543s.jpg "Far Away Landscapes Photopolymer Stamp Set [ 167543 ]")
![Gliding Garden Swing Photopolymer Stamp Set (English) [ 167134 ]](https://assets1.tamsnetwork.com/images/EC042017NF/167134s.jpg "Gliding Garden Swing Photopolymer Stamp Set (English) [ 167134 ]")
![Jet Black Stāzon Ink Pad [ 101406 ]](https://assets1.tamsnetwork.com/images/EC042017NF/101406s.jpg "Jet Black Stāzon Ink Pad [ 101406 ]")
![Early Espresso Classic Stampin' Pad [ 147114 ]](https://assets1.tamsnetwork.com/images/EC042017NF/147114s.jpg "Early Espresso Classic Stampin' Pad [ 147114 ]")
![Perennial Postage Dies [ 162607 ]](https://assets1.tamsnetwork.com/images/EC042017NF/162607s.jpg "Perennial Postage Dies [ 162607 ]")
![Stylish Shapes Dies [ 159183 ]](https://assets1.tamsnetwork.com/images/EC042017NF/159183s.jpg "Stylish Shapes Dies [ 159183 ]")
![Nested Essentials Dies [ 161597 ]](https://assets1.tamsnetwork.com/images/EC042017NF/161597s.jpg "Nested Essentials Dies [ 161597 ]")
![White With Gold 3/8" (1 Cm) Ribbon [ 166979 ]](https://assets1.tamsnetwork.com/images/EC042017NF/166979s.jpg "White With Gold 3/8\" (1 Cm) Ribbon [ 166979 ]")
![Drusy Adhesive Backed Embellishments [ 164223 ]](https://assets1.tamsnetwork.com/images/EC042017NF/164223s.jpg "Drusy Adhesive Backed Embellishments [ 164223 ]")
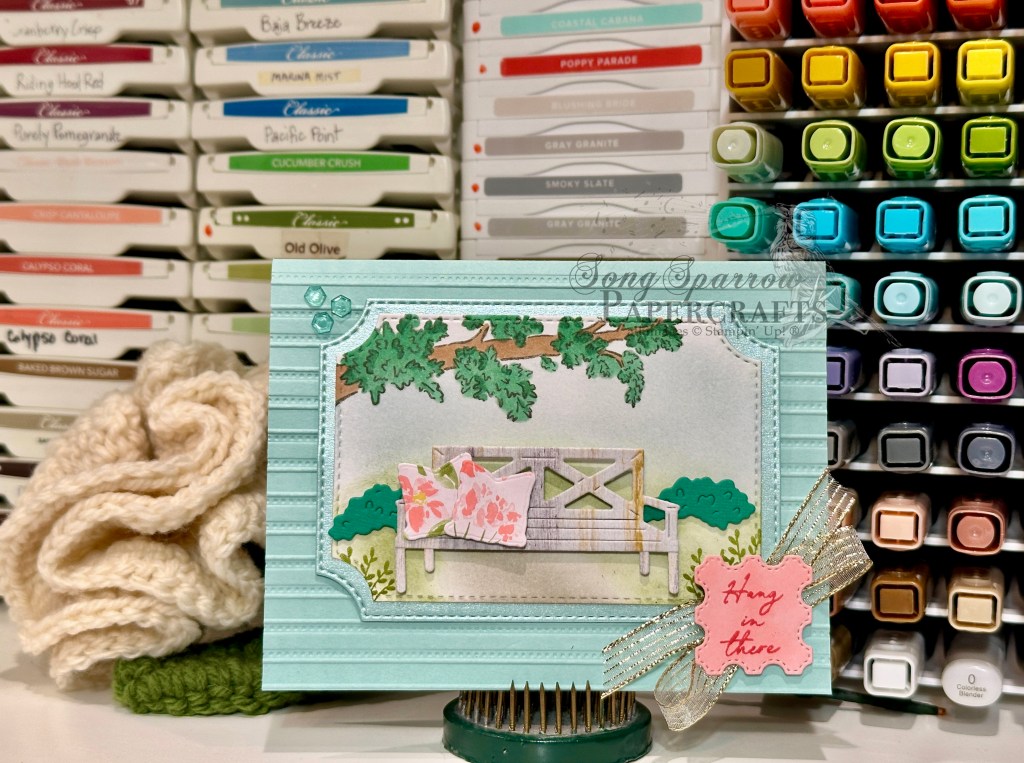
![Pretty In Pink 8 1/2" X 11" Cardstock [ 163793 ]](https://assets1.tamsnetwork.com/images/EC042017NF/163793s.jpg "Pretty In Pink 8 1/2\" X 11\" Cardstock [ 163793 ]")
![Shaded Spruce 8-1/2" X 11" Cardstock [ 146981 ]](https://assets1.tamsnetwork.com/images/EC042017NF/146981s.jpg "Shaded Spruce 8-1/2\" X 11\" Cardstock [ 146981 ]")
![Country Woods 12" X 12" (30.5 X 30.5 Cm) Designer Series Paper [ 163393 ]](https://assets1.tamsnetwork.com/images/EC042017NF/163393s.jpg "Country Woods 12\" X 12\" (30.5 X 30.5 Cm) Designer Series Paper [ 163393 ]")
![Gliding Garden Swing Bundle (English) [ 167137 ]](https://assets1.tamsnetwork.com/images/EC042017NF/167137s.jpg "Gliding Garden Swing Bundle (English) [ 167137 ]")
![Lovely Stripes 3 D Embossing Folder [ 167179 ]](https://assets1.tamsnetwork.com/images/EC042017NF/167179s.jpg "Lovely Stripes 3 D Embossing Folder [ 167179 ]")
![Branching Out Dies [ 165775 ]](https://assets1.tamsnetwork.com/images/EC042017NF/165775s.jpg "Branching Out Dies [ 165775 ]")
![Gold Striped 3/8" (1 Cm) Mesh Ribbon [ 165599 ]](https://assets1.tamsnetwork.com/images/EC042017NF/165599s.jpg "Gold Striped 3/8\" (1 Cm) Mesh Ribbon [ 165599 ]")
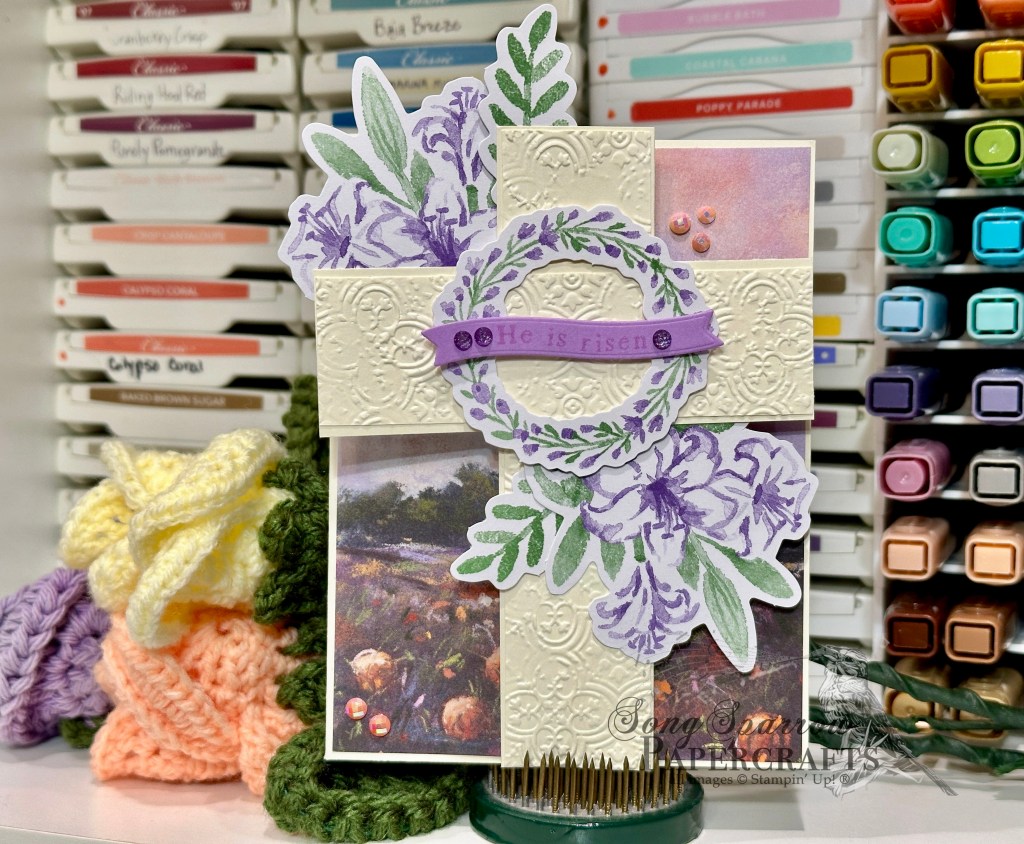
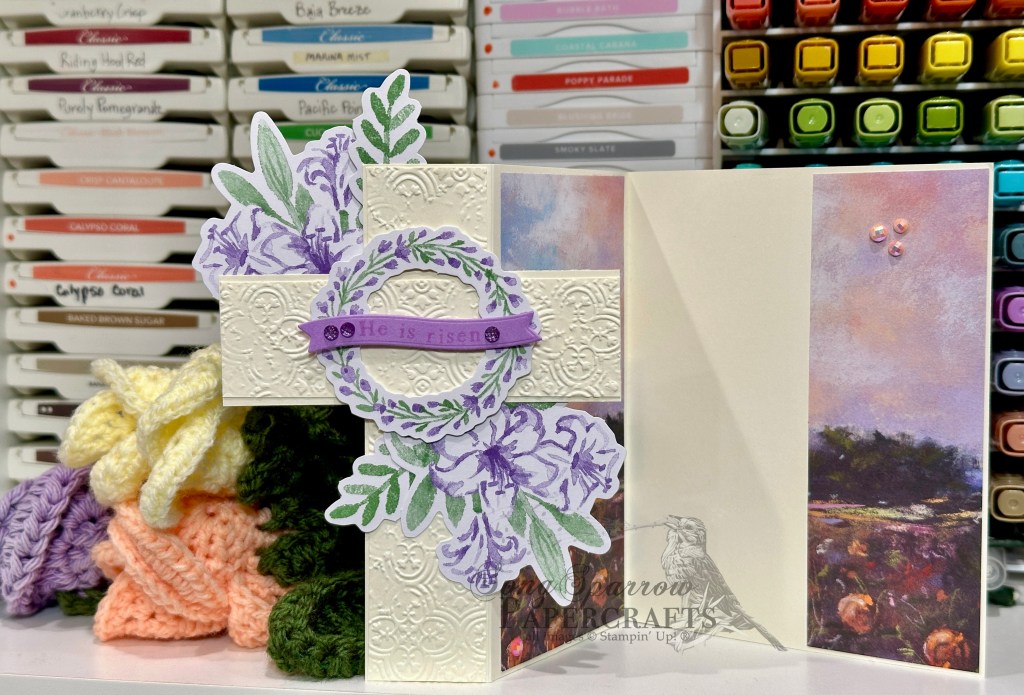
![Very Vanilla 8 1/2" X 11" Cardstock [ 166784 ]](https://assets1.tamsnetwork.com/images/EC042017NF/166784s.jpg "Very Vanilla 8 1/2\" X 11\" Cardstock [ 166784 ]")
![Highland Heather 8-1/2" X 11" Cardstock [ 146986 ]](https://assets1.tamsnetwork.com/images/EC042017NF/146986s.jpg "Highland Heather 8-1/2\" X 11\" Cardstock [ 146986 ]")
![Splendid Autumn 6" X 6" (15.2 X 15.2 Cm) Designer Series Paper [ 164173 ]](https://assets1.tamsnetwork.com/images/EC042017NF/164173s.jpg "Splendid Autumn 6\" X 6\" (15.2 X 15.2 Cm) Designer Series Paper [ 164173 ]")
![Easter Time Mix & Match Ephemera Pack [ 166984 ]](https://assets1.tamsnetwork.com/images/EC042017NF/166984s.jpg "Easter Time Mix & Match Ephemera Pack [ 166984 ]")
![Distressed Tile 3 D Embossing Folder [ 162189 ]](https://assets1.tamsnetwork.com/images/EC042017NF/162189s.jpg "Distressed Tile 3 D Embossing Folder [ 162189 ]")
![Words For The Season Dies (English) [ 165797 ]](https://assets1.tamsnetwork.com/images/EC042017NF/165797s.jpg "Words For The Season Dies (English) [ 165797 ]")
![Faith Collection Photopolymer Stamp Set (English) [ 170531 ]](https://assets1.tamsnetwork.com/images/EC042017NF/170531s.jpg "Faith Collection Photopolymer Stamp Set (English) [ 170531 ]")
![Fresh Freesia Classic Stampin' Pad [ 155611 ]](https://assets1.tamsnetwork.com/images/EC042017NF/155611s.jpg "Fresh Freesia Classic Stampin' Pad [ 155611 ]")
![Purple Fine Shimmer Gems [ 162611 ]](https://assets1.tamsnetwork.com/images/EC042017NF/162611s.jpg "Purple Fine Shimmer Gems [ 162611 ]")
![Pearlized Faceted Circles [ 166978 ]](https://assets1.tamsnetwork.com/images/EC042017NF/166978s.jpg "Pearlized Faceted Circles [ 166978 ]")
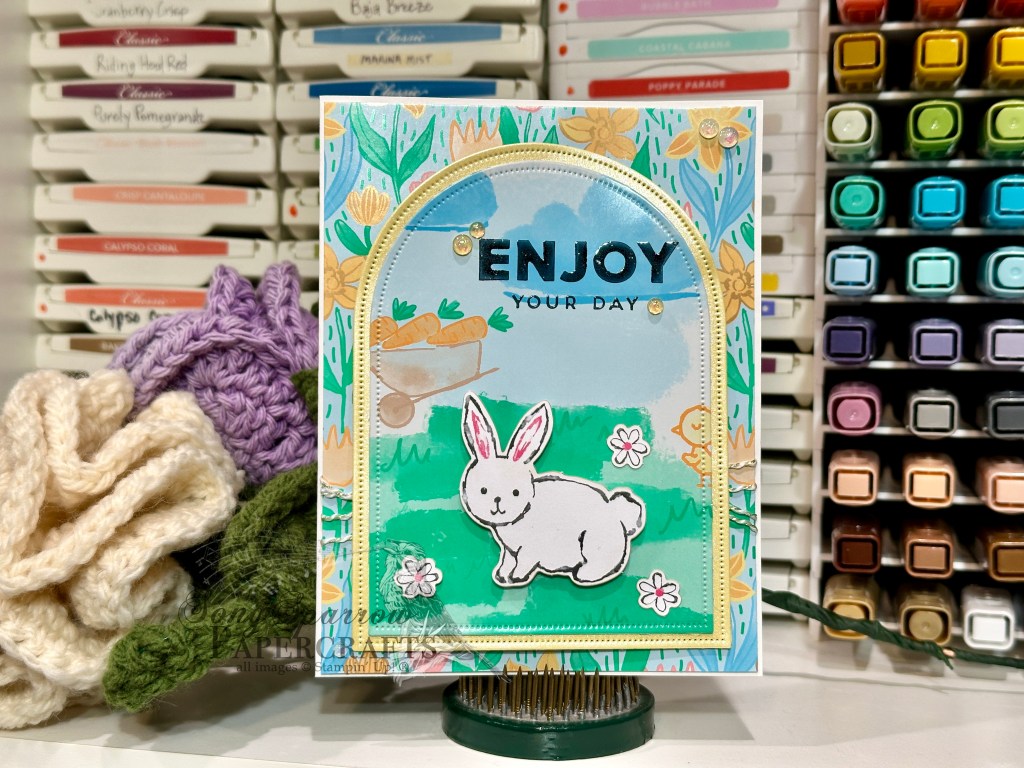
![Easter Joy 12" X 12" (30.5 X 30.5 Cm) Specialty Designer Series Paper [ 166939 ]](https://assets1.tamsnetwork.com/images/EC042017NF/166939s.jpg "Easter Joy 12\" X 12\" (30.5 X 30.5 Cm) Specialty Designer Series Paper [ 166939 ]")
![Time For Celebration Mix & Match Ephemera Pack [ 165354 ]](https://assets1.tamsnetwork.com/images/EC042017NF/165354s.jpg "Time For Celebration Mix & Match Ephemera Pack [ 165354 ]")
![Heartfelt Hellos Cling Stamp Set (English) [ 162964 ]](https://assets1.tamsnetwork.com/images/EC042017NF/162964s.jpg "Heartfelt Hellos Cling Stamp Set (English) [ 162964 ]")
![Basics Wow! Embossing Powder [ 165679 ]](https://assets1.tamsnetwork.com/images/EC042017NF/165679s.jpg "Basics Wow! Embossing Powder [ 165679 ]")
![Black & White & Gold Baker's Twine [ 166005 ]](https://assets1.tamsnetwork.com/images/EC042017NF/166005s.jpg "Black & White & Gold Baker's Twine [ 166005 ]")
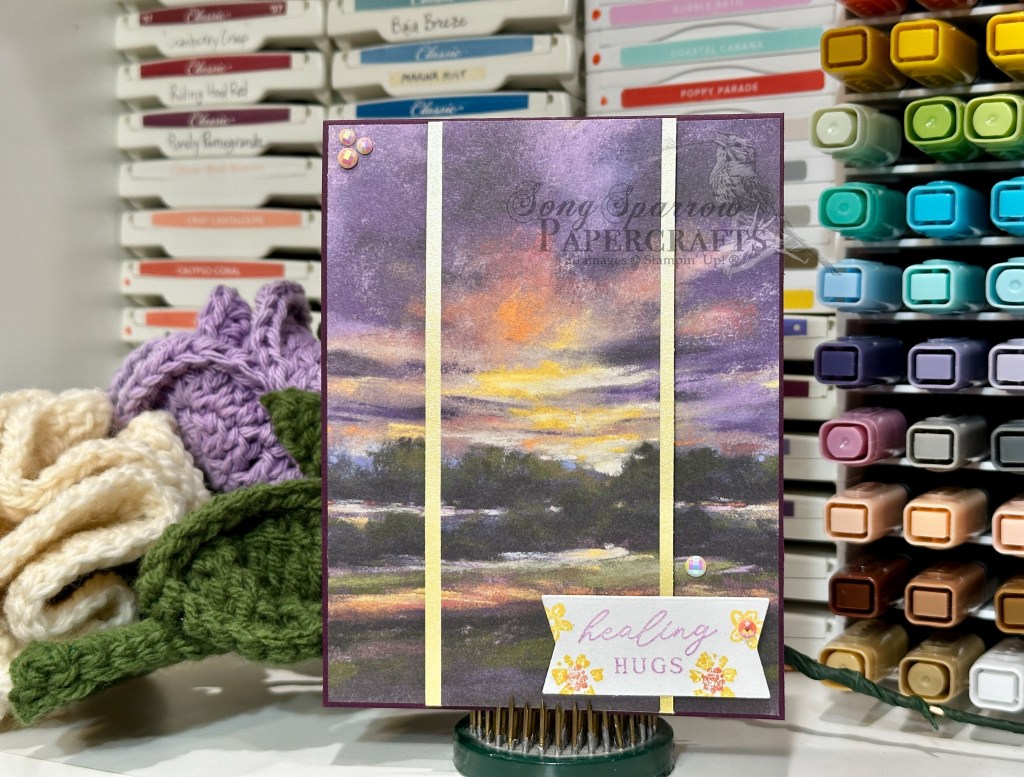
![Blackberry Bliss 8-1/2" X 11" Cardstock [ 133675 ]](https://assets1.tamsnetwork.com/images/EC042017NF/133675s.jpg "Blackberry Bliss 8-1/2\" X 11\" Cardstock [ 133675 ]")
![More Messages Die [ 165472 ]](https://assets1.tamsnetwork.com/images/EC042017NF/165472s.jpg "More Messages Die [ 165472 ]")
![12 Days Of Crafting Advent Calendar (English) [ 167335 ]](https://assets1.tamsnetwork.com/images/EC042017NF/167335s.jpg "12 Days Of Crafting Advent Calendar (English) [ 167335 ]")
![Calypso Coral Classic Stampin' Pad [ 147101 ]](https://assets1.tamsnetwork.com/images/EC042017NF/147101s.jpg "Calypso Coral Classic Stampin' Pad [ 147101 ]")
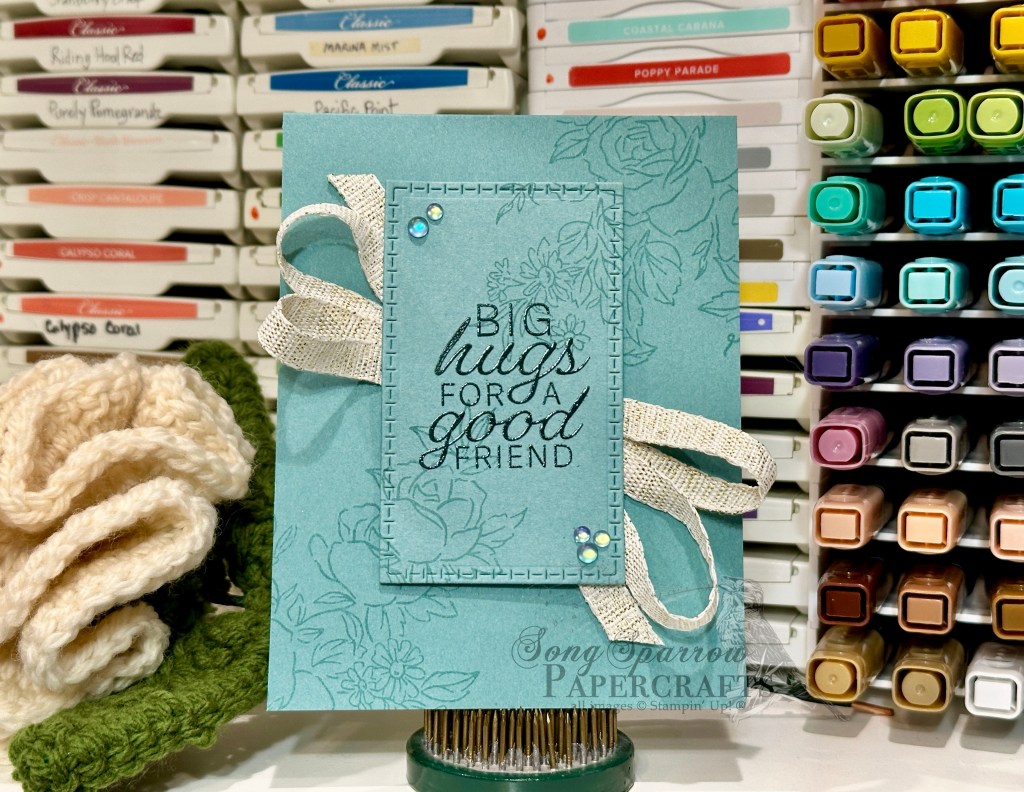
![Lost Lagoon 8-1/2" X 11" Cardstock [ 133679 ]](https://assets1.tamsnetwork.com/images/EC042017NF/133679s.jpg "Lost Lagoon 8-1/2\" X 11\" Cardstock [ 133679 ]")
![Layers Of Beauty Photopolymer Stamp Set (English) [ 163514 ]](https://assets1.tamsnetwork.com/images/EC042017NF/163514s.jpg "Layers Of Beauty Photopolymer Stamp Set (English) [ 163514 ]")
![Peace On Earth Photopolymer Stamp Set (English) [ 165918 ]](https://assets1.tamsnetwork.com/images/EC042017NF/165918s.jpg "Peace On Earth Photopolymer Stamp Set (English) [ 165918 ]")
![Textured Notes Dies [ 165555 ]](https://assets1.tamsnetwork.com/images/EC042017NF/165555s.jpg "Textured Notes Dies [ 165555 ]")
![Lost Lagoon Classic Stampin' Pad [ 161678 ]](https://assets1.tamsnetwork.com/images/EC042017NF/161678s.jpg "Lost Lagoon Classic Stampin' Pad [ 161678 ]")
![Pretty Peacock Classic Stampin’ Pad [ 150083 ]](https://assets1.tamsnetwork.com/images/EC042017NF/150083s.jpg "Pretty Peacock Classic Stampin’ Pad [ 150083 ]")
![Versamark Pad [ 102283 ]](https://assets1.tamsnetwork.com/images/EC042017NF/102283s.jpg "Versamark Pad [ 102283 ]")
![Frosted Iridescent Dots [ 165766 ]](https://assets1.tamsnetwork.com/images/EC042017NF/165766s.jpg "Frosted Iridescent Dots [ 165766 ]")
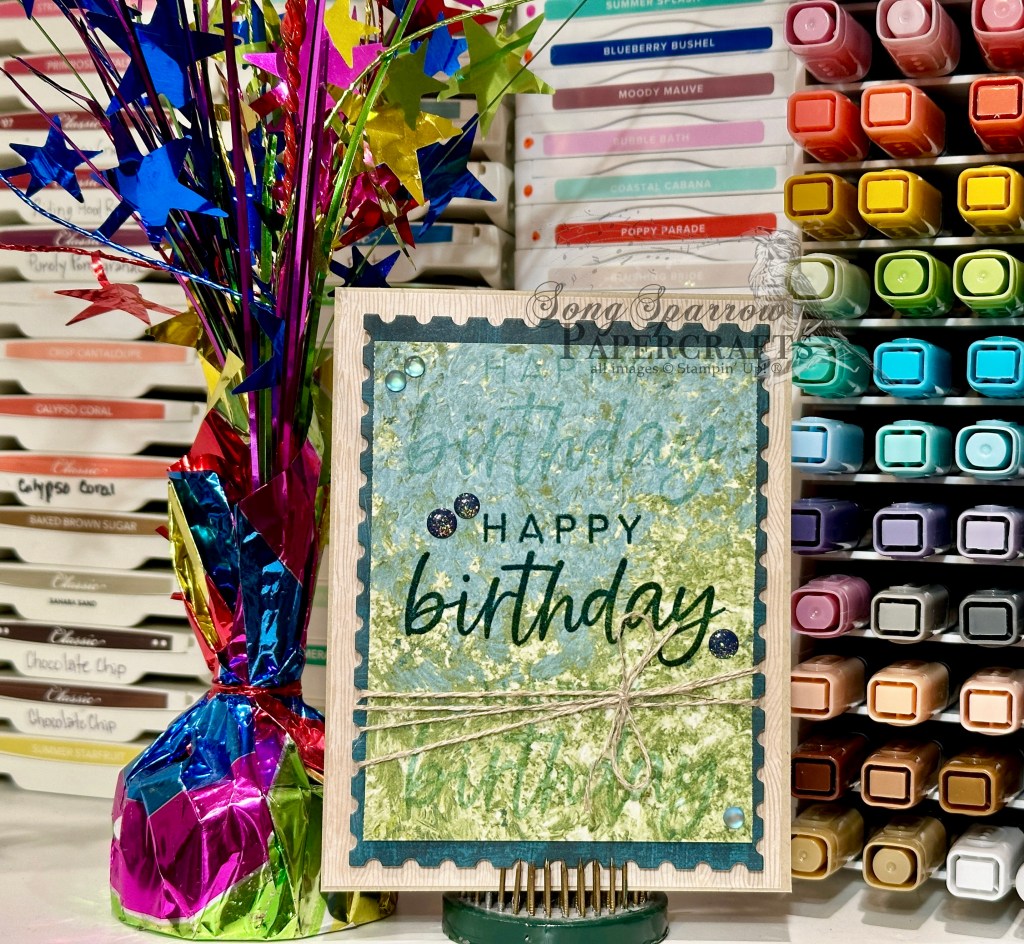
![Nature Walk 12" X 12" (30.5 X 30.5 Cm) Designer Series Paper [ 166912 ]](https://assets1.tamsnetwork.com/images/EC042017NF/166912s.jpg "Nature Walk 12\" X 12\" (30.5 X 30.5 Cm) Designer Series Paper [ 166912 ]")
![With You In Mind Photopolymer Stamp Set (English) [ 169063 ]](https://assets1.tamsnetwork.com/images/EC042017NF/169063s.jpg "With You In Mind Photopolymer Stamp Set (English) [ 169063 ]")
![Pool Party Classic Stampin' Pad [ 147107 ]](https://assets1.tamsnetwork.com/images/EC042017NF/147107s.jpg "Pool Party Classic Stampin' Pad [ 147107 ]")
![Linen Thread [ 104199 ]](https://assets1.tamsnetwork.com/images/EC042017NF/104199s.jpg "Linen Thread [ 104199 ]")
![Sparkle Dot Essentials [ 166991 ]](https://assets1.tamsnetwork.com/images/EC042017NF/166991s.jpg "Sparkle Dot Essentials [ 166991 ]")
 Song Sparrow Papercrafts