Here we are — already back to Monday and working to finish out the month of July. Our kiddos have just 2 weeks of summer left and then it’s back to school time. So we’ll be packing in as much last-minute fun as we can. What about you? Are kids in your area headed back to school? What do you do to finish off the summer?
This week, we’re beginning a new series of designs that I’m calling In the Garden. We’ll be pulling out all of our papers and stamps that afford us the opportunity to feel like we’re strolling through the garden. And today, we’re getting started with some of my all-time favorite patterned paper called Perennial Lavender by Stampin’ Up! For me personally, it’s not often that there is an entire pack of paper — every single sheet — that is my favorite, but Perennial Lavender is certainly one of them. So we’re pairing up this gorgeous paper with a sketch from my sketch book. Let’s get a closer look.

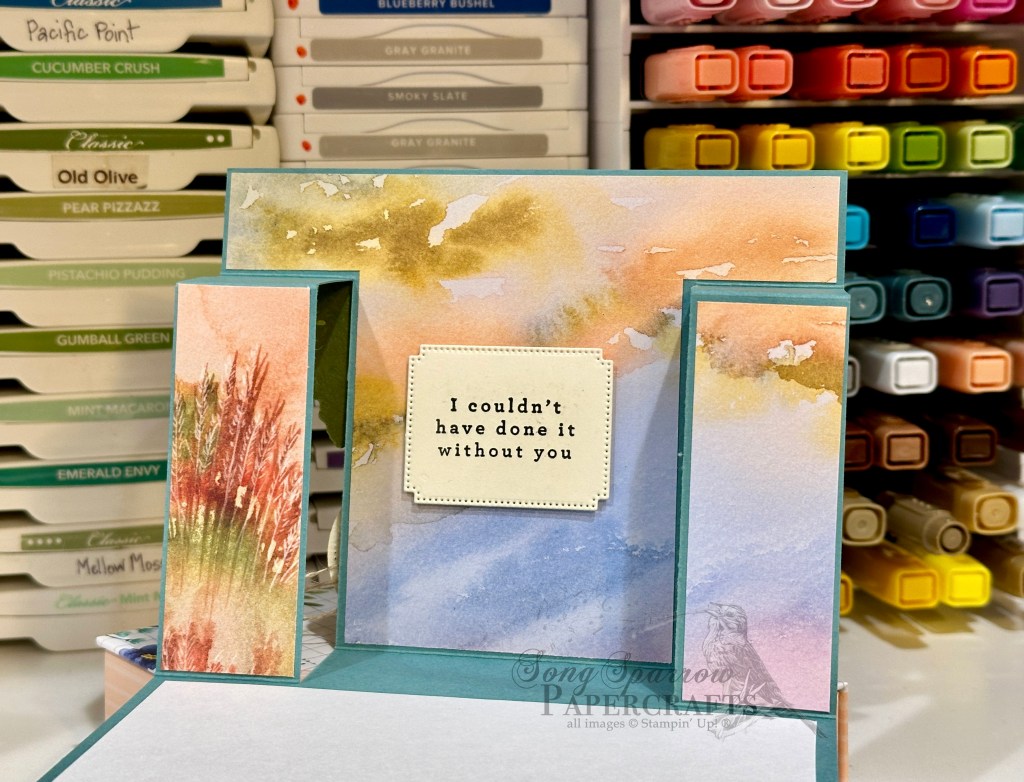
We get started on today’s card with a base of Blackberry Bliss cardstock. Our background panel is the sheet of lavender stems from the Perennial Lavender designer series paper pack. Our focal section is very simple but certainly a show-stopper. We started with a sheet of the lavender field pattern from the Perennial Lavender pack and diecut it using one of the larger Spotlight on Nature dies. We stamp our sentiment from the Country Flowers stamp set in Blackberry Bliss ink on white cardstock and then diecut it using the Spotlight on Nature dies. Both circular panels are adhered to our card base with dimensionals. We use two paper butterflies and a simple twist of iridescent striped trim to complete our focal section. Purple shimmer gems are scattered across the card front to help move the eye across the card design.
One of these things I love about this particular design is that it comes together so quickly and works perfectly with any patterned paper set you have on hand. Tomorrow we’ll be walking through the cut flowers for a zinnia bouquet. I hope you’ll pop in!
Products used in today’s card:
Blackberry Bliss, Basic White cardstock
Perennial Lavender DSP
Country Flowers stamps
Spotlight on Nature dies
Paper butterflies
Iridescent striped trim
Purple shimmer gems
Dimensionals
Adhesives


 Designer Series Paper")
")


 Striped Trim")


 Designer Series Paper")
 Designer Series Paper")
 Luster Specialty Paper")
 Glimmer Specialty Paper")
 Specialty Designer Series Paper")
")


 Trim Combo Pack")


")


")


 Specialty Designer Series Paper")


 Designer Series Paper")


")
")


 Cardstock")


")
")


 Specialty Designer Series Paper")
 Specialty Designer Series Paper")


 Metallic Ribbon")


")


