Holidays · Sale-a-Bration

Heart to Heart

It’s hard to believe that we’re already into February. And that means it’s time to start thinking about all of those special someones. Whether it’s kids, spouses, significant others, or close friends, I’m going to show you how your crafty stash has you covered.

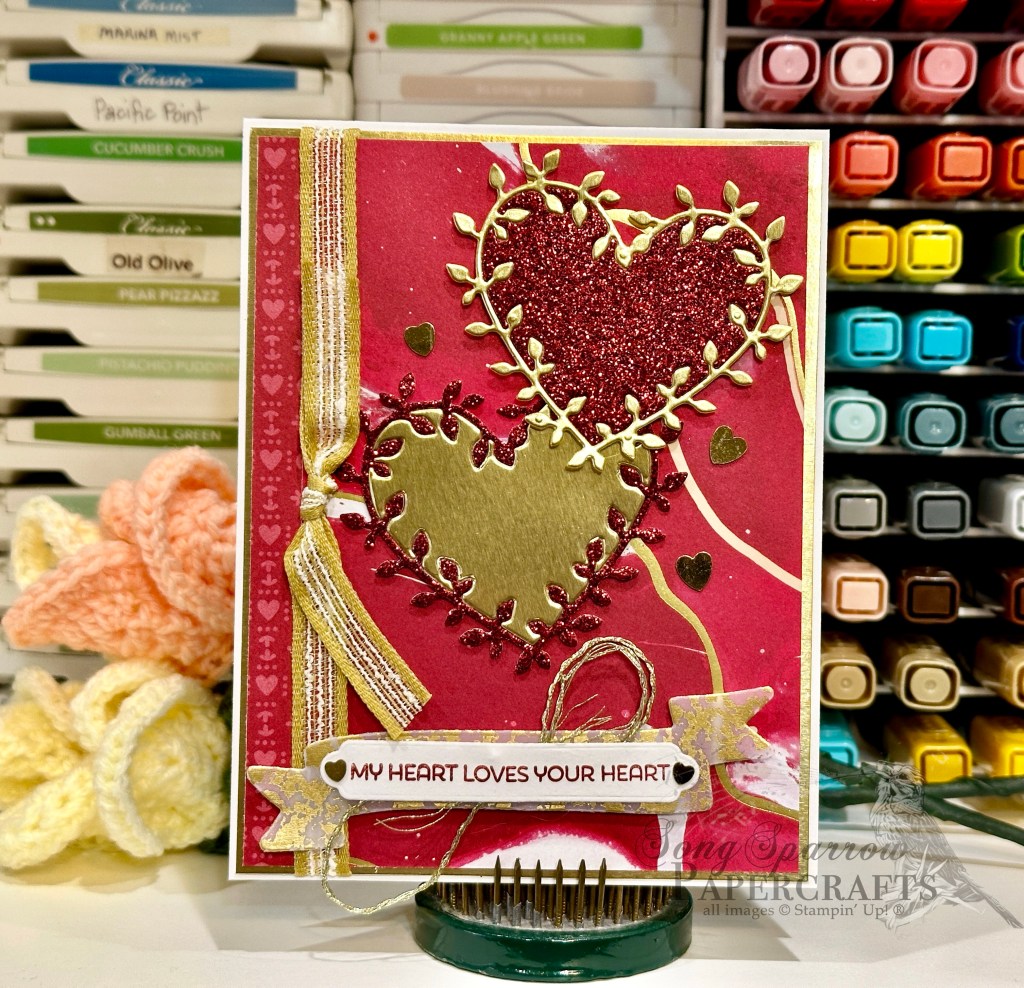
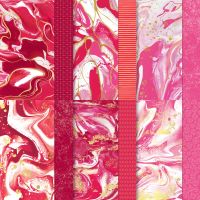
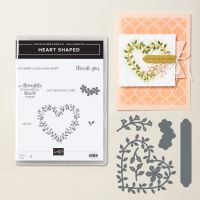
Today, we’re getting started with the Sale-a-Bration bundle called Heart Shaped and pairing up these stamps & dies with the beautiful Marbled Elegance patterned paper. If you’ve followed me for any length of time, you know that I can’t resist having a little sparkle on my designs and today we’re going all out. After all, isn’t that what we do for the ones we love?!

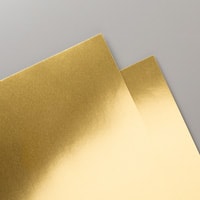
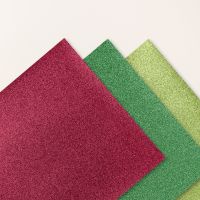
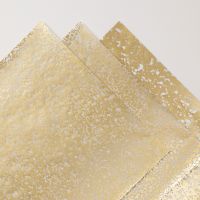
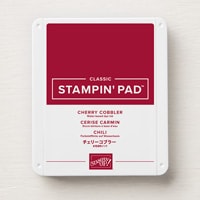
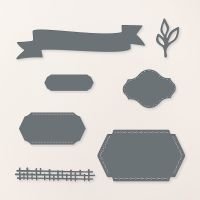
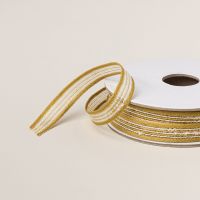
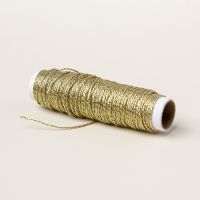
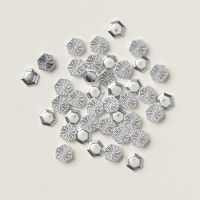
We get started on today’s design with a base of white cardstock. Our background panel is built on a base of gold foil and then a single sheet of the Marbled Elegance paper but using both sides – the foiled side and the print side. I used a piece of the Wild Wheat rustic striped ribbon to bridge the two patterns and tie our golden elements together. Our focal elements are two hearts cut with the Heart Shaped dies using both gold foil paper and the Real Red festive glimmer paper. I wanted the hearts to have a lot of visual weight and so I opted to keep the decorative outlines with their center negatives, but I swapped the centers to outline the gold in red and red in gold. They’re both adhered to the background panel with varying heights of dimensionals and then surrounded with gold heart sequins. The sentiment from the Heart Shaped stamp set is stamped in Cherry Cobbler on white cardstock and then diecut with the label die from the coordinating Heart Shaped die set. I flanked the sentiment on either side with a small gold heart sequin. The sentiment panel is mounted over a twist of gold thread on a decorative banner cut from gold mercury vellum using the Mixed Labels die. The full panel is then adhered to the background panel with dimensionals toward the bottom center of the design.

We’re going to be touring through a whole host of products this week as we make card some love-themed card designs. So I hope you’ll pop in and see how you can create some cute designs for the special people in your life!

Products used in today’s card:
Basic White cardstock
Marbled Elegance, Gold foil, Festive glimmer, Mercury vellum DSP
Heart Shaped stamps & dies
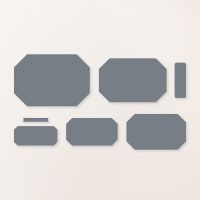
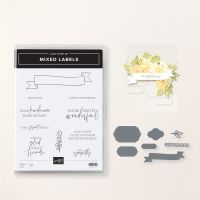
Mixed Labels dies
Wild Wheat rustic ribbon, gold thread
Heart sequins
Dimensionals
Adhesives
Product List
January Mini Catalog

Florals Decor

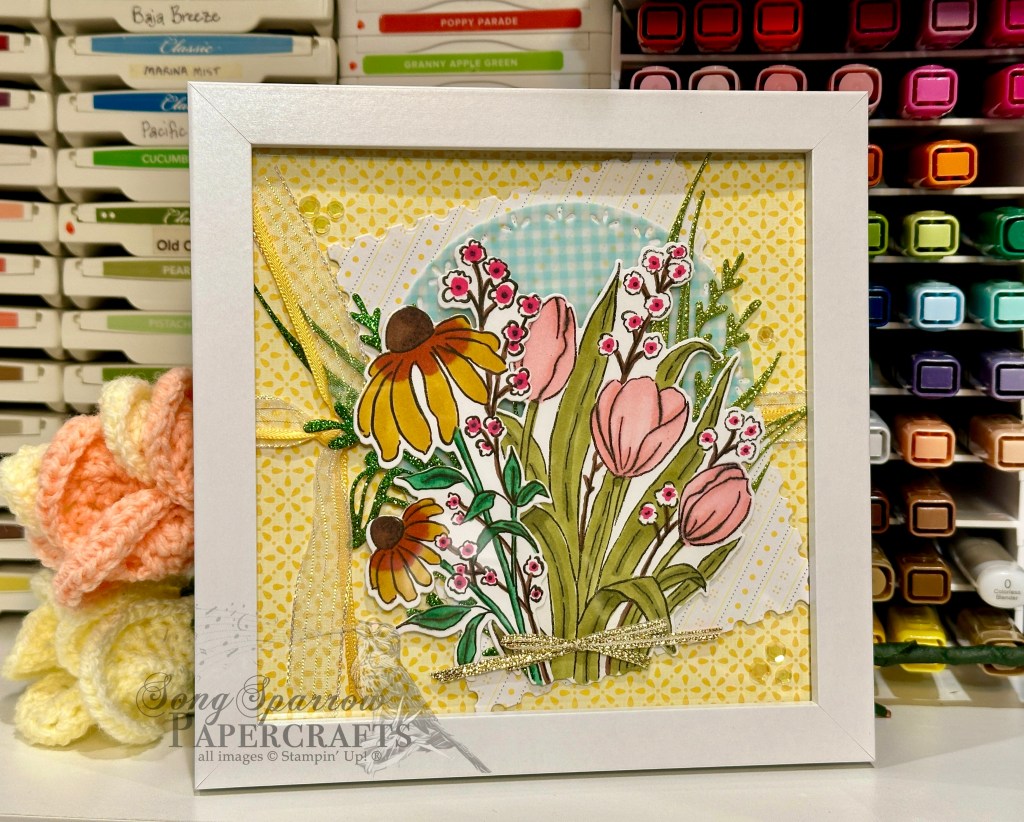
It’s been a super busy day, but I’ve managed to squeeze in just a little time for this super fun home decor item using our feature products for this week – the Floral Delight paper and vellum packs. For this springish design, I chose to pair up our lovely papers with the Mixed Florals stamps & dies. A perfect combo, don’t you think?

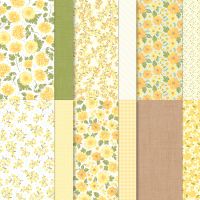
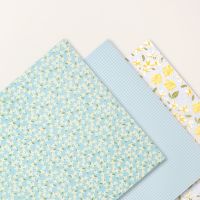
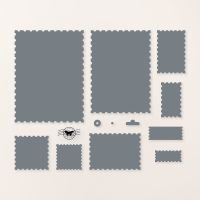
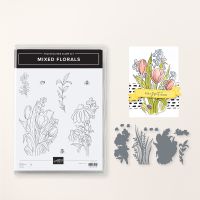
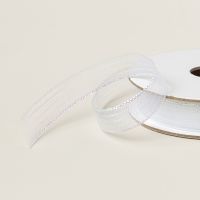
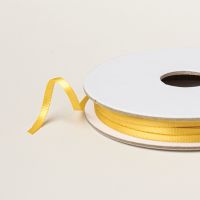
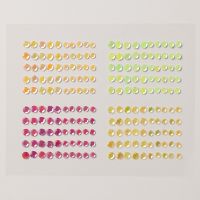
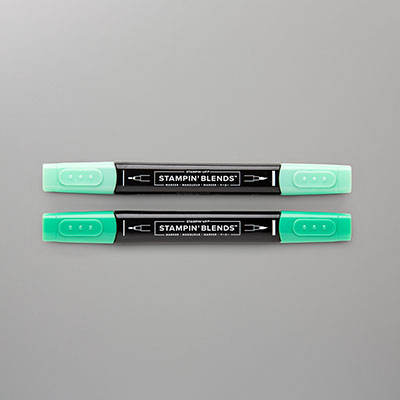
We get started by cutting a 6×6 backdrop from the yellow star-patterned Floral Delight paper. I wanted to break up the yellow background with something softer to serve as the backdrop for our focal images and decided on the white diagonal patterned paper from the Floral Delight paper pack and paired it with the blue gingham from the Floral & Gingham vellum pack. I used the Perennial Postage dies to cut the focal panel backdrop and the Spotlight on Nature dies to cut the vellum panel. I tied a combo of iridescent striped trim and Daffodil Delight satin ribbon around the base before adhering the diecut pieces with dimensionals. I stamped each of the larger floral bunches from the Mixed Florals stamp set on white cardstock and then diecut with the coordinating dies before coloring with my Stampin’ Blends. For a more realistic look, I always try to pull photos of flowers as the basis for how I color my images. I also diecut grass fronds from both of the greens in the Festive glimmer paper pack using the Mixed Florals dies and tucked these behind both floral bunches. I tied some gold trim around the flowers before adhering them to the focal panel with dimensionals. A scattering of the yellow shiny sequins adds another layer of subtle sparkle to finish things off.

I hope you’ve enjoyed having a look at all of the different ways you can create beautiful designs with the Floral Delight paper packs. Next week, we’re going to focus on some love-themed designs as we prepare for Valentine’s Day.

Products used in this design:
6×6 frame (Amazon)
Basic White cardstock
Floral Delight, Floral & Gingham vellum, Festive glimmer DSP
Mixed Florals bundle
Spotlight on Nature, Perennial Postage dies
Stampin’ Blends
Iridescent striped trim, gold trim, Daffodil Delight satin ribbon
Shiny sequins
Dimensionals
Adhesives

Product List
January Mini Catalog · L2S Group Instahop

I’m So Glad Florals

Our design focus this week is on the new Floral Delight designer series paper and coordinating vellum packs from the Stampin’ Up! January Mini catalog. This bright and cheery paper is perfect for sending pick-me-ups or get well cards but is versatile enough to work for a whole variety of occasions. Today’s card is inspired by a friend who is simply the sunshine in everyone’s cloudy day.

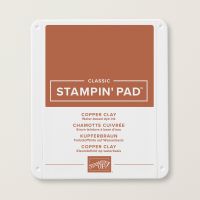
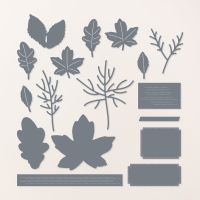
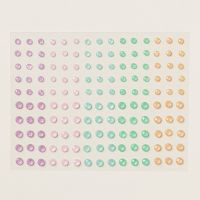
We get started with a base of Peach Pie cardstock. I just love how this unconventional backdrop really brings out the subtle shading in the super fun cosmos-looking flower background of this card design. I wrapped the background panel with Daffodil Delight satin ribbon and tied a small bow on the side to bring the eye to the center of our design and settle on our focal panel. The focal panel begins with a sheet of the Floral Delight patterned paper cut using the Perennial Postage dies atop a mat of Peach Pie glimmer paper. The sentiment from the Mixed Labels stamp set is stamped in Copper Clay and then diecut using the Autumn Leaves dies and adhered to the focal panel base with dimensionals. I added a peachy-colored rose and some leaves from the Wildflower Birthday diecuts in the upper corner of the focal panel using dimensionals. A few Peach Pie shimmer gems finish things off nicely.

Today’s card is a part of the Luv 2 Stamp Group Instagram Hop, which goes live at 9 AM Pacific Time (PST).  Click here to head over to my Instagram feed at 9 AM Pacific/11 AM Central and check out what the other demos in our L2S Group have created for you today! 

Products used in today’s design:
Peach Pie, Basic White cardstock
Floral Delight, Wildflower Birthday, In Color glimmer DSP
Mixed Media stamps
Perennial Postage, Autumn Leaves dies
In Color shimmer gems
Daffodil Delight satin ribbon
Dimensionals
Adhesives

Product List
January Mini Catalog

Because I Care Florals

We’re already halfway through this brand new week. Some weeks seem to just go by in a flash, while others just take their sweet time. It’s always funny how that happens.

We continue our design series using the new Stampin’ Up! Floral Delight paper and vellum packs. And today’s card was inspired by a friend who took a nasty fall recently. I wanted something especially cheery as I know that my friend has taken the news of a broken shoulder pretty hard.

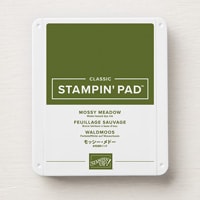
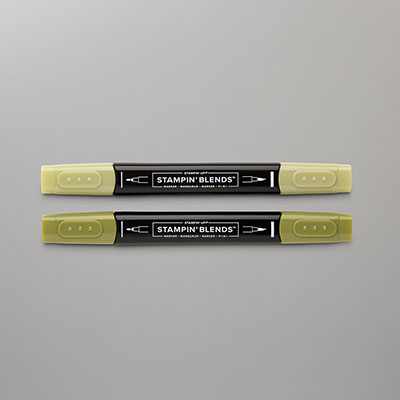
Our card begins with a base of Crushed Curry cardstock. I chose a pattern from the Floral Delight paper pack that provides a wonderful pop of bright white. The soft pattern in the paper reminds me of the wallpaper that I had in my room throughout most of my childhood (although that wallpaper had pink dots). The center focal section has lots of lovely layers, and we start with the pop of yellow down the center of our card front. I used the dogwood-like twig patterned sheet from the Floral Delight paper pack and matted it with Crushed Curry. The focal image panel is cut from the Old Olive screen pattern using the Spotlight on Nature dies. The heart is cut from Mossy Meadow using the Heart Shaped dies. For another pop of yellow, I added some flowers cut from Crushed Curry with the Heart Shaped dies with iridescent faceted gems serving as the floral centers. The sentiment from the Heart Shaped stamp set is stamped in Mossy Meadow on white cardstock and then cut using the small label die from the coordinating Heart Shaped die set. I cut a second small label from Crushed Curry to serve as the mat for the sentiment to draw the eye and added some Mossy meadow linen thread behind the sentiment panel to tie all of the elements of our card together. Gold low profile dots on and around the sentiment ensure that our sentiment stands front and center with our focal panel.

Tomorrow we’ll be hopping with the Luv 2 Stamp group. You definitely won’t want to miss it!

Products used in today’s card:
Crushed Curry, Mossy Meadow, Basic White cardstock
Floral Delight DSP
Heart Shaped stamps & dies
Spotlight on Nature dies
Natural Tones linen thread
Iridescent faceted gems, Low profile dots
Dimensionals
Adhesives
Product List
January Mini Catalog

Florals for a Great Friend

I just love a good pick-me-up, don’t you? I think one of my favorite things about being a paper crafter and card maker is being able to send an unexpected note when the feeling strikes. Do you ever do that?

This week, we’re working with the Floral Delight paper and vellum packs. The designs are so cheery, but they also are versatile enough to fit a multitude of occasions. Today, we’re playing with vellum to make a sort of peek-through card front. I love the light and airy feel that the vellum gives to this design.

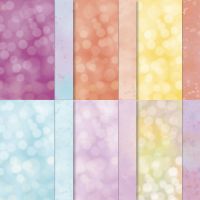
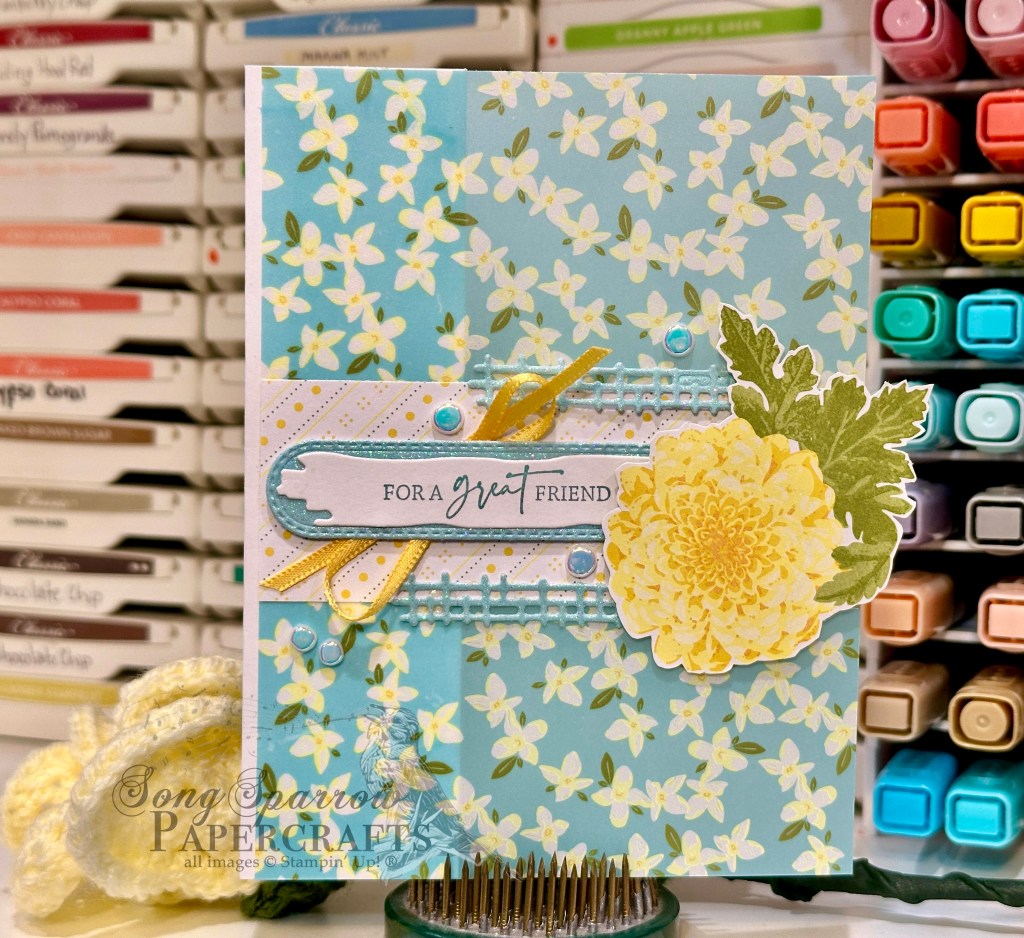
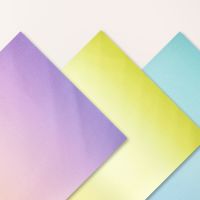
We get started with a base of white cardstock. For the card front, I cut all but 1 1/2-inches of the panel, which leaves a perfect strip to which I’m going to attach my vellum panel. I chose the sheet of small daisy-like flowers with the lovely blue background. To me, this allows the design to be for anyone — a guy or gal. I left a very small strip of the white cardstock flap visible because I like how it provides a nice visual element to tie in the center focal point background panel. The center background panel is a strip of the Floral Delight paper, which provides a nice visual break in our busy background and still ties in with our floral pattern. The sentiment from the Mixed Labels stamp set is stamped in Lost Lagoon and then diecut with the Friends for Life die and mounted on a strip of pastel ombré glimmer paper cut with the Changing Leaves die. The sentiment panel is mounted offset in the center of the white background panel atop some Daffodil Delight satin ribbon using dimensionals. From another sheet of the Floral Delight paper, I cut one of the smaller zinnia-looking flowers. I cut some additional cross-hatch elements from the pastel ombré paper using the Mixed Labels dies and placed them on either side of the sentiment underneath the flower. Riverside irregular pearls add some shimmer and draw the eye to our sentiment panel.

Tomorrow we’re going to play a bit more boldly with white space. I hope you’ll come check it out.

Products used in today’s card:
Basic White cardstock
Floral & Gingham vellum, pastel ombre glimmer, Floral Delight DSP
Friends for Life, Changing Leaves, Heart Shaped dies
Mixed Labels stamps
Riverside regular pearls
Daffodil Delight satin ribbon
Wink of Stella
Dimensionals
Adhesives
Product List
January Mini Catalog

Just a Note Florals

Happy Monday, everyone! It was a busy weekend in our little neck of the woods. Between basketball tournaments and bowling lessons and the usual weekend activities, we were on the go the whole weekend. What about you?

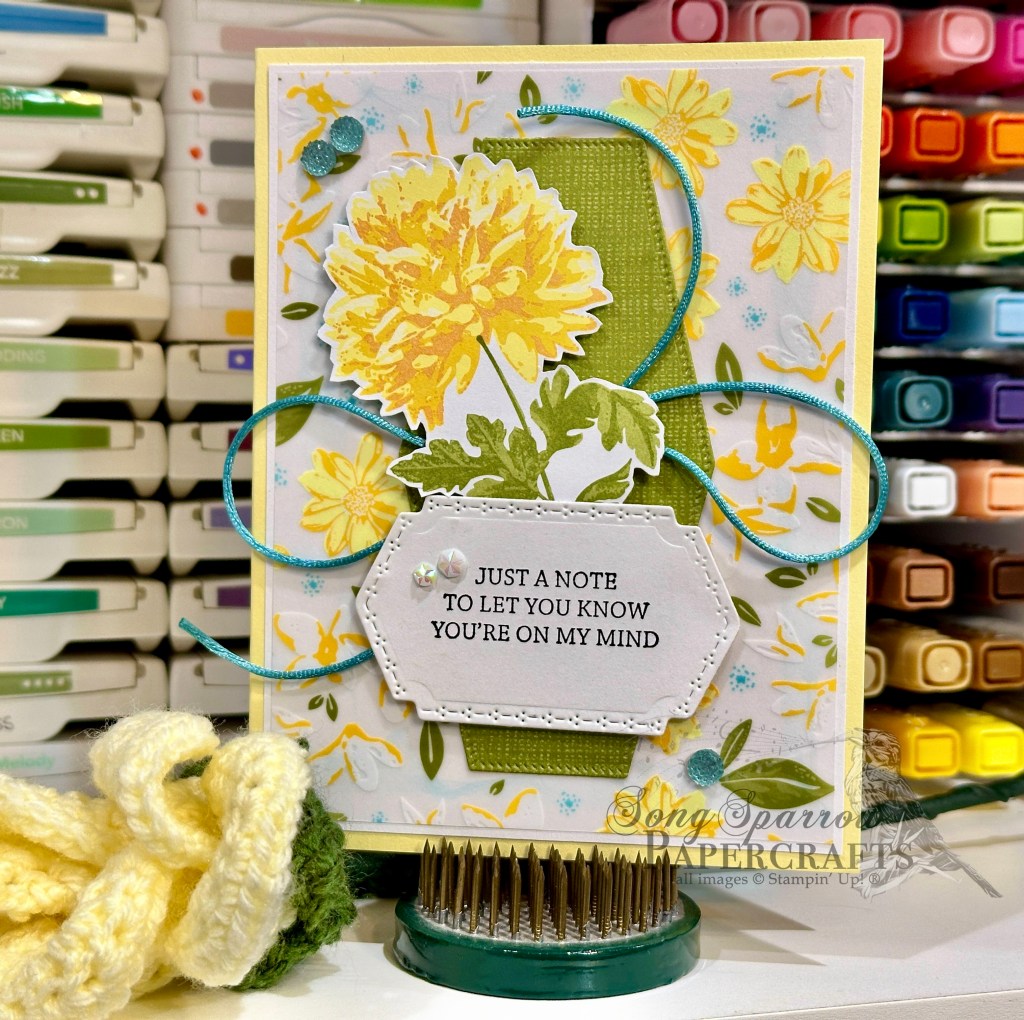
We’re getting started with a new product theme for the week — Floral Delight paper and coordinating vellum from the new Stampin’ Up! January Mini catalog. This paper is so bright and cheery but is not limited to just happy occasions. It’s versatile enough to be used for your more somber occasions, as well. We’re getting started this week with a little thinking of you design.

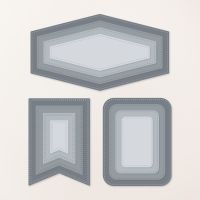
We start our card today with a base of Lemon Lolly cardstock. I used the Floral & Gingham vellum sheet as the backdrop for our focal section of the card. To ensure that the vellum pattern isn’t lost, I used basic white as a mat. The focal section begins with a backdrop of the Old Olive screen pattern sheet from the Floral Delight paper pack. I cut a larger peony-type flower from the reverse side of this same sheet to serve as the focal image, tucking it behind the sentiment panel. The sentiment from the Mixed Labels stamp set is stamped in black on white cardstock and then diecut with the largest label die from the coordinating Mixed Labels die set. The sentiment panel is adhered over some Lost Lagoon soft cording with dimensionals. A few Lost Lagoon faceted gems and iridescent faceted gems add a touch of sparkle and draw the eye across the design.

Tomorrow we’re going to use vellum in an unexpected way. I hope you pop in and check it out!

Products used in today’s card:
Lemon Lolly, Basic White cardstock
Floral & Gingham vellum, Floral Delight DSP
Mixed Labels stamps & dies
Nested Essentials dies
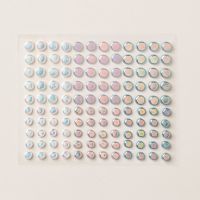
Faceted gems trio, Iridescent faceted gems
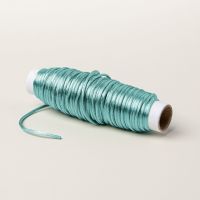
Lost Lagoon soft cording
Dimensionals
Adhesives
Product List
January Mini Catalog

Wildflowers for You

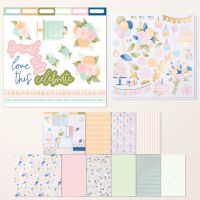
I love having a stash of cards that can apply to a myriad of situations. The new Wildflower Birthday bundle by Stampin’ Up! allows me to whip up beautiful cards perfect for any occasion. Today’s design pairs up the paper and diecuts to create this beautiful bouquet.

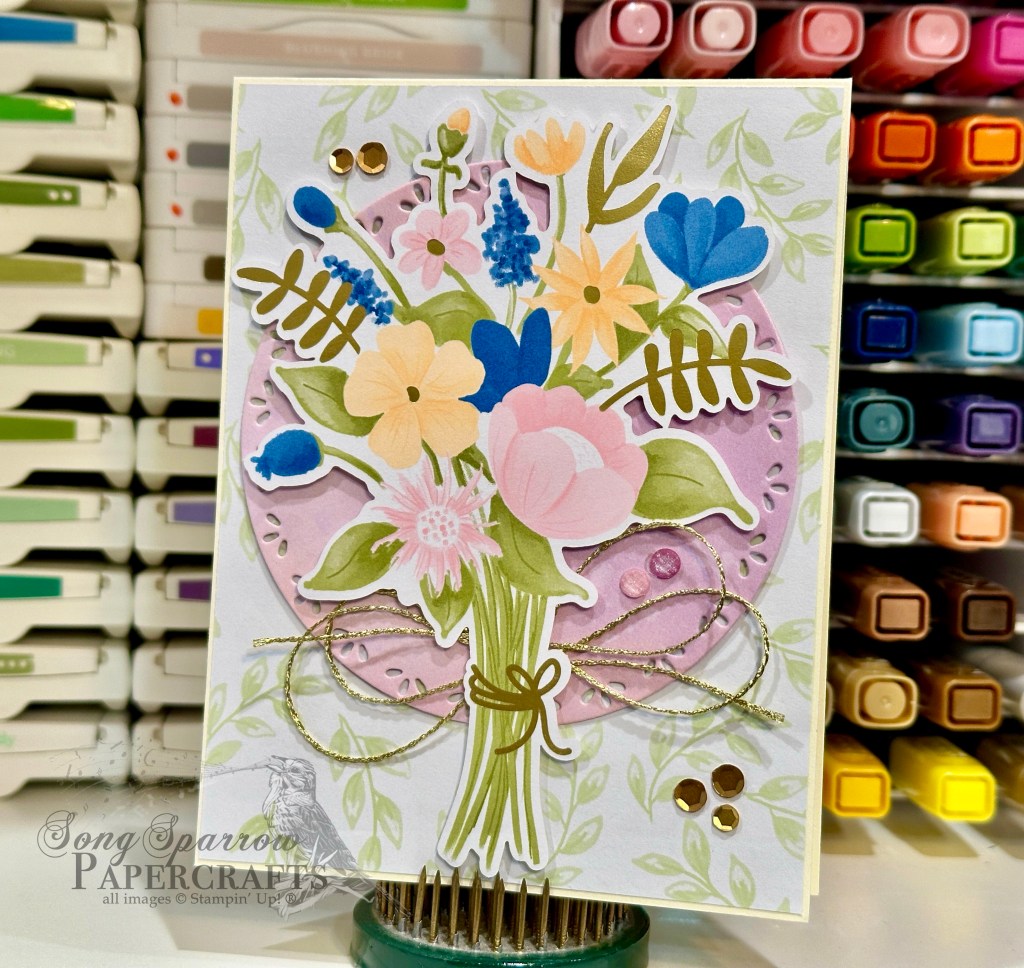
Our card begins with a base of Very Vanilla cardstock. I used the branch pattern from the Wildflower Birthday paper pack as the backdrop for the focal point. I chose the gorgeous floral bouquet from the diecuts included in the Wildflower Birthdays paper pack as the focal image. I wanted to bring out the more subtle details in the bouquet and ensure that the whole bouquet stood out against the subtle patterned background, so I cut a background mat out of the pink sheet of pastel ombré glimmer paper using the Spotlight on Nature dies and then adhered the bouquet onto the mat with a double layer of dimensionals. I added a twist of gold thread behind the stems and added a combination of gold sequins and In Color shimmer gems for that extra bit of sparkle.

This design allows for a last-minute addition of a small sentiment panel but very easily stands well on its own without a sentiment. I envision sending it just as it is and just love that the occasion won’t have much bearing on when and to whom I send it.

Tomorrow, we’re going to pair up our Wildflower Birthday bundle with a sketch. I hope you’ll pop in and check it out.

Products used in today’s card design:
Very Vanilla cardstock
Wildflower Birthday paper bundle, pastel ombré glimmer DSP
Spotlight on Nature dies
Gold thread
Neutrals sequins, In Color shimmer gems
Dimensionals
Adhesives
January Mini Catalog

For a Great Friend

Happy Monday, crafty friends! Long weekends always go by quickly, don’t they? This week, we’re starting a brand new design series using the Wildflower Birthday paper and embellishment bundle from the new Stampin’ Up! January Mini catalog. As the name implies, this bundle is great for birthday designs, but I hope to show you just how versatile this can be with a little ingenuity.

Today’s card design does indeed begin with a birthday design. We’re pairing up the Wildflower Birthday bundle with a sketch from the new mini catalog and some glimmer paper for a sparkly birthday wish for that special someone with a sparkly personality.

Our card starts with a base of Pretty in Pink cardstock. The background panel is a sheet of the foiled paper from the Wildflower Birthday paper pack that is matted with the Summer Splash glimmer paper. Our focal panel begins with a base of Pretty in Pink glimmer paper that is diecut with the Spotlight on Nature dies. Our focal elements are all from the Wildflower Birthday bundle. We layer up the slice of cake with a few of the foiled leaf fronds and place them over and around our sentiment panel. The sentiment from Mixed Labels is stamped in Melon Mambo in the center. A few gold low profile dots adorn the sentiment on either side. The whole focal panel sits atop a bow of gold thread. A few pink shiny sequins on either side of our focal panel help draw the eye in and add that extra touch of pink sparkle.

I just love this card full of sparkly fun – perfect for that friend in your life who is the life of the party! I hope you’ll pop in tomorrow to see another fun birthday design.

Products used in today’s card:
Pretty in Pink cardstock
In Color glimmer paper, Wildflower Birthday DSP
Mixed Labels stamps
Spotlight on Nature dies
Low profile dots, shiny sequins
Gold thread
Dimensionals
Adhesives

Product List
January Mini Catalog

Life Is Better With You

This week we’re having fun with the Hugs for Love bundle that released in the Stampin’ Up! January Mini catalog. Today, we’re playing with patterns with a mixture of stamping, embossing, and patterned papers. And I really love this combination of our featured bundle with the new Timeless Plaid paper, the Distressed Tile embossing folder & the Nature’s Sweetness foiled paper.

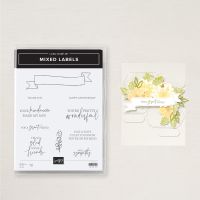
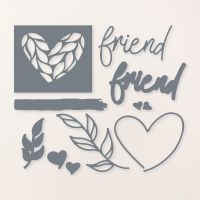
Our design today gets started with a base of Boho Blue cardstock. I used the Distressed Tile embossing folder to make a partial impression of the plate on the card front. Using the Hugs for Love label stamp, I stamped a repeating pattern in Early Espresso directly on the sheet of Timeless Plaid paper. A strip of silver trim is tied at the top. The sentiment panel combines the label stamp and sentiment from the Hugs for Love stamp set and is punched with the coordinating To the Point label punch. I cut 2 panels of the Nature’s Sweetness foiled grid paper using the largest Mixed Labels dies and used them to reiterate our patterns and ground the sentiment panel for emphasis. Using the Mixed Labels die, I cut a small grid detail from white glimmer paper and tucked it behind the sentiment, tying our sentiment panel elements together nicely. A combination of silver and gold Drusy embellishments pull together all of the shimmery elements, giving a cohesive look to the entire design.

Tomorrow we’re going to play with a sketch from the new mini catalog. I hope you’ll stop by and check it out!

Products used in today’s design:
Boho Blue, Basic White cardstock
Timeless Plaid, Nature’s Sweetness, white glimmer DSP
Hugs for Love bundle
Silver trim
Drusy embellishments
Dimensionals
Adhesives
Product List
January Mini Catalog

Sending a Big Hug

Here we are at the start of a brand new week. After a very chilly weekend in North Texas and the remnants of snow and ice still lingering in places even now, it seemed appropriate to start our new weekly series with today’s icey color palette.

This week, we’re going to be using the new Hugs for Love bundle that just released in the Stampin’ Up! January Mini catalog. This bundle comes with a stamp set and coordinating punch. And while it’s certainly going to fit the bill for your Valentines, this bundle is designed with versatility in mind. And I think today’s card is a great start at showing you just that.

Our card today begins with a base of Pretty Peacock, which pairs beautifully with the Timeless Plaid patterned paper that serves as our focal section background. A piece of the In Color glimmer paper is the perfect compliment to our plaid and really brings out the subtleties of the plaid pattern. Our Timeless Plaid panel is diecut using the Nested Essentials dies. The sentiment from the Hugs for Love set is stamped in Lost Lagoon, while the decorative portion of the panel is stamped in Pretty Peacock. A line of riverside irregular pearls catch the eye and compliment the pattern of our panel outline. The panel is then cut out using the coordinating punch and adhered over the Lost Lagoon & gold ribbon using dimensionals. A few Sunny Day iridescent dots bring the eye in to our sentiment.

Tune in tomorrow as we take a more traditional look at this bundle.

Products used in today’s card:
Pretty Peacock, Basic White cardstock
Timeless Plaid, In Color glimmer DSP
Hugs for Love bundle
Pretty Peacock & Gold ribbon
Riverside irregular pearls, Sunny Day iridescent dots
Dimensionals
Adhesives
Product List