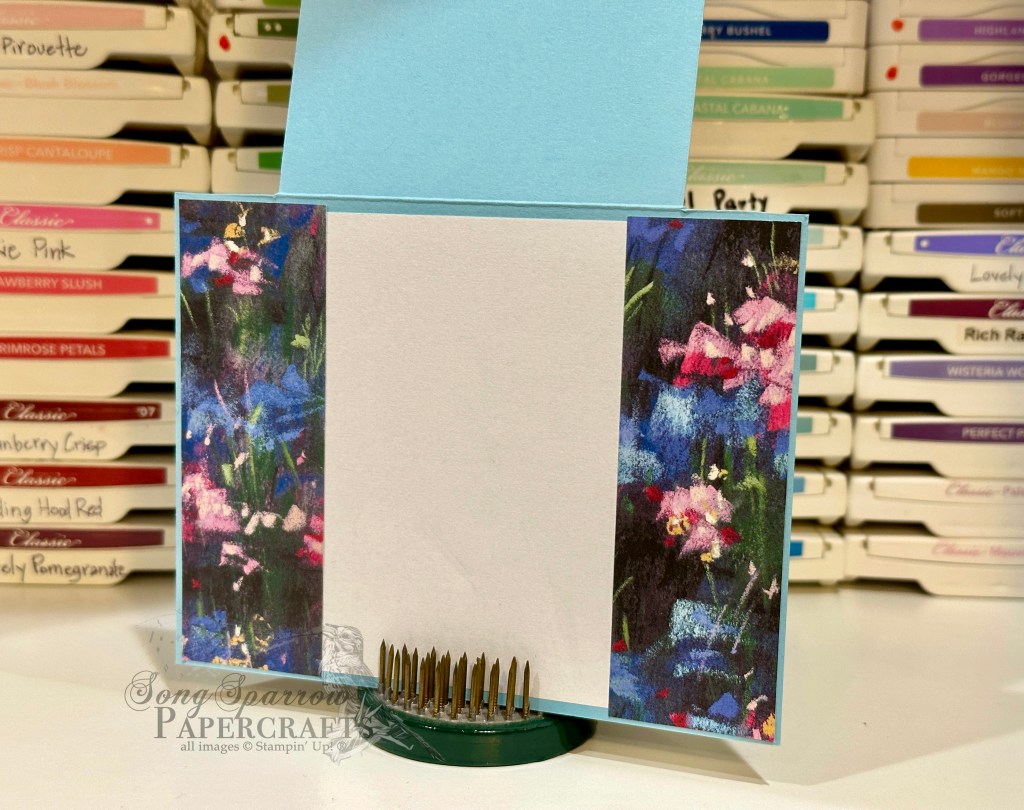
I’m excited to show you a sneak peek of a new designer series paper set to release on November 7th. Meandering Meadow is a gorgeous set of oil pastel designs turned to designer paper. Each of the designs in this pack is simply stunning and a little reminiscent of some of my favorite Renaissance paintings. Monet or Manet anyone?
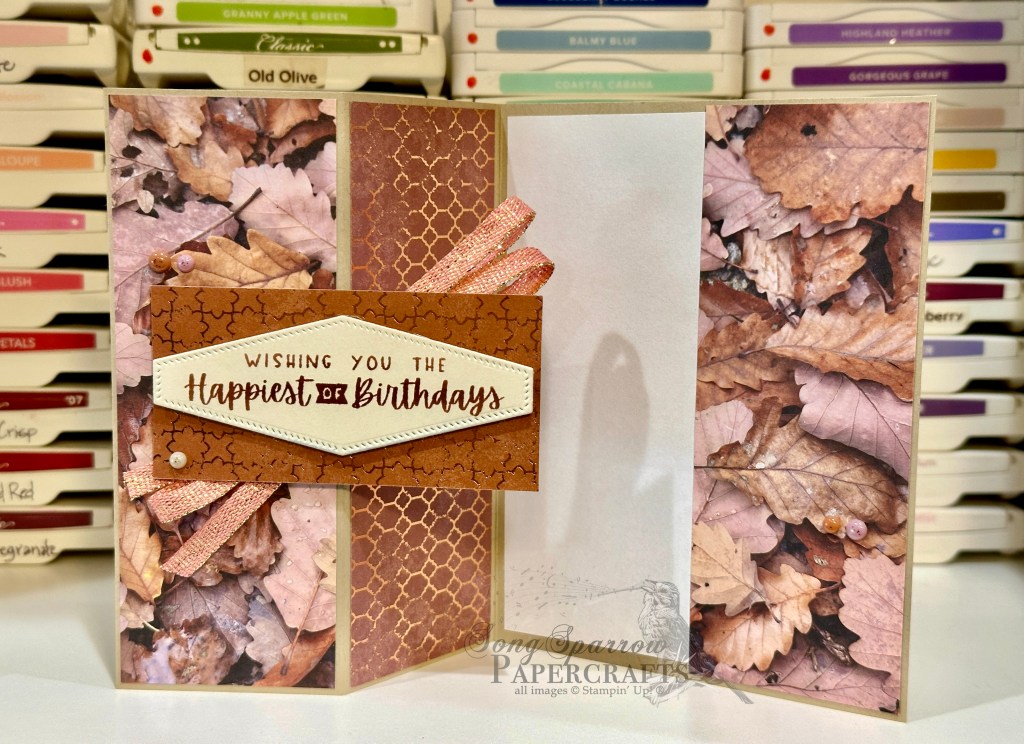
For today’s card, I tried a new fun fold so that I could retain as much of this beautiful paper in the design as possible. The base of this card is a sheet of Balmy Blue cardstock in the standard 8.5 x 5.5 inch format and scored at the traditional 4 1/4-inch mark. To create the flap, a 1-inch strip is cut from each side of the card front flap. The 6 x 6-inch sheet of designer paper is first cut to 4 1/8 x 6 inches. I next cut 1 3/8″ from each side of the panel to create a 3 1/4 x 4 1/8-inch panel. A plain sheet of white paper serves as the message panel on the inside of the card, and each of the 1 3/8-inch strips are adhered on either side of the inside message panel so that a portion peeks through when the card is closed. The larger patterned paper panel is adhered to the front flap. The sentiment from the So Sincere stamp set is heat embossed on a vellum panel diecut using the Autumm Leaves dies. A strip of silver trim and a few fine sparkle gems draw the eye to the sentiment.

What do you think of this fun fold? You can find the PDF instructions here. And if you hop over to Instagram, you can watch how this whole design came together.
Products used:
Balmy Blue, vellum cardstock
Meandering Meadow DSP (coming soon to Online Exclusives)
So Sincere stamps
Autumn Leaves dies
Silver embossing powder
Silver trim
Fine sparkle gems
Adhesives
All ads on this site are posted by WordPress and are based on your personal browsing history. I do not control ad content.