Howdy, friends, and welcome back! This week is coasting along. And all I can think about is all of the things I have to do before we head out of town this weekend for a family funeral — get the kitties situated, tidy up the house, last-minute laundry, packing. Ack! So many things. But somehow I know it will all get done and things will be fine. We’re fortunate to have friends who are willing to let their teenager taking on the pet sitter gig, so we know our guys will be in good hands!
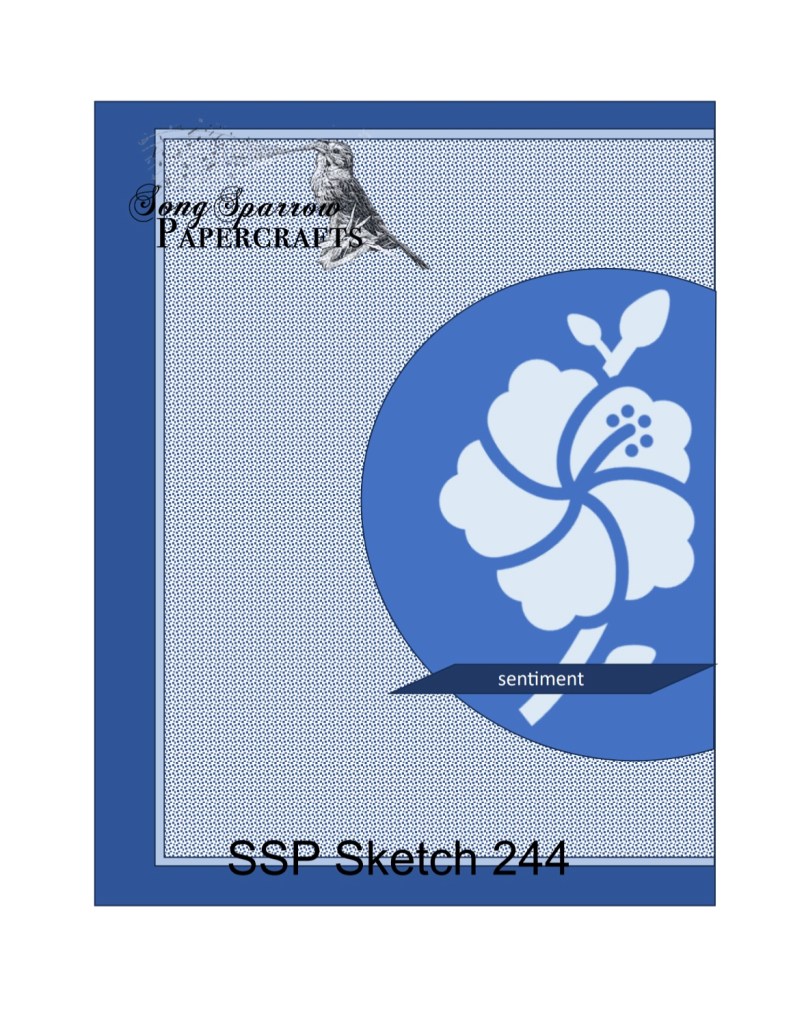
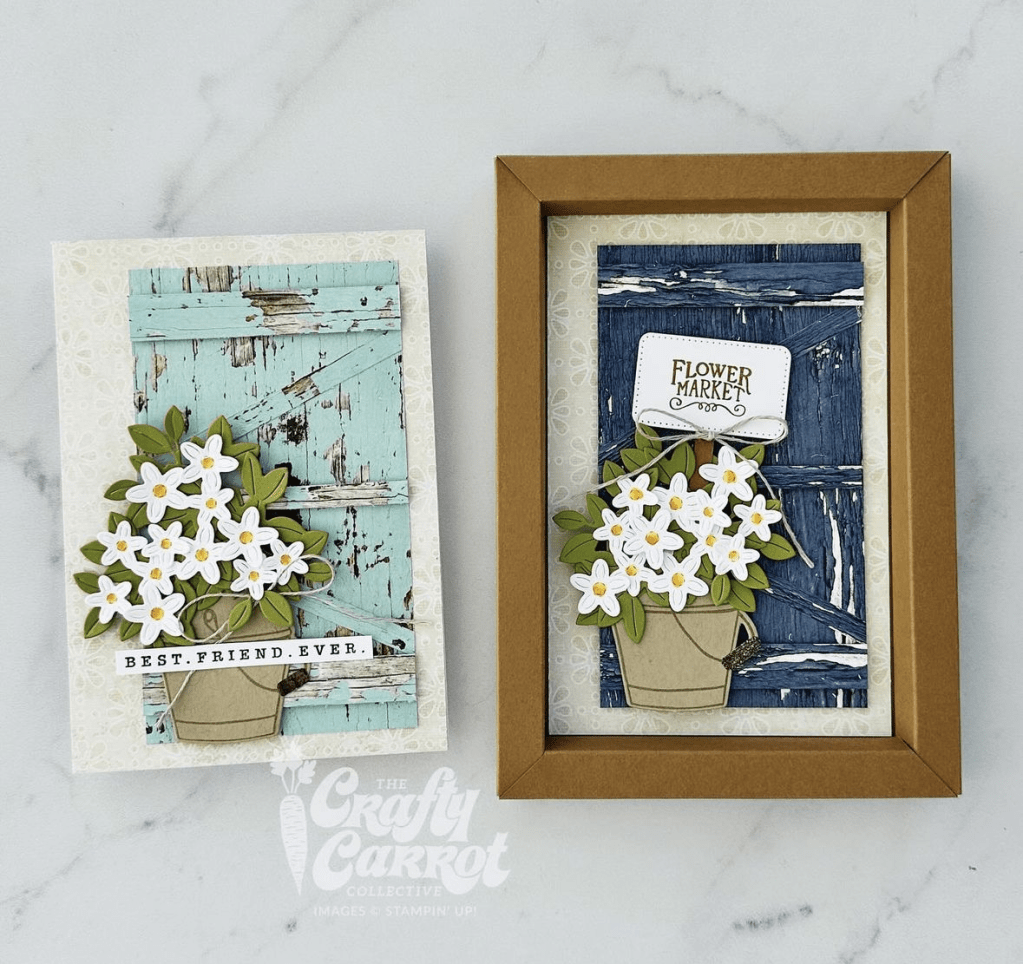
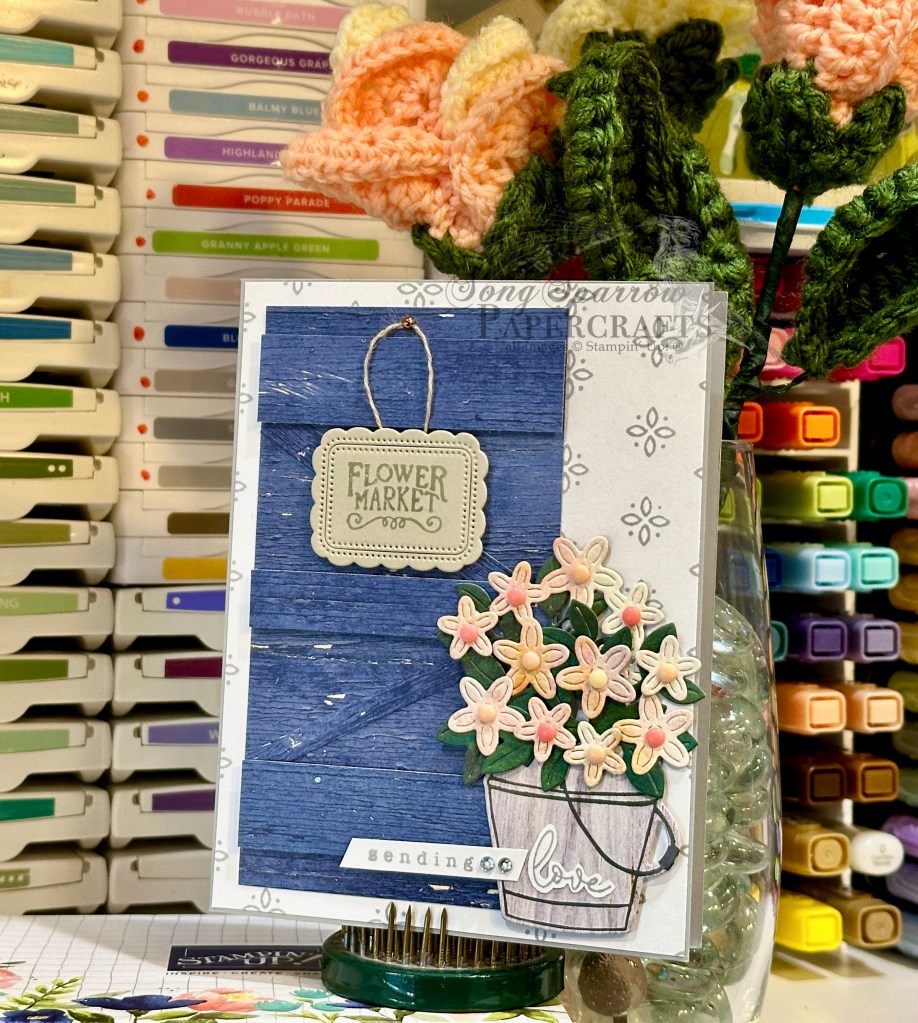
This week, we’re getting an in-depth look at the brand new suite called Lovely Blossoms. It just launched in the online store. Have you checked out all of the new goodies that dropped in the store this week? I’m really loving this suite because you can create so many different looks based on the products you combine. And today we’re letting our stamps and dies take center stage. I actually borrowed the inspiration for today’s card design from one of the samples in the online store. Maybe you can figure out which one?
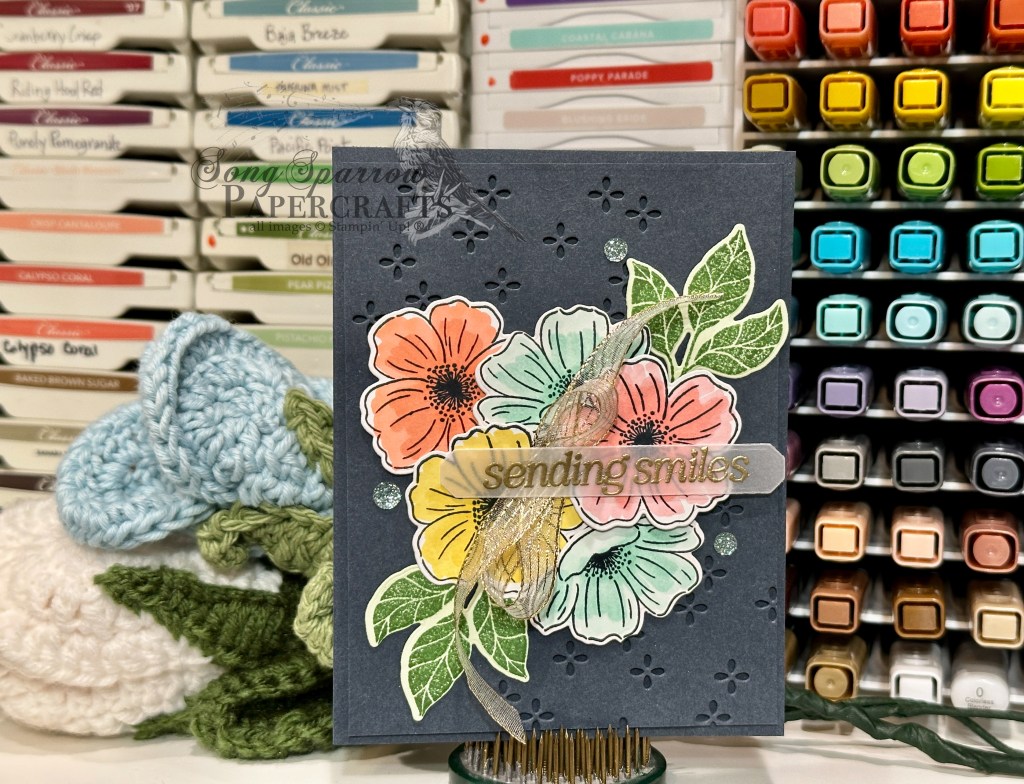
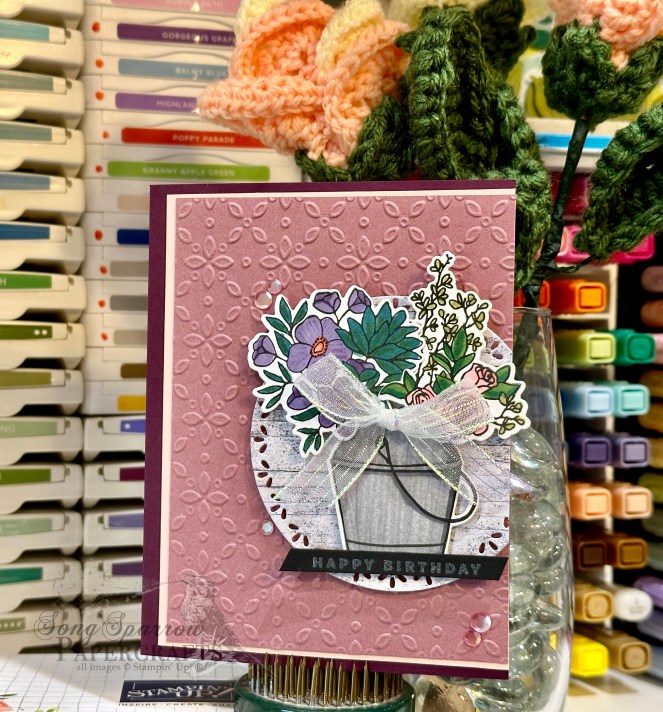
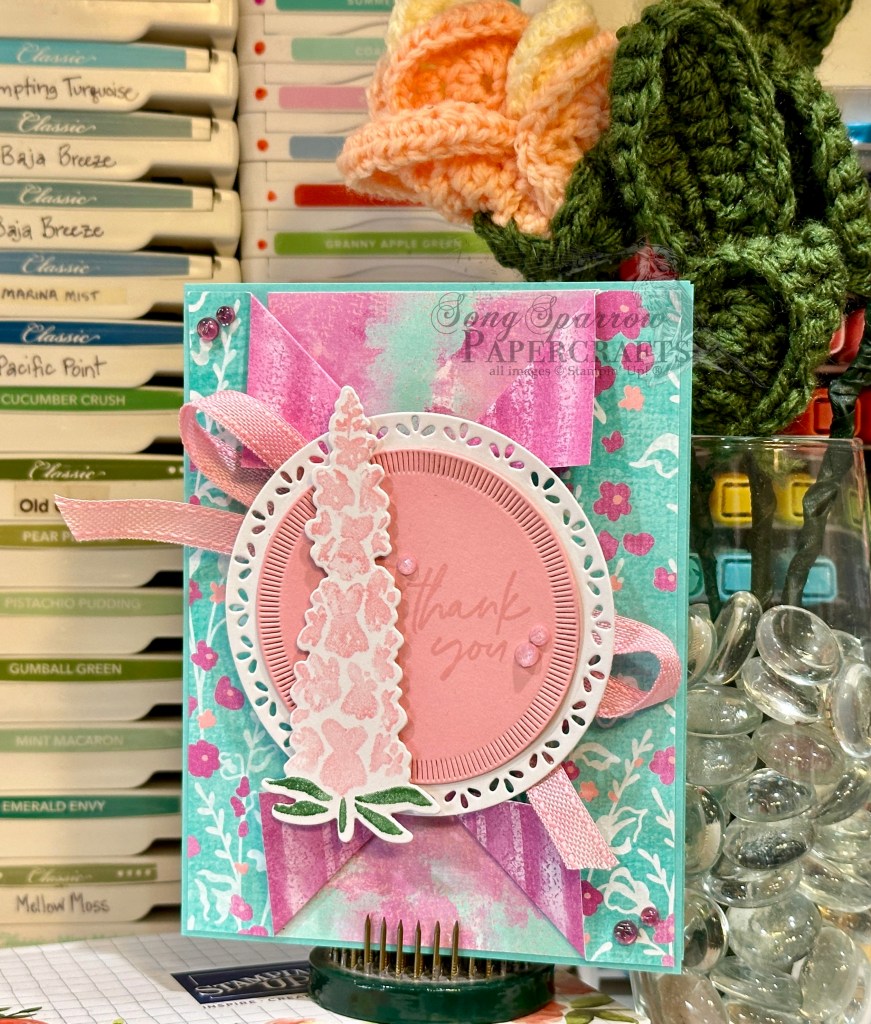
Today’s card is actually pretty simple and comes together relatively easily. We get started with a base of Secret Sea cardstock. I used a quarter panel as the backdrop and punched it up by die cutting the eyelet pattern on the diagonal across it using the Lovely Arrangements die. The panel is then adhered to the card front with dimensionals to really give that eyelet pattern more prominence. Our focal section is the florals. I stamped a collection of both the large and small flowers from the Lovely Arrangements stamp set in Secret Sea on white paper and cut with the coordinating dies. The images are filled in with an assortment of Stampin’ Blends, using the darks from each pair for the centers and the lighter blends for the flower petals and edges. Nothing too precise — just swipes across the images. I really love this simple shading method and the look you get. I also stamped a couple of the leaf bunches in Garden Green on Soft Sea Foam paper and cut them with the coordinating die. And then we start arranging the flowers and leaves to get the layers of color and shapes that are most pleasing to the eye before sticking everything down. Glue dots adhere the elements that are in the background, while varying layers of dimensionals give us the depth and layers in the flowers. The sentiment sits on a banner of vellum cut with the Words of Beauty die. The sentiment from the Lovely Arrangements stamp set is stamped in Versamark on vellum and then heat embossed with gold and is adhered over a twist of the gold striped mesh ribbon with glue dots. A few traditional sparkling sequins finish things off with a pop of Pool Party.
I hope you’ll drop in tomorrow as we continue our Lovely Blossoms design series with a closer look at the dies.
Product List![Secret Sea 8 1/2" X 11" Cardstock [ 165624 ]](https://assets1.tamsnetwork.com/images/EC042017NF/165624s.jpg "Secret Sea 8 1/2\" X 11\" Cardstock [ 165624 ]")
![Soft Sea Foam 8-1/2" X 11" Cardstock [ 146988 ]](https://assets1.tamsnetwork.com/images/EC042017NF/146988s.jpg "Soft Sea Foam 8-1/2\" X 11\" Cardstock [ 146988 ]")
![Basic White 8 1/2" X 11" Cardstock [ 166780 ]](https://assets1.tamsnetwork.com/images/EC042017NF/166780s.jpg "Basic White 8 1/2\" X 11\" Cardstock [ 166780 ]")
![Vellum 12" X 12" (30.5 X 30.5 Cm) Specialty Paper [ 167099 ]](https://assets1.tamsnetwork.com/images/EC042017NF/167099s.jpg "Vellum 12\" X 12\" (30.5 X 30.5 Cm) Specialty Paper [ 167099 ]")
![Words Of Beauty Dies (English) [ 167089 ]](https://assets1.tamsnetwork.com/images/EC042017NF/167089s.jpg "Words Of Beauty Dies (English) [ 167089 ]")
![Lovely Arrangements Bundle (English) [ 167176 ]](https://assets1.tamsnetwork.com/images/EC042017NF/167176s.jpg "Lovely Arrangements Bundle (English) [ 167176 ]")
![Pretty In Pink Stampin’ Blends Combo Pack [ 163824 ]](https://assets1.tamsnetwork.com/images/EC042017NF/163824s.jpg "Pretty In Pink Stampin’ Blends Combo Pack [ 163824 ]")
![Calypso Coral Stampin' Blends Combo Pack [ 154881 ]](https://assets1.tamsnetwork.com/images/EC042017NF/154881s.jpg "Calypso Coral Stampin' Blends Combo Pack [ 154881 ]")
![Daffodil Delight Stampin' Blends Combo Pack [ 154883 ]](https://assets1.tamsnetwork.com/images/EC042017NF/154883s.jpg "Daffodil Delight Stampin' Blends Combo Pack [ 154883 ]")
![Pool Party Stampin' Blends Combo Pack [ 154894 ]](https://assets1.tamsnetwork.com/images/EC042017NF/154894s.jpg "Pool Party Stampin' Blends Combo Pack [ 154894 ]")
![Secret Sea Classic Stampin' Pad [ 165285 ]](https://assets1.tamsnetwork.com/images/EC042017NF/165285s.jpg "Secret Sea Classic Stampin' Pad [ 165285 ]")
![Garden Green Classic Stampin' Pad [ 147089 ]](https://assets1.tamsnetwork.com/images/EC042017NF/147089s.jpg "Garden Green Classic Stampin' Pad [ 147089 ]")
![Versamark Pad [ 102283 ]](https://assets1.tamsnetwork.com/images/EC042017NF/102283s.jpg "Versamark Pad [ 102283 ]")
![Metallics Wow! Embossing Powder [ 165678 ]](https://assets1.tamsnetwork.com/images/EC042017NF/165678s.jpg "Metallics Wow! Embossing Powder [ 165678 ]")
![Traditional Sparkling Sequins [ 165875 ]](https://assets1.tamsnetwork.com/images/EC042017NF/165875s.jpg "Traditional Sparkling Sequins [ 165875 ]")
![Mini Glue Dots [ 103683 ]](https://assets1.tamsnetwork.com/images/EC042017NF/103683s.jpg "Mini Glue Dots [ 103683 ]")
![Gold Striped 3/8" (1 Cm) Mesh Ribbon [ 165599 ]](https://assets1.tamsnetwork.com/images/EC042017NF/165599s.jpg "Gold Striped 3/8\" (1 Cm) Mesh Ribbon [ 165599 ]")
![Stampin' Dimensionals [ 104430 ]](https://assets1.tamsnetwork.com/images/EC042017NF/104430s.jpg "Stampin' Dimensionals [ 104430 ]")

")


")


 Designer Series Paper")
 Specialty Paper")


 Diagonal Trim Combo Pack")


")


 Bordered Ribbon")

 Glimmer Specialty Paper")
")

 Striped Trim")


 Designer Series Paper")
")