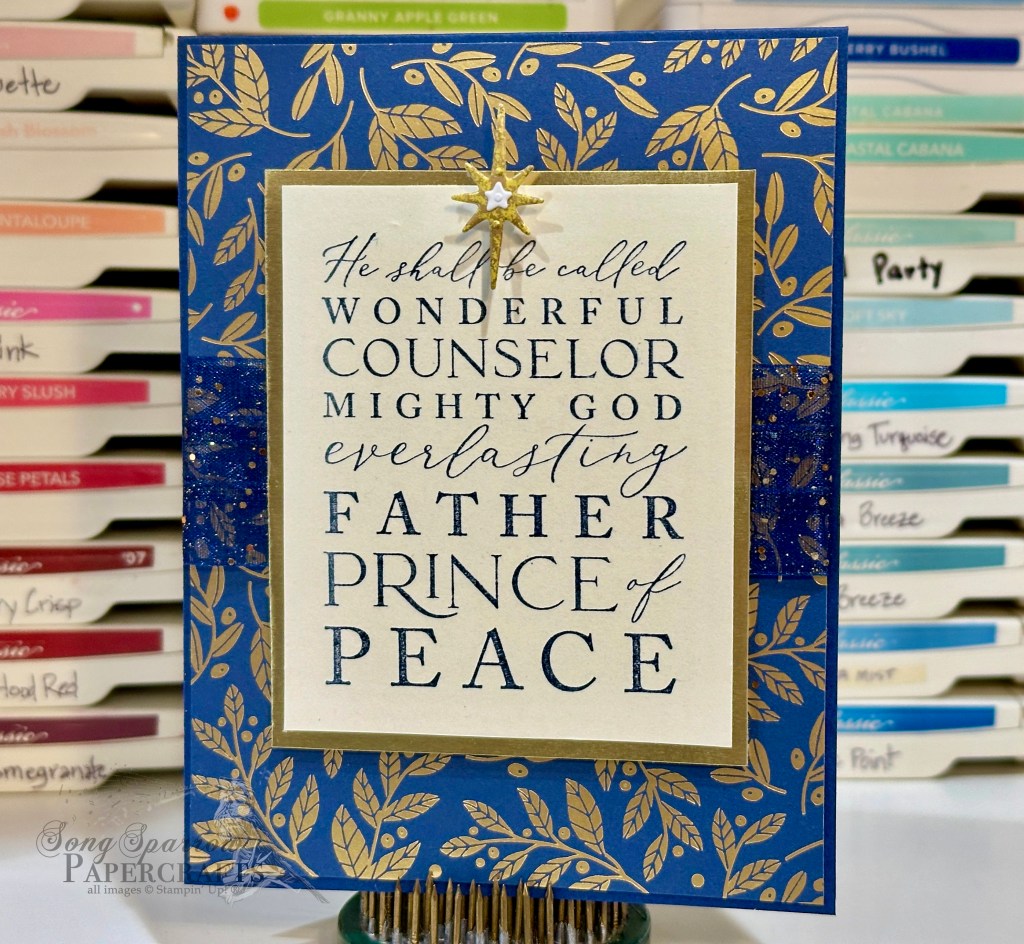
This week, we’re making gorgeous Christmas cards with the Stars at Night and Night Divine bundles. Specifically, we are looking at designs that use the coordinating designer series and specialty paper packs called O Holy Night and Shining Brightly. Although both of these paper packs are sold out, I wanted to provide some design inspiration for those of you who purchased these papers or maybe have something that looks similar in your stash.
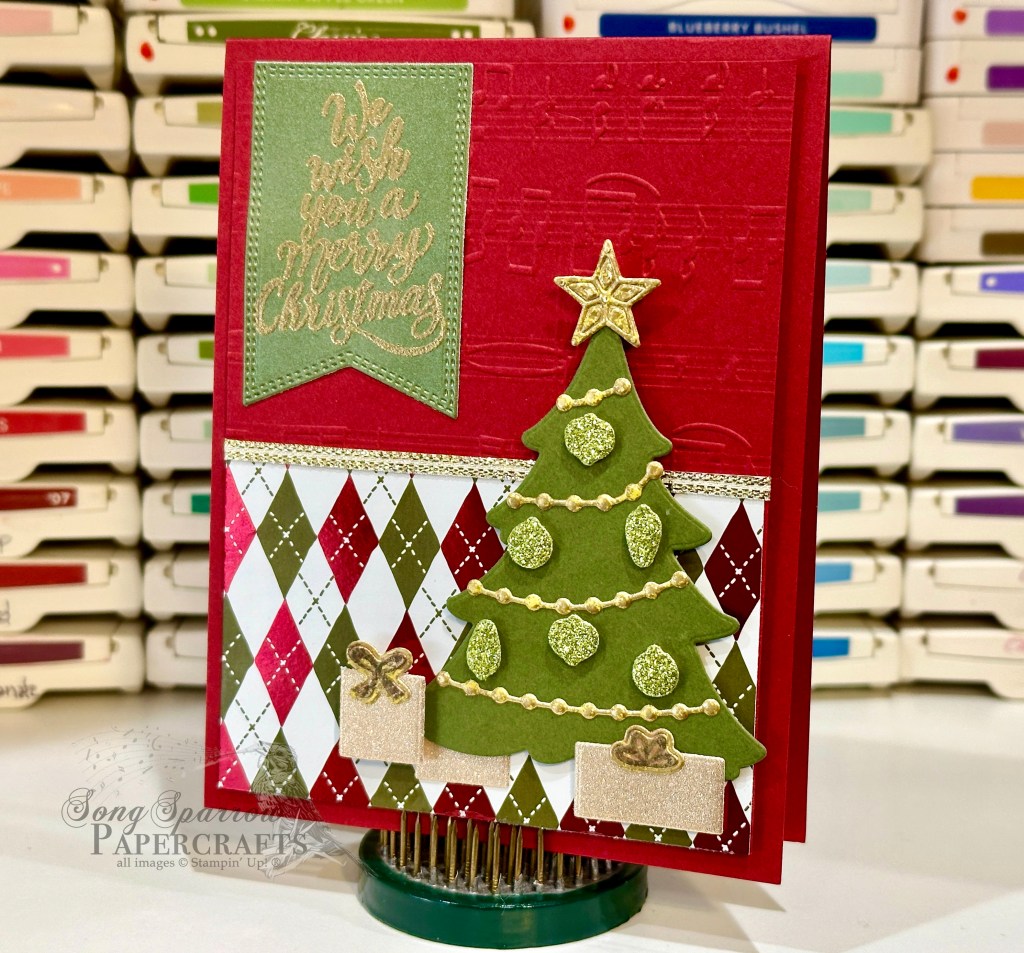
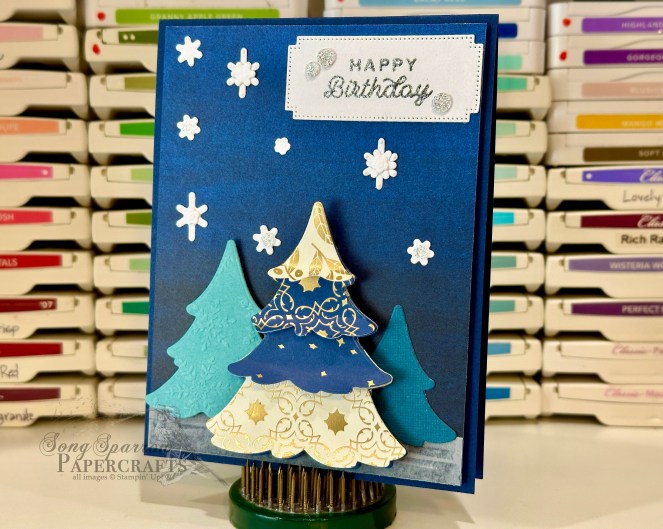
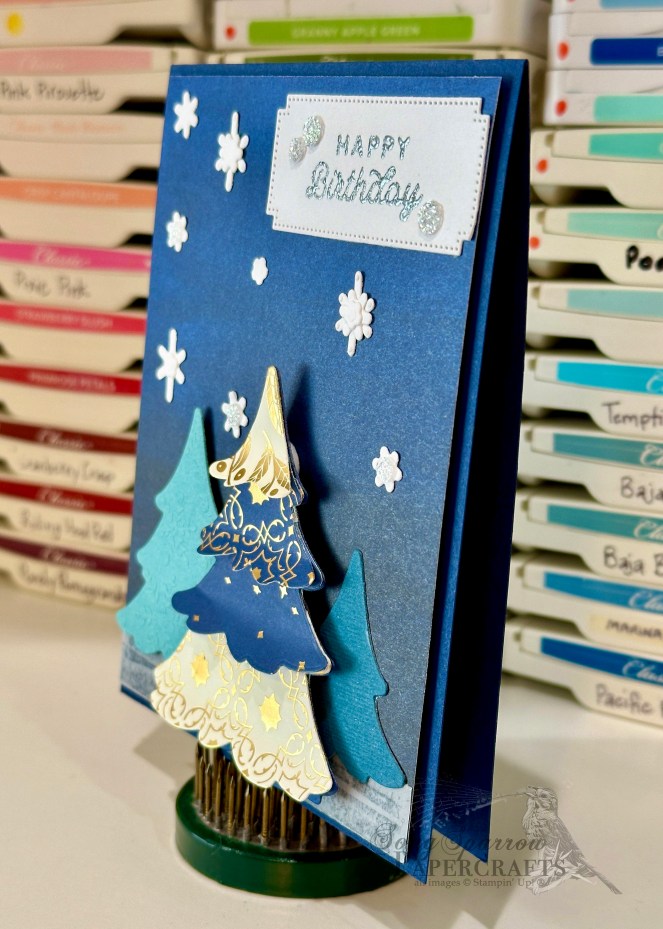
For today’s fun fold card design, we begin with a base of Night of Navy card stock. The base is scored at 1 1/2-inches and 4-inches to achieve the fun fold. The left panel consists of a sheet of the starry Very Vanilla Shining Brightly paper that has been embossed with the Stars at Night hybrid embossing folder. I made sure to place the largest star as close to the center of the panel as I could. The smaller fold-over panel is adorned with a strip of More Dazzle specialty paper. The sentiment panel has a circular base of Night of Navy and is wrapped in gold trim. The sentiment from Stars at Night is heat embossed in gold atop vellum, cut with a small border using paper snips, and rests atop the gold trim. Two sprigs of greenery from Stars at Night are heat embossed in gold on Very Vanilla and diecut using the coordinating Stars at Night dies. A strip of gold satin edged ribbon is tied in a bow and affixed under the greenery. The entire panel is elevated on dimensionals for some added drama and emphasis. The sentiment panel is intended to look like a cross between a wreath and an ornament, and I really love the effect. What do you think?

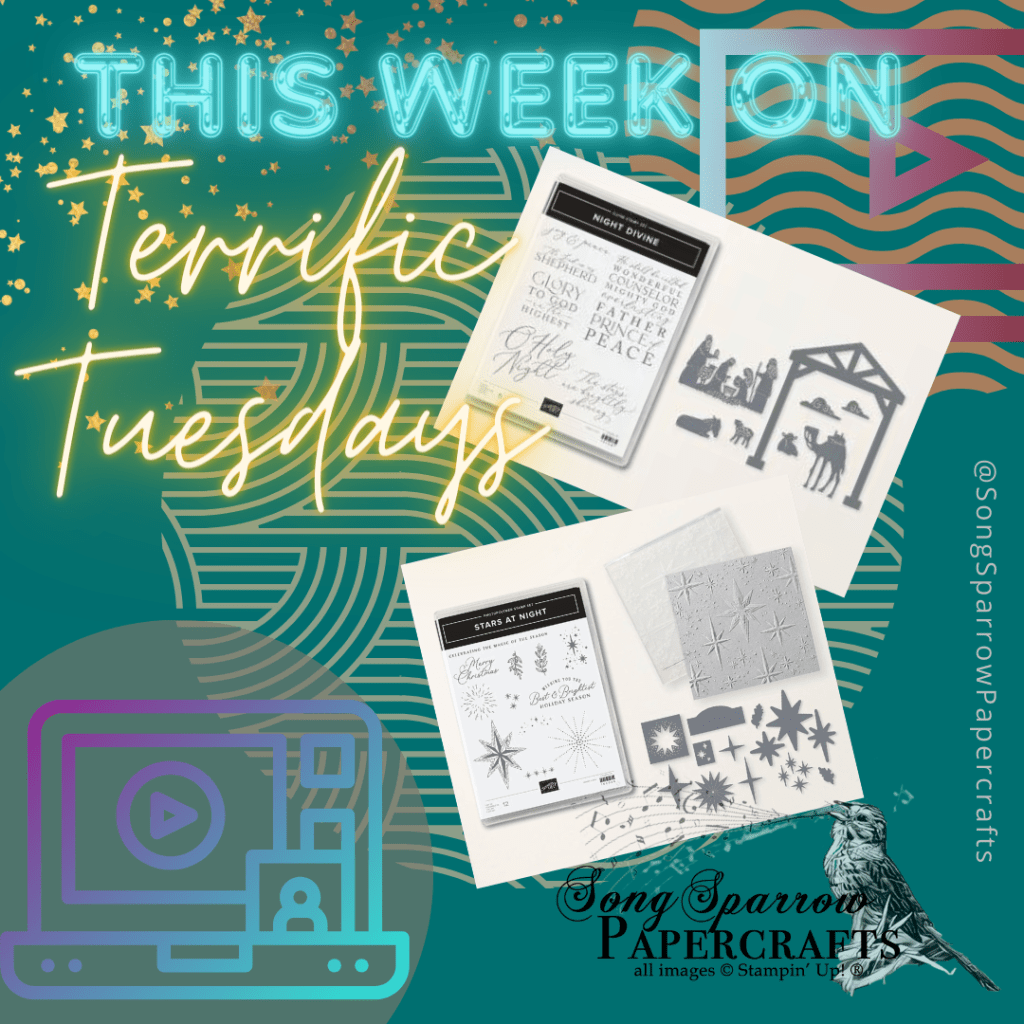
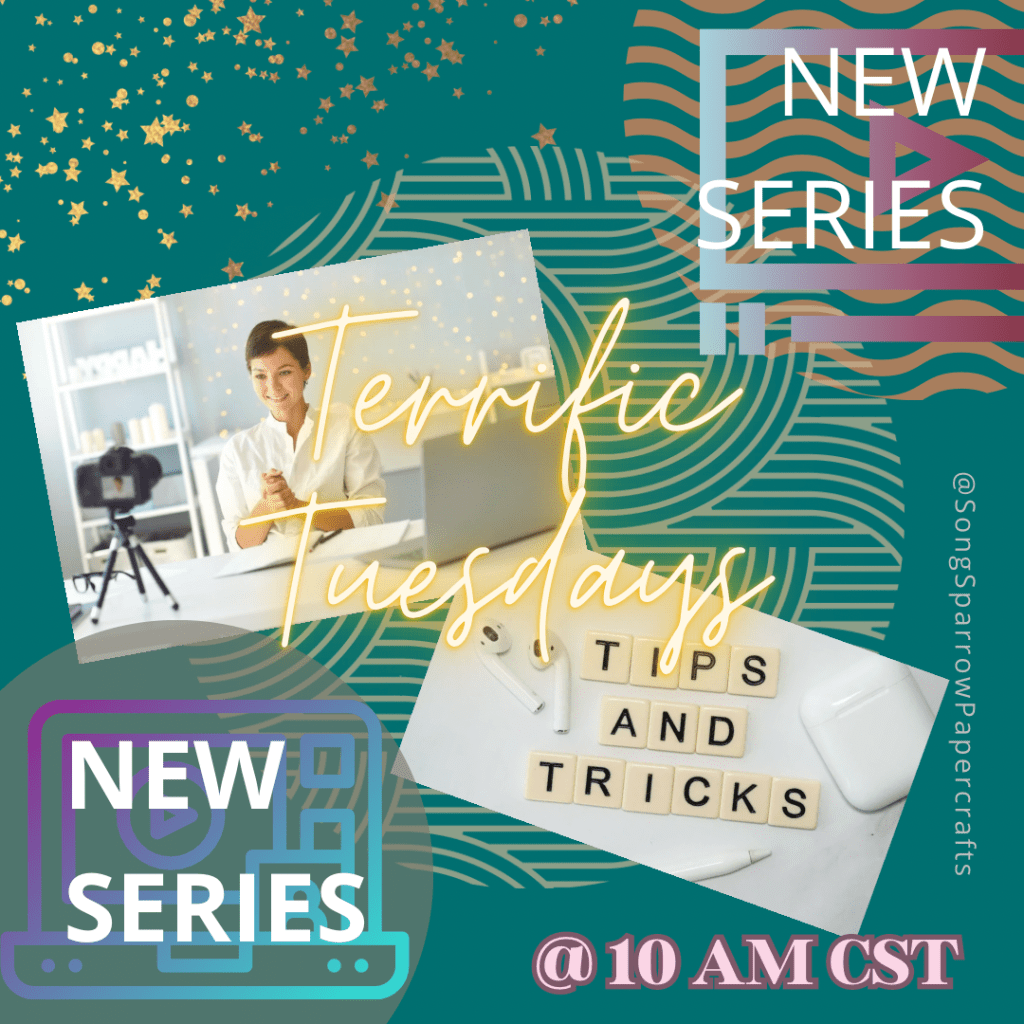
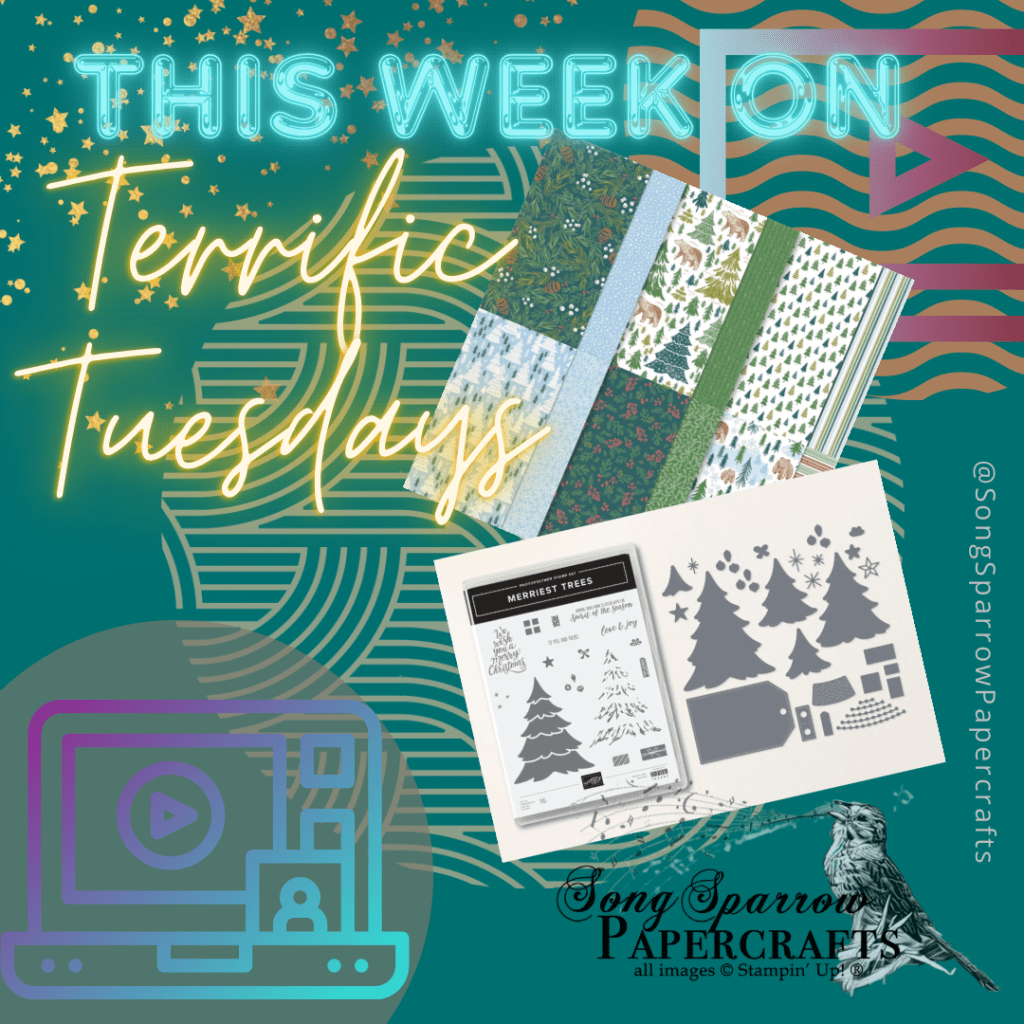
Would you like to know more about all of the designs we made with the Night Divine and Stars at Night stamps and dies in this week’s episode of Terrific Tuesdays? Check out this week’s video to see them all!
Products used in today’s card:
Night of Navy, Very Vanilla cardstock
Shining Brightly, More Dazzle DSP
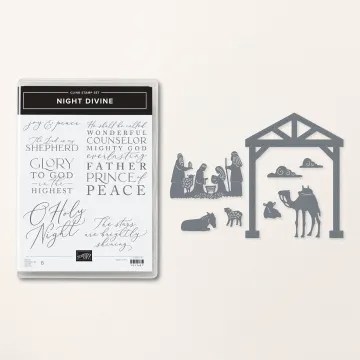
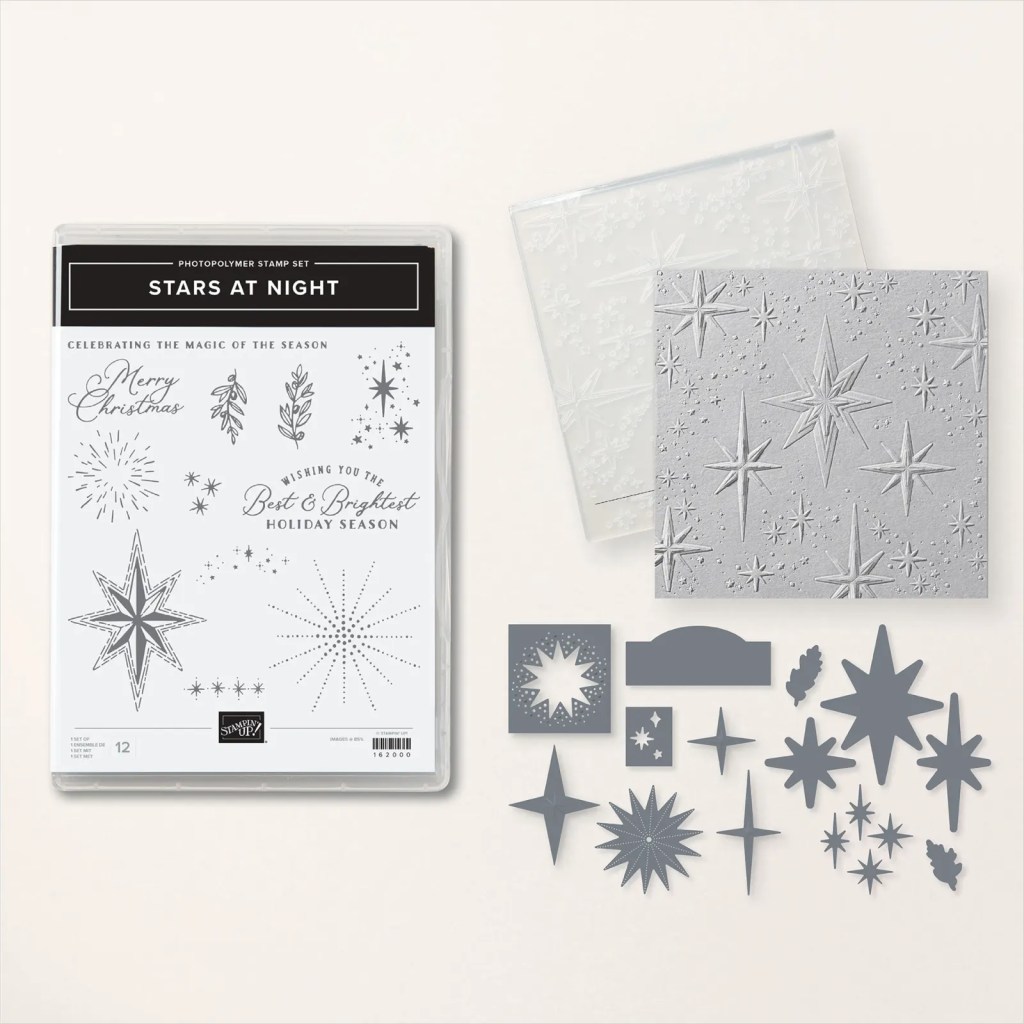
Stars at Night stamps & dies
Stars at Night hybrid embossing folder
Gold satin edged ribbon
Gold trim
Gold embossing powder
Dimensionals
Adhesives
All ads on this site are posted by WordPress and are based on personal browsing history. Song Sparrow Papercrafts is not responsible for ad content.