This week, I’m featuring the new Online Exclusive suite called Lovely Garden. And today’s card uses a twist on a fun fold I learned from fellow demo Jackie Bolhuis called the panel Z-Fold to showcase the beautiful patterned paper and the stamp, mask, die bundle. Let’s get a closer look.
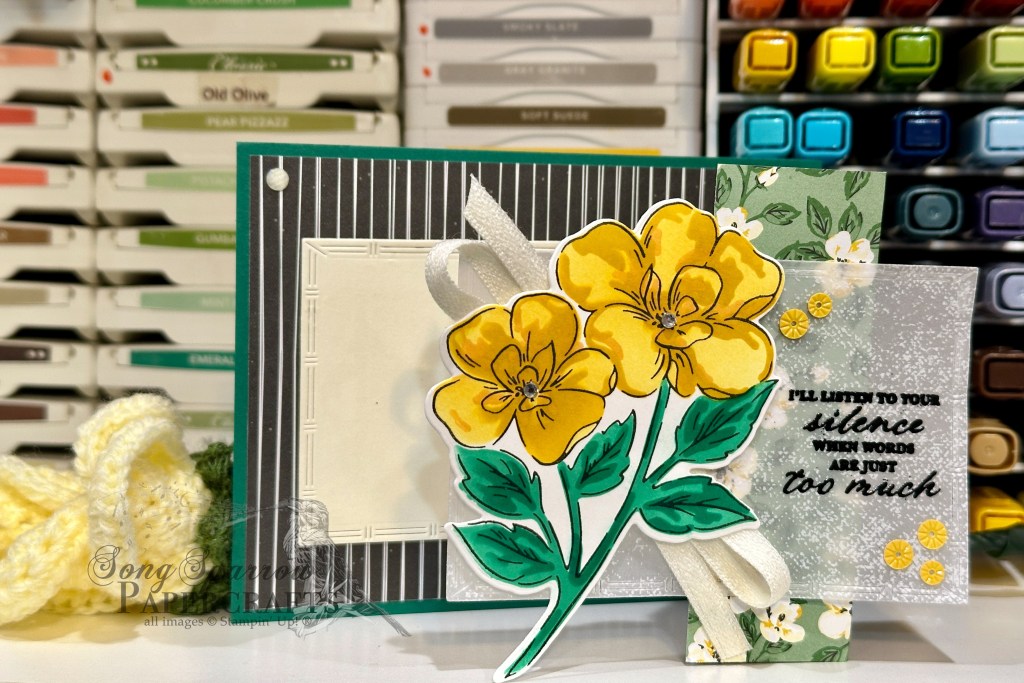
We get started with our card base, which is a quarter-panel of Shaded Spruce cardstock. Our sheet of Lovely Garden patterned paper actually serves as the bulk of the structural paper for this design. We cut it to a standard size for making a portrait orientation card (with the score line at the top), but it’s important that you cut the paper so that your design will be running in the right direction for a landscape card. So when scoring this patterned sheet, the long edge will be on the top/bottom and then you’ll score at 5 1/2-inches, 2 3/4-inches, and 1 3/8-inches. The two smaller panels will be adhered together so that both sides of the patterned paper will now show when the card is closed. I used the middle sized die from the Textured Notes set to cut an inside sentiment panel and a piece of the Graceful Greenery vellum for the card front.
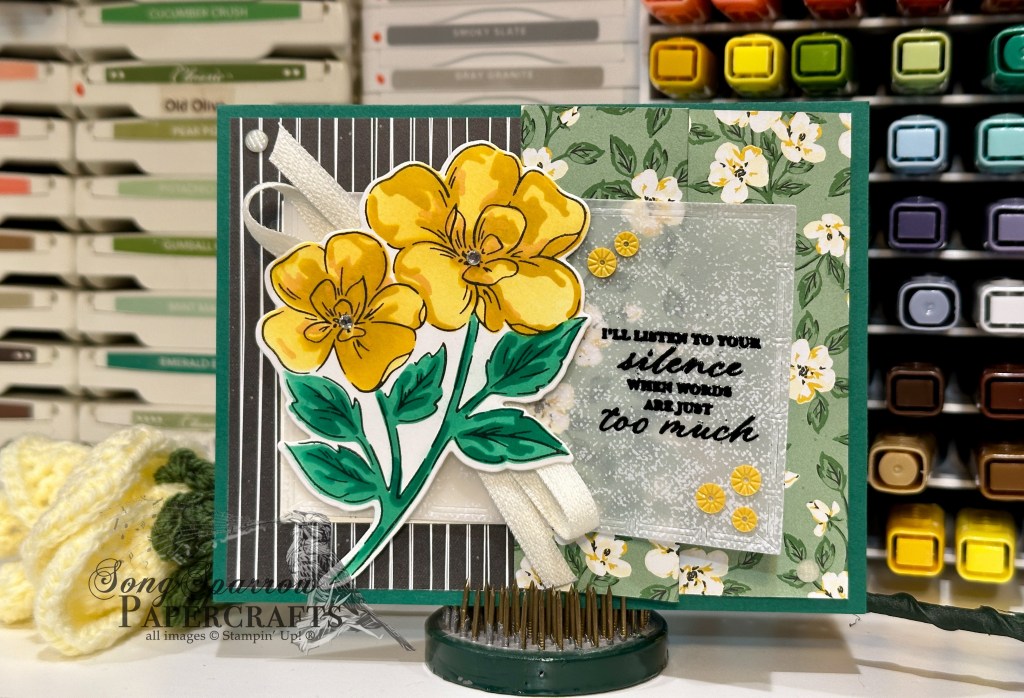
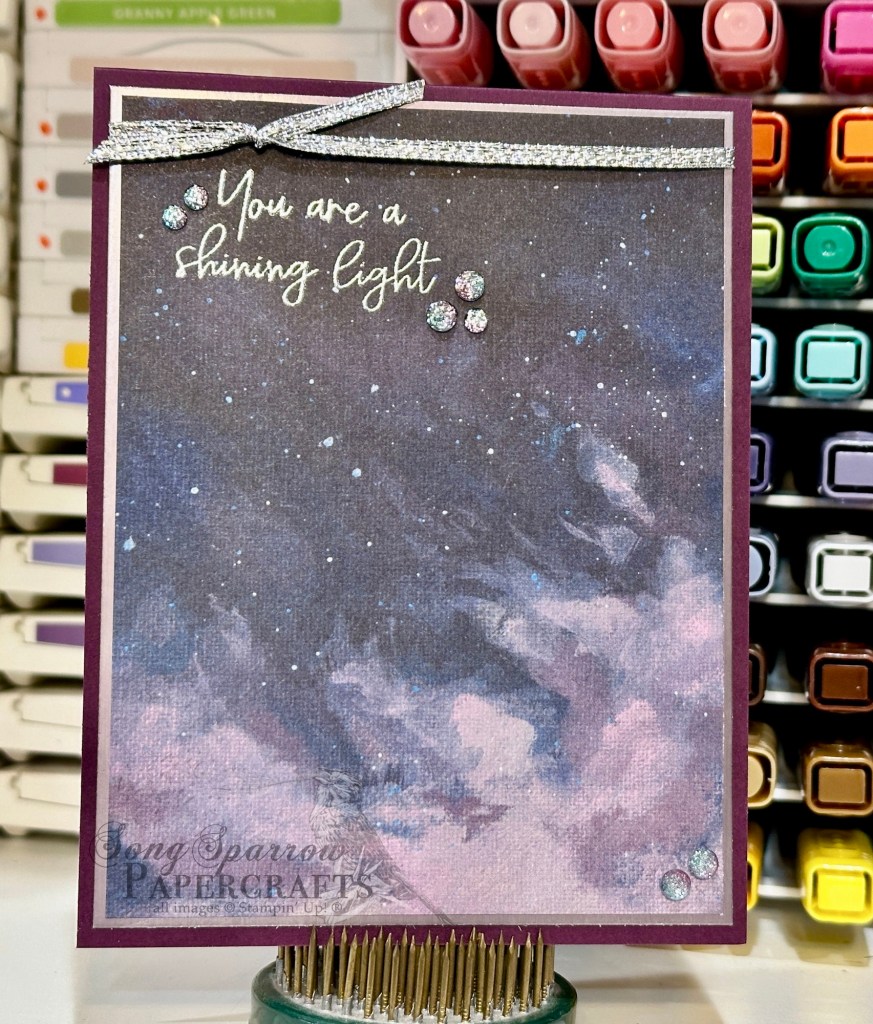
After deciding on the orientation of the front panel, I lined them both up to go ahead and adhere the inside sentiment panel to the base for safe keeping. I moved on to the focal image from the Thankful Garden stamp set which is stamped in black on white cardstock. I used a combination of Daffodil Delight, Crushed Curry, and Peach Pie and the masks to color the flowers and then Shy Shamrock and Shaded Spruce for the stems. Using the coordinating Thankful Garden dies, I cut out the floral image. I stamped the sentiment from Wonderful Thoughts in black on the far-right side of the vellum and heat embossed with black embossing powder. Before adhering the floral bunch next to the sentiment, I made a bow of cream woven ribbon. An assortment of embellishments, including rhinestone jewels, shimmer gems, and starburst sequins, bring it all together and add some pops of sparkle.
Tomorrow we’ll be pairing this beautiful suite with a sketch. I hope you’ll stop by and check it out!
Product List


 Designer Series Paper")
 Specialty Designer Series Paper")
")
")


 Woven Ribbon")


 Specialty Paper")
")


 Glimmer Paper")


 Faux Velvet Ribbon")


 Glimmer Specialty Paper")


 Satin & Sheer Ribbon")

 Designer Series Paper")

")


")


 Trim Combo Pack")

")
 Diagonal Trim Combo Pack")
 Textured Ribbon")


")


 Designer Series Paper")
")


