Holidays · Winter

Stopping on a Snowy Evening

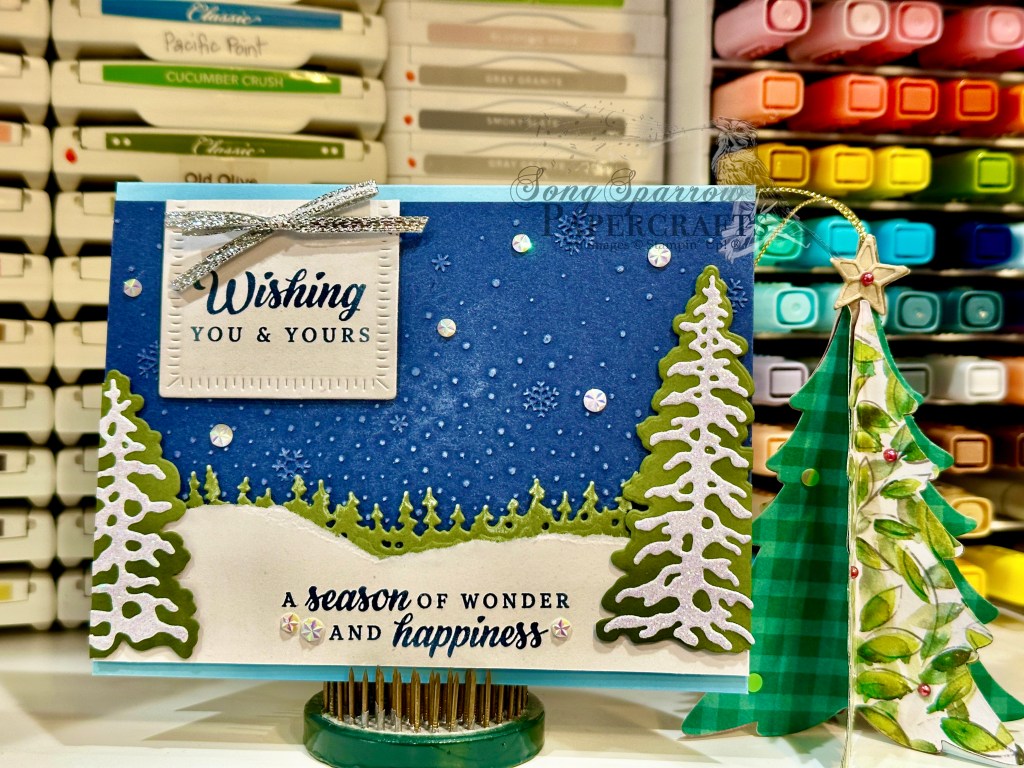
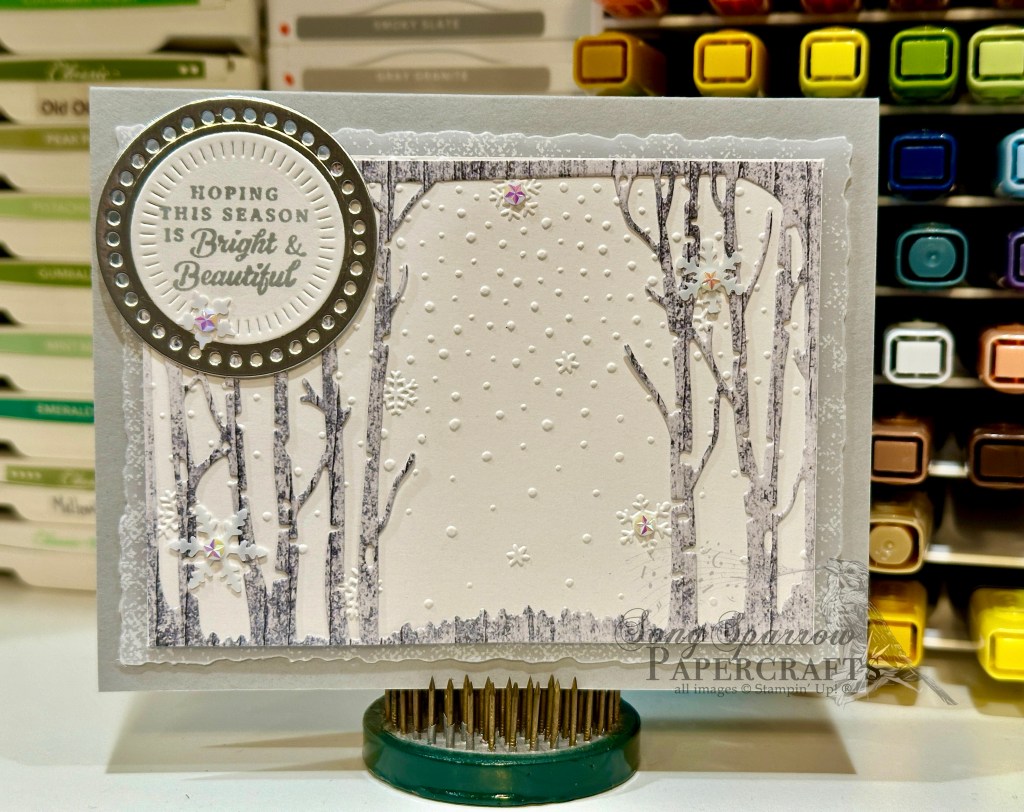
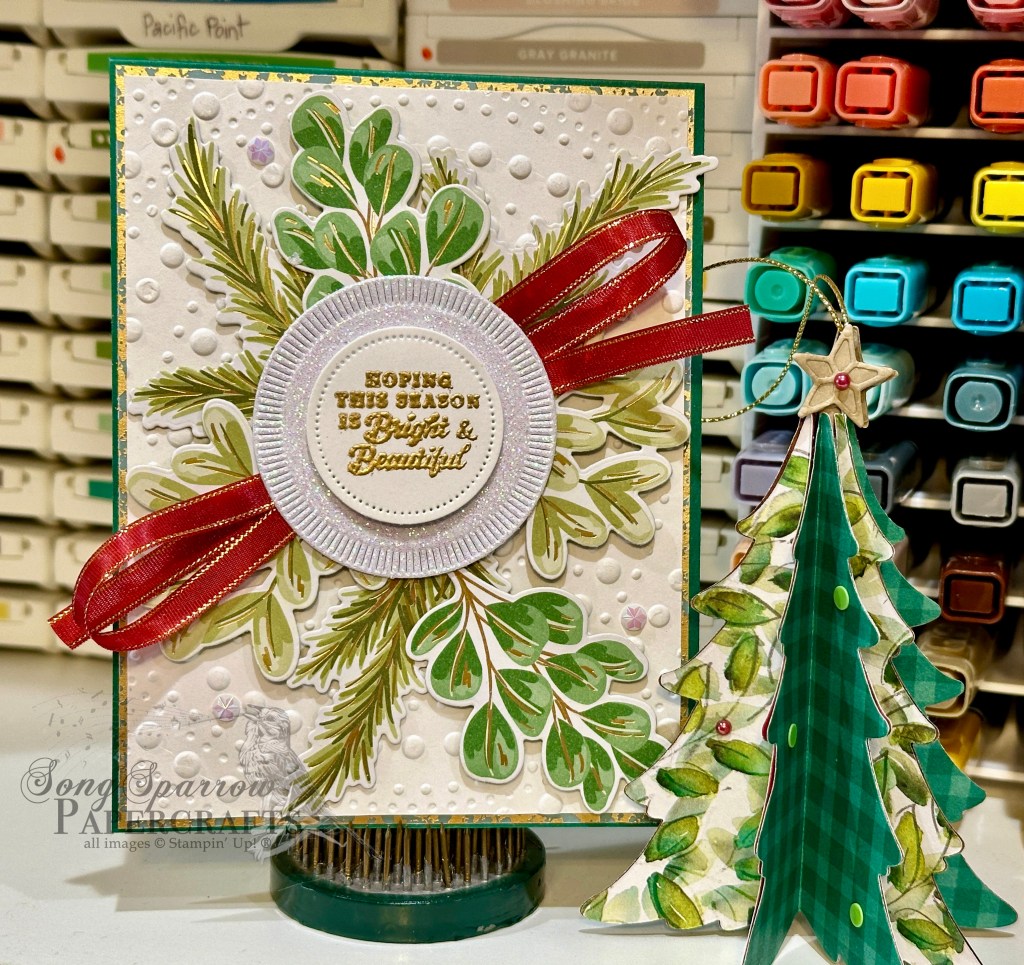
We’re finishing off this week’s stopping by the woods on a snowy evening card series with this clean and simple card design. I’ve been wanting to try the double embossing technique, and this card gave the perfect opportunity to layer snowflakes and evergreens. Let’s take a closer look at how this stunningly simple card comes together.

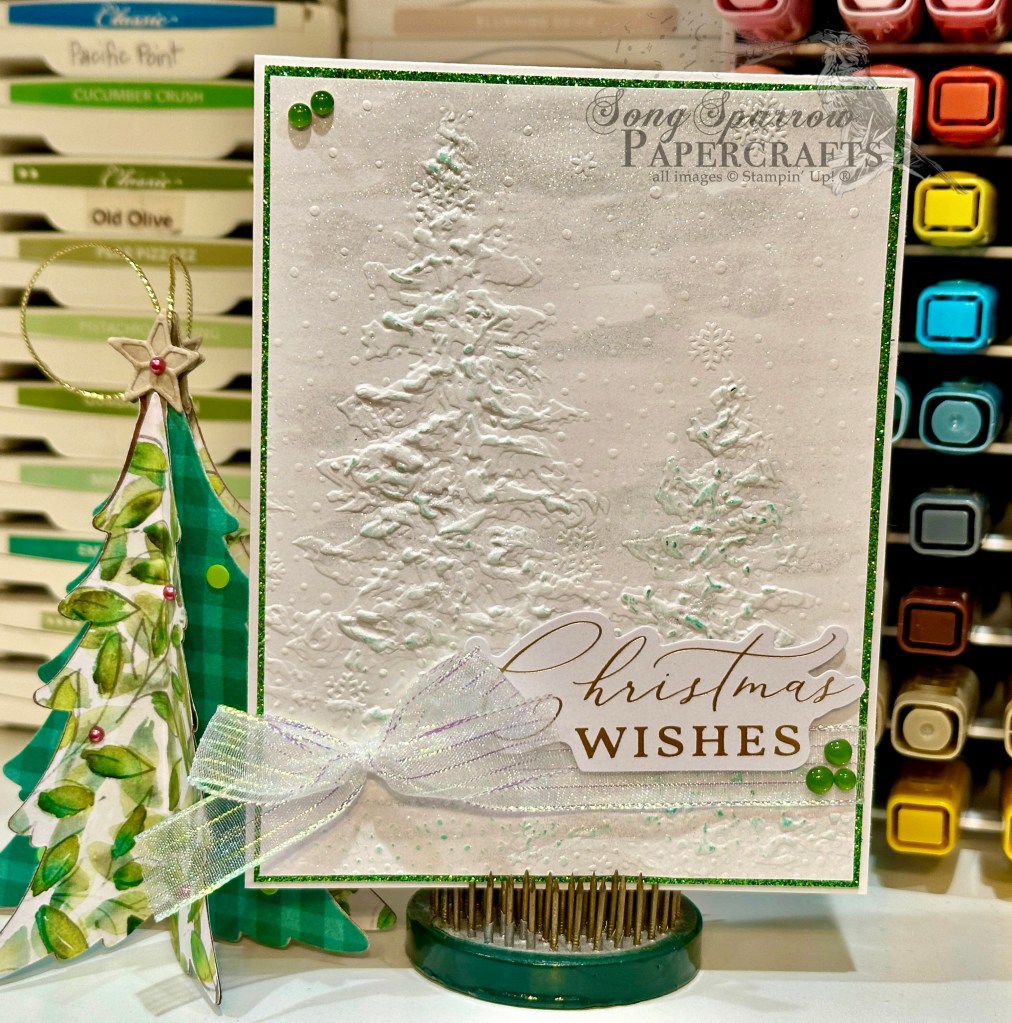
I wanted this snowy scene to literally sparkle, so I started by covering a quarter panel of white cardstock with a heavy layer of Wink of Stella. You want the layer to be fairly heavy without completely saturating the paper, which will drastically impact drying time. I allowed about an hour of air dry time and then finished things off with the heat gun. Next came the embossing, and I learned that even when you think your paper is dry, it’s probably still too wet to emboss just how a truly dry sheet will. I also learned that the Snowflake Sky embossing folder seems to emboss more deeply than the Painted Trees, so while I wanted the snow to be drifting in front of the evergreens, I had to emboss them a second time to ensure that they were actually visible through the snowfall. I used my finger to apply a very light layer of Shaded Spruce ink over the evergreens to help them stand out. I adhered this panel over a mat of festive glimmer paper and then wrapped the bottom with iridescent striped ribbon and tied a small bow. The sentiment from the Joyful Sayings ephemera pack is adhered over the ribbon with dimensionals. Green transparent dots finish things off by drawing the eye across the card design. This whole card just shimmers in the smallest amount of light.

I thought it would be fun to leave you with this week’s inspiration, and one of my favorite Robert Frost poems, to really bring this theme to life.

Stopping by the Woods on a Snowy Evening
by Robert Frost

Whose woods these are I think I know.
His house is in the village though;
He will not see me stopping here
To watch his woods fill up with snow.

My little horse must think it queer
To stop without a farmhouse near
Between the woods and frozen lake
The darkest evening of the year.

He gives his harness bells a shake
To ask if there is some mistake.
The only other sound’s the sweep
Of easy wind and downy flake.

The woods are lovely, dark and deep,
But I have promises to keep,
And miles to go before I sleep,
And miles to go before I sleep.

As we are entering the hustle and bustle of the holiday season, how might you be able to stop and take it all in like the man on the horse? To observe the wonder and joy of the everyday moments that make up this thing we call life? I hope we can all take a few mindful moments when we’re enjoying time with family and friends this holiday season to just breathe and take it all in.
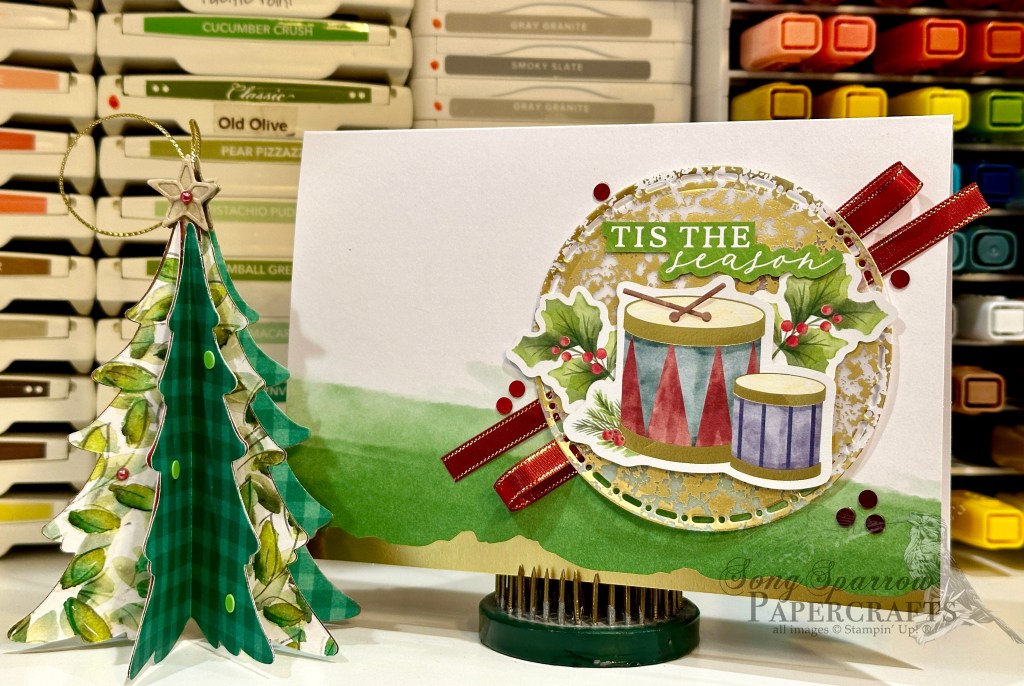
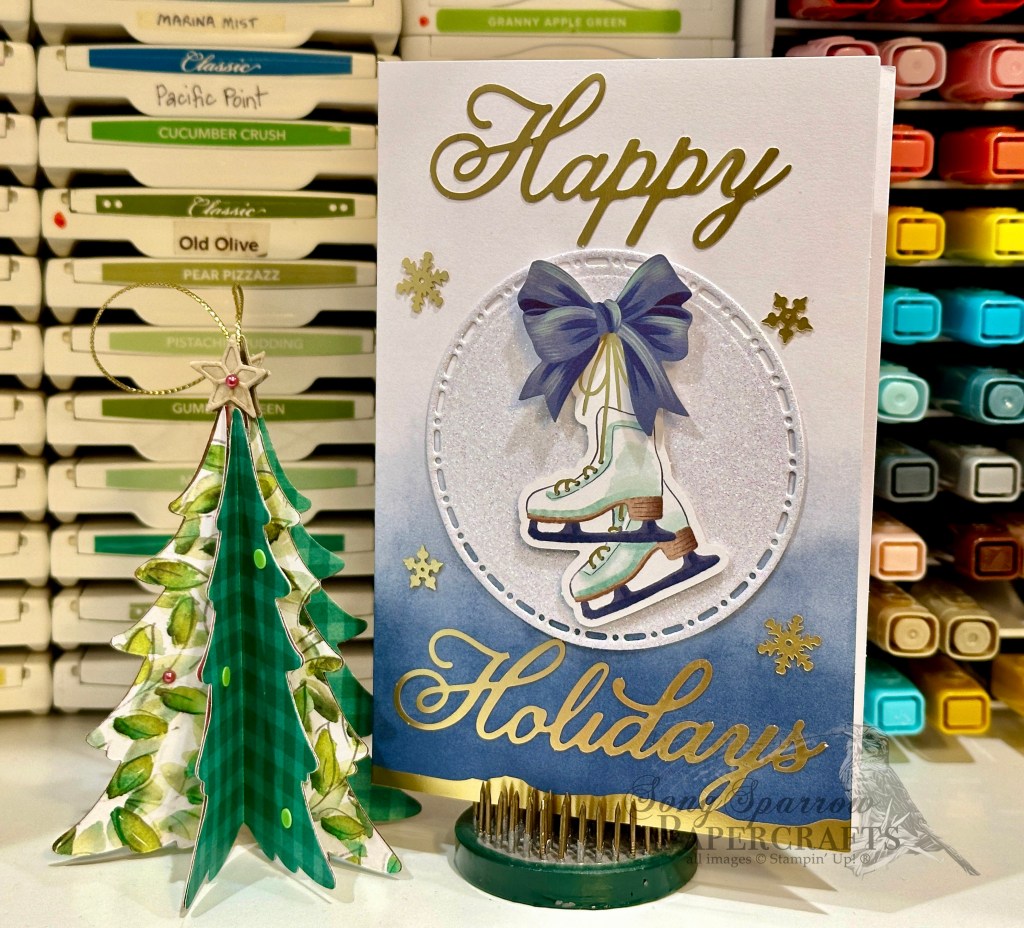
Product List
Christmas · Holidays · Winter

Sketchy Fridays: Snowy Wonder and Happiness

I really, really love this week’s theme, which is one of the reasons that I wanted to spend today showing you the designs I had planned for you throughout the last week. One of the most valuable things I have learned over the last several years is that flexibility is key when things don’t work out exactly as you planned.

So this post is the ode to Sketchy Fridays. Each week we’re using a card sketch to design our featured card. Right now, we’re working through a full series of designs using the card sketches found in current Stampin’ Up! catalogs.

This week’s card is based on Sketch #13 from the Stampin’ Up! Annual Catalog and features the Peaceful Evergreens and In the Grove Dies, along with the ever-lovely Snowflake Sky embossing folder. Today’s card design is inspired by the very talented demo known on Instagram as Craftsomnia.

This week’s design theme is stopping by the woods on a snowy evening. This Robert Frost poem is all about taking the time to bask in the wonder of falling snow, and I can’t help but think how well the idea of stopping to take in the wonder and joy everyday moments of life has to be one of the best life lessons. And outside of this wonderful life lesson, the theme lends itself so well to a variety of lovely winter cards, don’t you think?

We get started with a base of Balmy Blue cardstock. Our backdrop is a panel of Night of Navy that is machine embossed with the Snowflake Sky embossing folder and then lightly brushed with white craft ink to really bring out the beautiful soft snowflakes. Our snowbank is a simple piece of white cardstock that is torn to create the soft edges of a snowy hill. The Mossy Meadow trees are diecut with a combination of the In the Grove and Peaceful Evergreen dies. A touch of craft ink to the edges of the treeline and a bit of white glimmer paper on the larger evergreens in the foreground make for the perfect dusted evergreen grove. The sentiment from the Peaceful Season stamp set is stamped in Night of Navy in the center of a white banner cut with the Radiating Stitches die and then finished in the snowbank. Dimensionals help give lots of depth to our scene, and the silver trim and iridescent faceted gems lend the sparkle.

This design is even more stunning in person as the lighting in my craft room just wasn’t quite right today to capture the true colors and details. I hope you’ll drop in a little later as I bring you one final clean & simple design in this series.

Product List
Holidays · Winter

Bright & Beautiful Season

We’re taking a trek in the woods this week, and as much as I love all things autumn, I thought it would be nice to show how a few simple tweaks can yield beautiful winter designs. Today’s card is another clean and simple design, and we’re highlighting the Stampin’ Up! In the Grove dies and the Snowflake Sky embossing folder.

We get started with a card base of Smoky Slate cardstock. A piece of Graceful Greenery vellum serves as a soft base for our focal panel and is diecut using the Deckled Rectangles dies. Our focal panel combines a white background embossed with the Snowflake Sky embossing folder and the trees diecut from the grey woodgrain in the Country Woods patterned paper pack using the In the Grove die. The sentiment from the Peaceful Season stamp set is stamped in Smoky Slate on white cardstock and then diecut using the Radiating Stitches circle die and then matted with a silver foil circle diecut with the Everyday Details dies. A scattering of snowflakes and iridescent faceted gems give the snowy background the perfect amount of twinkle.

Tomorrow we’re going to be pairing our woodsy theme with a sketch from a SU! catalog. I hope you’ll pop in and check it out.

Product List
Christmas · Holiday Mini Catalog · Holidays

Bells & Boughs

This week, we’re exploring some of the ways we can use the Stampin’ Up! Season of Green & Gold suite of products. Today, we’re using it in a more traditional holiday-inspired layout.

Our design gets started with a base of Shaded Spruce cardstock. Our focal panel uses two patterns from the Season of Green & Gold designer series paper pack. I just love the gold-foiled patterns, and here we’re using the mistletoe and diamond patterns to create the backdrop for our focal section. The sentiment from Greetings of the Season is stamped in Shaded Spruce on Very Vanilla cardstock and then diecut with the Autumn Leaves die using the extension method. The greenery and bells are cut from a sheet of the Season of Green & Gold patterned paper and then adhered with several layers of dimensionals. The bells are adhered over a satin bow tied with the Very Vanilla satin ribbon. A mixture of drusy embellishments add sparkle and draw the eye across the card design.

I hope you’ll pop in tomorrow to see how we can use this suite to create a fall-inspired design.

Products used in this card:
Shaded Spruce, Very Vanilla cardstock
Season of Green & Gold DSP
Greetings of the Season stamps
Autumn Leaves dies
Very Vanilla satin ribbon
Drusy embellishments
Dimensionals
Adhesives

Product List
Christmas · Holiday Mini Catalog · Holidays

Happy Holidays Greenery

How excited was I to wake up to a rainy cold front this morning?! While it’s not exactly fall cool yet, we’re definitely headed in the right direction.

Today, we’re continuing a closer look at the Stampin’ Up! Season of Green & Gold suite of products. This suite includes beautiful gold-foiled patterned papers, coordinating vellum, stamps & dies, and lovely satin ribbon. Today’s card is another take on a traditional holiday design.

We started with a base of Basic Beige cardstock. Our background panel is a greenery pattern from the Season of Green & Gold designer series paper pack. Our focal panel background in the center is a strip of Basic Beige that is embossed using the Cute Crochet embossing folder and then matted with the backside foiled pattern of the background panel sheet. The sentiment panel is cut from Basic Beige using the Greetings of the Season dies. The sentiment from Greetings of the Season is stamped in Mossy Meadow toward the bottom of the tag. Using some of the leftover sprigs of greenery that I cut for yesterday’s card design, I affixed them to the sentiment panel to overlap the top of the tag and then tied a bow of Very Vanilla satin ribbon and affixed it in the center. A few drusy embellishments on either side of the sentiment help draw the eye and add a bit of finishing sparkle.

Tomorrow we’re going to round out our winter holiday designs before transitioning to a few out-of-the-box designs. I hope you’ll pop in.

Products used in today’s card:
Basic Beige cardstock
Season of Green & Gold DSP
Cute Crochet embossing folder
Golden Greenery dies
Greetings of the Season stamps &dies
Very Vanilla satin ribbon
Drusy embellishments
Dimensionals
Adhesives

Product List
Christmas · Holiday Mini Catalog · Holidays

Bright & Beautiful Greenery

Welcome to a brand new week and the start of FALL! Have I mentioned that fall is my absolute favorite season? Unfortunately, Texas isn’t being very cooperative with me right now, and it doesn’t feel a bit like fall. Not one bit!! In fact, it’s still feeling like we’ve been thrown into the deep end of the frying pan. But we’re only a couple of good cold fronts away from fall officially being here to stay! *wink-wink*

This week, we’re going to be spending time with the Season of Green & Gold suite of products by Stampin’ Up! And we’re going to mix it up with some obvious holiday designs and some out-of-the-box fall designs. Today’s card is solidly in the holiday mood.

We get started with a base of Shaded Spruce cardstock. Our focal panel is a sheet of white cardstock that has been diecut using the Dotted Circles embossing folder and then the panel is matted with gold mercury vellum. Using the Golden Greenery dies, we cut a variety of greenery from the Season of Green & Gold patterned paper with coordinating shapes. These are then layered on the focal panel using dimensionals to create several different visual planes. Our sentiment from Peaceful Season is stamped white cardstock in Versamark and then heat embossed with gold embossing powder. We cut it out with the smallest circle from the Everyday Details die set. This is then mounted on a circle of white glimmer paper cut using the Spotlight on Nature dies and adhered over a twist of Cherry Cobbler & Gold satin ribbon in the center of our greenery. A few iridescent faceted gems finish things off with a nice sparkle.

Tune in tomorrow as we keep things in the holiday zone.

Products used in today’s card:
Shaded Spruce, Basic White cardstock
White glimmer, gold mercury vellum, Season of Green & Gold DSP
Dotted Circles embossing folder
Golden Greenery, Spotlight on Nature, Everyday Details dies
Peaceful Season stamps
Versamark
Gold embossing powder
Cherry Cobbler & gold satin ribbon
Iridescent faceted gems
Dimensionals
Adhesives

Product List
Christmas · Holiday Mini Catalog · Holidays

Peace & Wonder

It’s hard to believe that we’re already to the end of another card series. I don’t know about you, but it seems like the closer we get to the end of a year the faster the time goes!

This week, we’ve been using the Joyful ephemera packs from Stampin’ Up! to create simple yet beautiful card designs. If you find yourself short on time, the full line of ephemera packs that SU! offers allow you to continue making beautiful cards. With or without any extras, ephemera cards are just as stunning.

Today, we’re mixing things up with a whole combination of elements from the crafting stash. I have a box of pre-cut card bases and typically have at least one or two pre-cut focal panel bases on hand, as well. And both were go-to items for creating this lovely card in a jiffy.

We get started with a base of Pretty Peacock cardstock. Our focal panel base is a sheet of the Season of Elegance designer series paper. I cut a circle from white glimmer paper using the Spotlight on Nature dies that is just a bit larger than the snowy cabin circle image from the Joyful Images ephemera pack. These are adhered with dimensionals over a twist of the Pretty Peacock & Gold metallic ribbon. The sentiment from Joyful Sayings is also adhered with dimensionals and just a bit higher than our image panel. Things are finished off with a few gold snowflakes with rhinestone centers for a bit of added twinkle.

Are you interested in learning how you can get started on your Christmas cards? Check out my upcoming card classes for both virtual and in-person options!

Next week, we’ll be using Season of Green & Gold to create our cards. I hope you’ll stop by and check it all out.

Products used in today’s card:
Pretty Peacock cardstock
Season of Elegance, white glimmer DSP
Spotlight on Nature dies
Joyful ephemera
Snowflake assortment, rhinestone jewels
Pretty Peacock & gold metallic ribbon
Dimensionals
Adhesives

Product List
Christmas · Holiday Mini Catalog · Holidays

‘Tis the Season

Are you looking for a way to make beautiful cards but are short on time? The ephemera packs by Stampin’ Up! are the perfect answer! The images and sentiments are beautifully detailed and make it a snap to create beautiful cards, especially if you’re short on time.

Today, we’re pairing the Joyful ephemera packs with a few extra elements to create this beautiful holiday card.

We get started with a green Gold Dipped card base. Our focal panel base is a piece of gold mercury vellum that has been diecut with the Spotlight on Nature dies. We then layer our drums and greenery from the Joyful Images ephemera pack on our focal panel using varying heights of dimensionals and then hang our sentiment from the Joyful Sayings pack above. For a pop of seasonal color, we add a twist of Cherry Cobbler & Gold satin ribbon behind our panel and red iridescent discs around.

Tomorrow, we’ll be pairing our ephemera with a sketch. I hope you’ll tune in for another installment in the Sketchy Fridays series!

Products used in today’s card:
Gold Dipped cards & envelopes
Joyful Images ephemera
Joyful Sayings ephemera
Gold mercury vellum
Spotlight on Nature dies
Cherry Cobbler & Gold satin ribbon
Iridescent discs
Dimensionals
Adhesives

Product List
Christmas · Holiday Mini Catalog · Holidays

Happy Holidays

This week, we’re exploring all of the ways we can use the new Joyful ephemera packs in the Stampin’ Up! Holiday Mini catalog. The ephemera packs provide both images and sentiments for super quick and simple cards. You can use the ephemera all on its own or dress up your card designs with additional elements.

Today, our clean and simple design includes one simple additional diecut piece that really packs a lot of design punch and completely transforms the look of this card.

We get started with a blue Gold Dipped card base. Our focal image panel base is a circle cut from white glimmer specialty paper using the Spotlight on Nature dies, and then we layer the set of skates and a blue bow from the Joyful Images ephemera pack on top using dimensionals. We break up our sentiment above and below the image panel and adhere both directly to our card base. A few snowflakes finish things off with an additional gold twinkle in the center of our design.

Beautiful cards do not have to take a lot of time. And when you’re short on time, I highly recommend giving the Stampin’ Up! ephemera packs a try!

Products used in today’s card:
Gold Dipped card & envelope
Joyful Images ephemera
Joyful Sayings ephemera
White glimmer paper
Spotlight on Nature dies
Snowflake assortment
Dimensionals
Adhesives

Product List
Christmas · Holidays · Terrific Tuesdays

Season’s Greetings

This week, we’re taking a closer look at the new Joyful ephemera packs available in the current Stampin’ Up! Holiday Mini catalog. Although ephemera packs have been available for some time, I’ve been hesitant to purchase them because I didn’t think I would like working with them. But let me tell you, these are a lifesaver if you’re wanting to create a card but are crunched for time!

We’re going to be using the Joyful ephemera packs this week in a number of different ways. You can use ephemera all on its own to create beautiful cards, just like I did yesterday with the Christmas mantle design. Or you can add additional elements to dress up your designs and add a bit more complexity, like we’re doing with today’s card.

This card begins with a green Gold Dipped card base. We’re using the reinker watercoloring technique I first introduced to you on Saturday to create a sheet of custom paper to cut our tree from using the Merriest Trees dies. Each of the tree layers is separated by dimensionals on the bottom edge to give it a more realistic look, and the bottom layer of the tree is adhered directly to the card front. Our bear and packages from the Joyful Images ephemera pack sit directly in front of the tree. The packages are adhered to the card front and the bear is adhered with dimensionals to have it appear to be oriented in front of our packages. I added a gold star to the top of the tree for a festive finish. The sentiment from the Joyful Sayings ephemera pack is adhered directly to the top layer of our tree. A few drusy embellishments add some sparkle and draw our eye across our card design.

Would you like to learn how to create your own watercolor paper and see this card come together from start to finish? Check out today’s episode of Terrific Tuesdays to watch the magic happen!

Products used in today’s card:
Gold dipped card & envelope
Joyful Images ephemera
Joyful Sayings ephemera
Watercolor paper
Water painter
Pretty Peacock, Old Olive ink
Merriest Trees dies
Drusy embellishments
Dimensionals
Adhesives

Product List