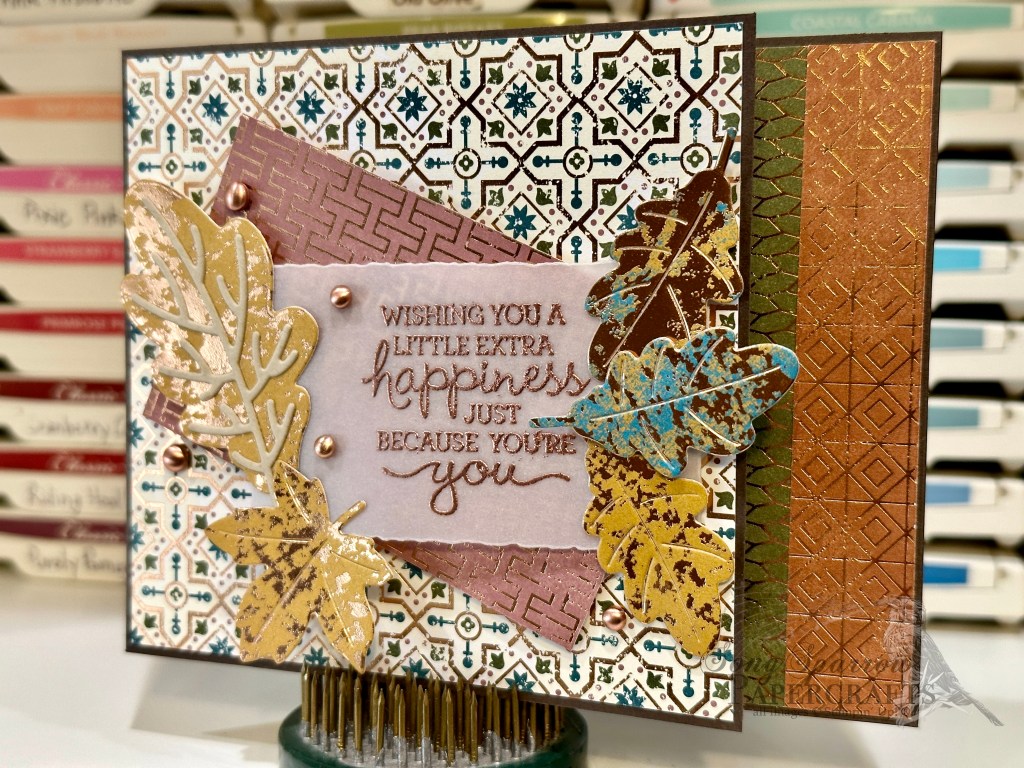
Sometimes I find myself a little stumped with design ideas for beautiful designer papers because the thought of cutting them up gives me pause. But I’ve learned that there are a whole host of fun folds that afford an inspired design while sparing gorgeous designer papers.
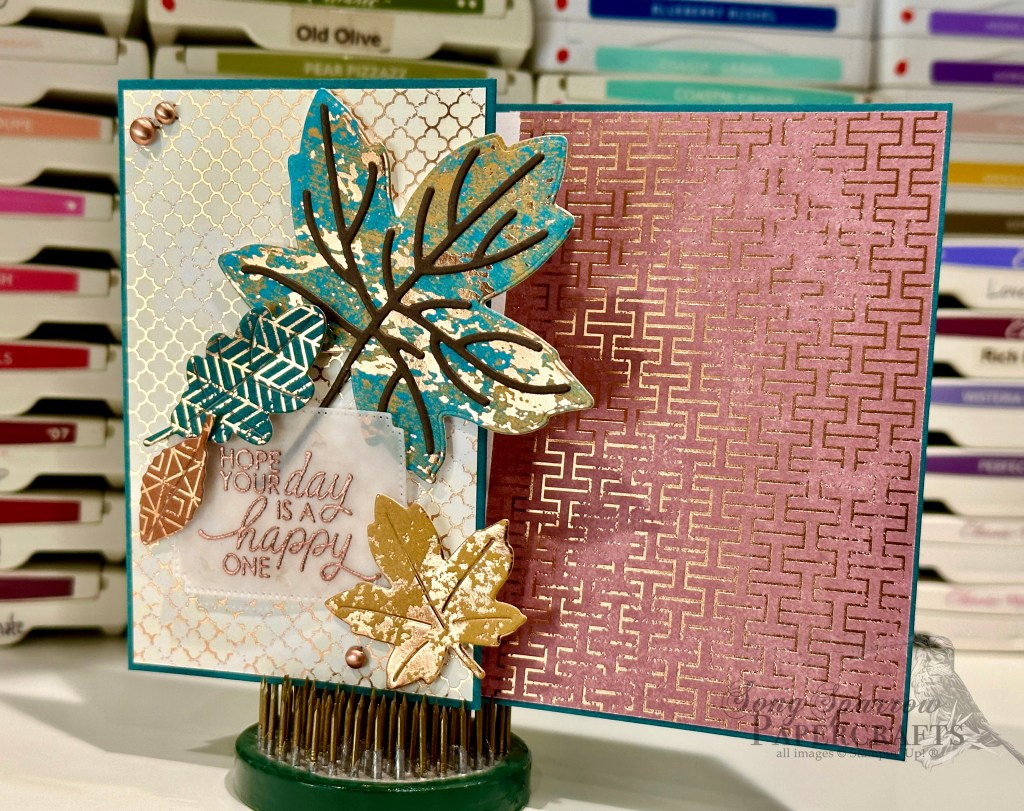
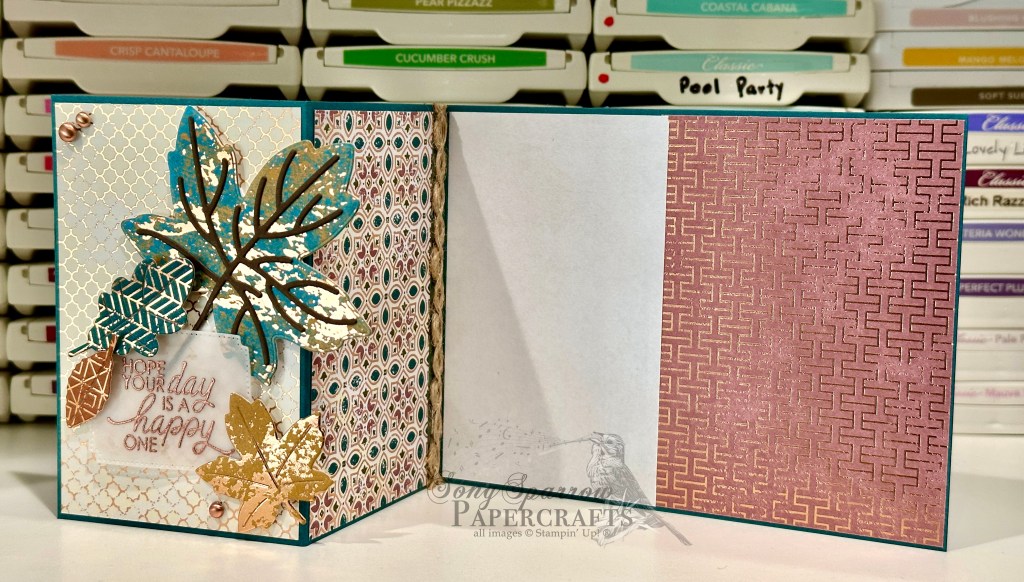
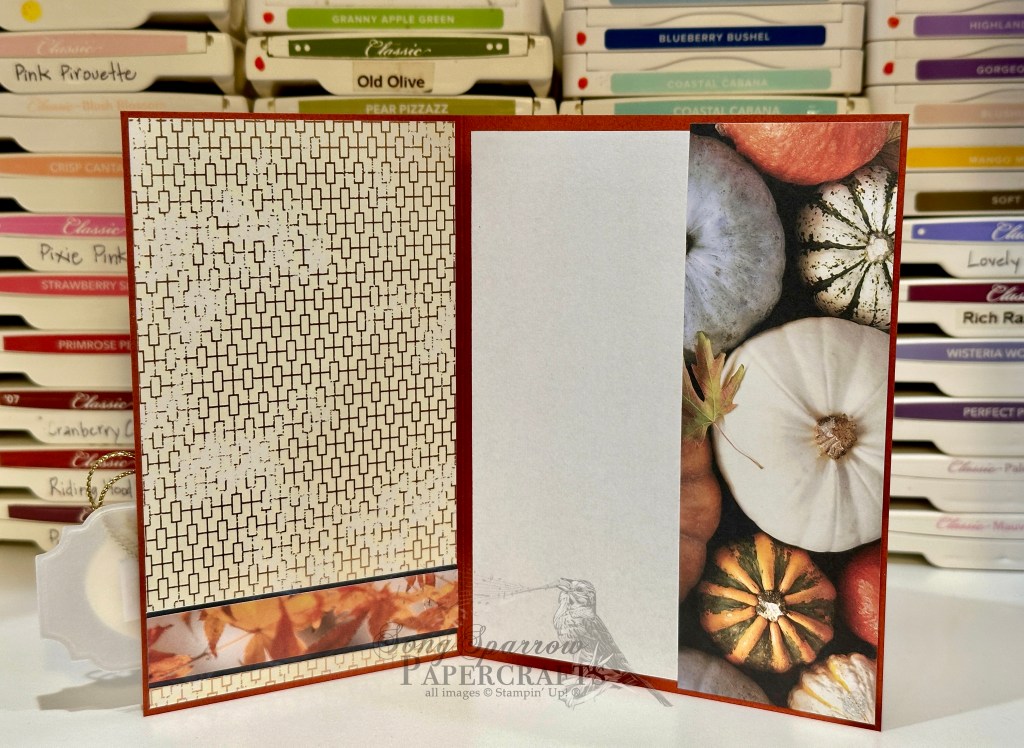
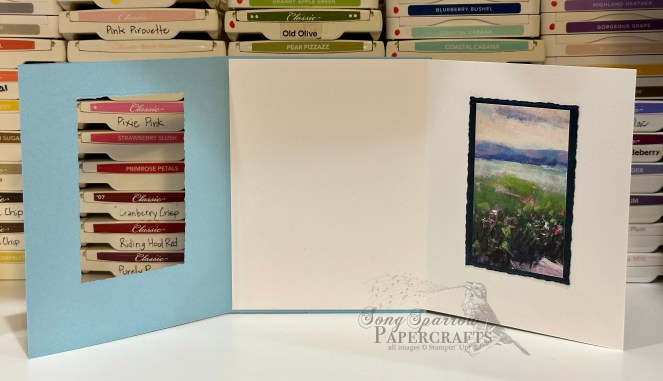
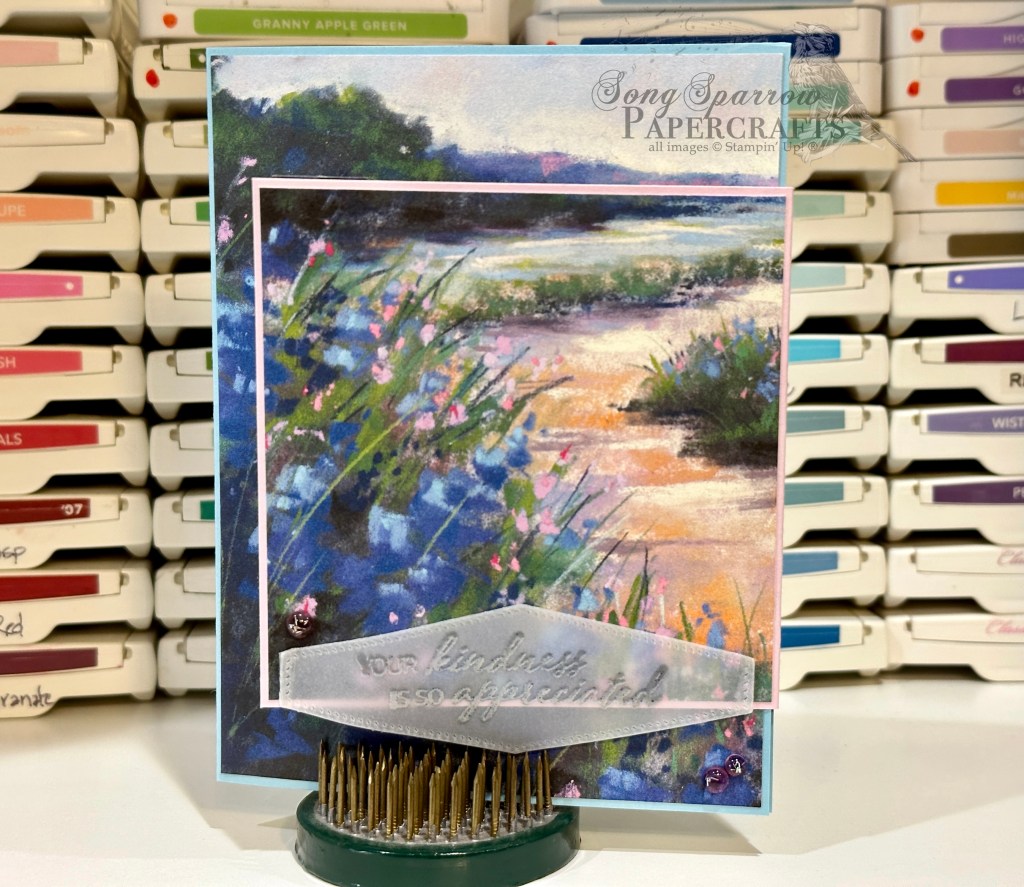
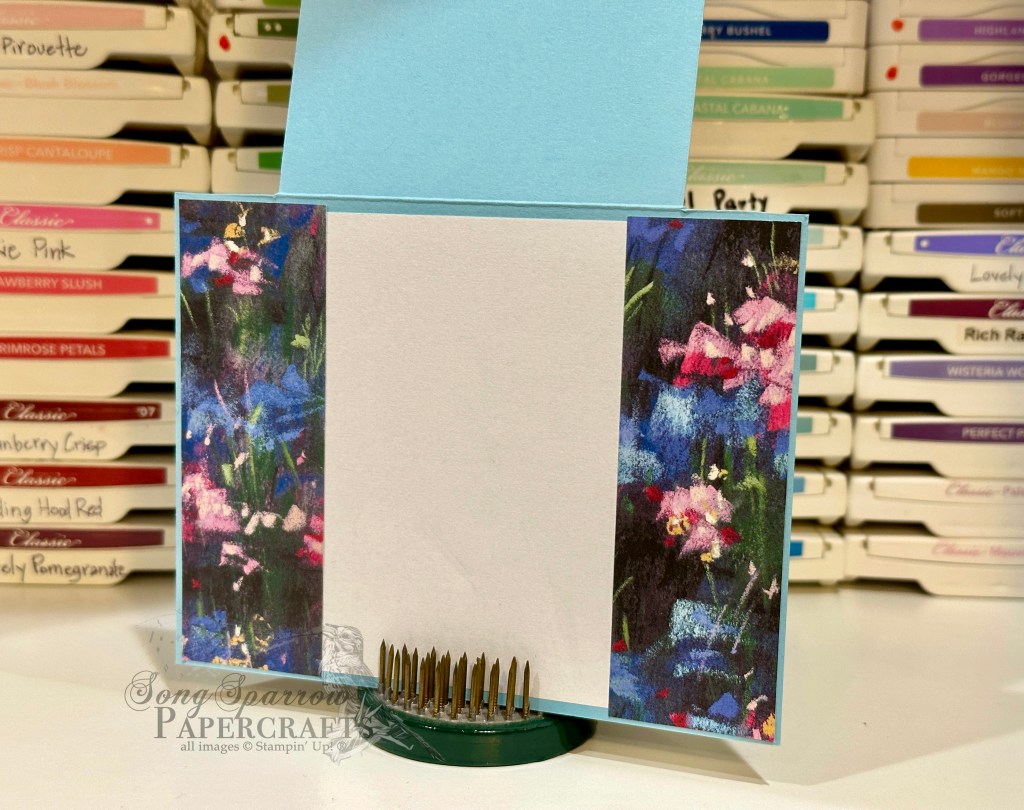
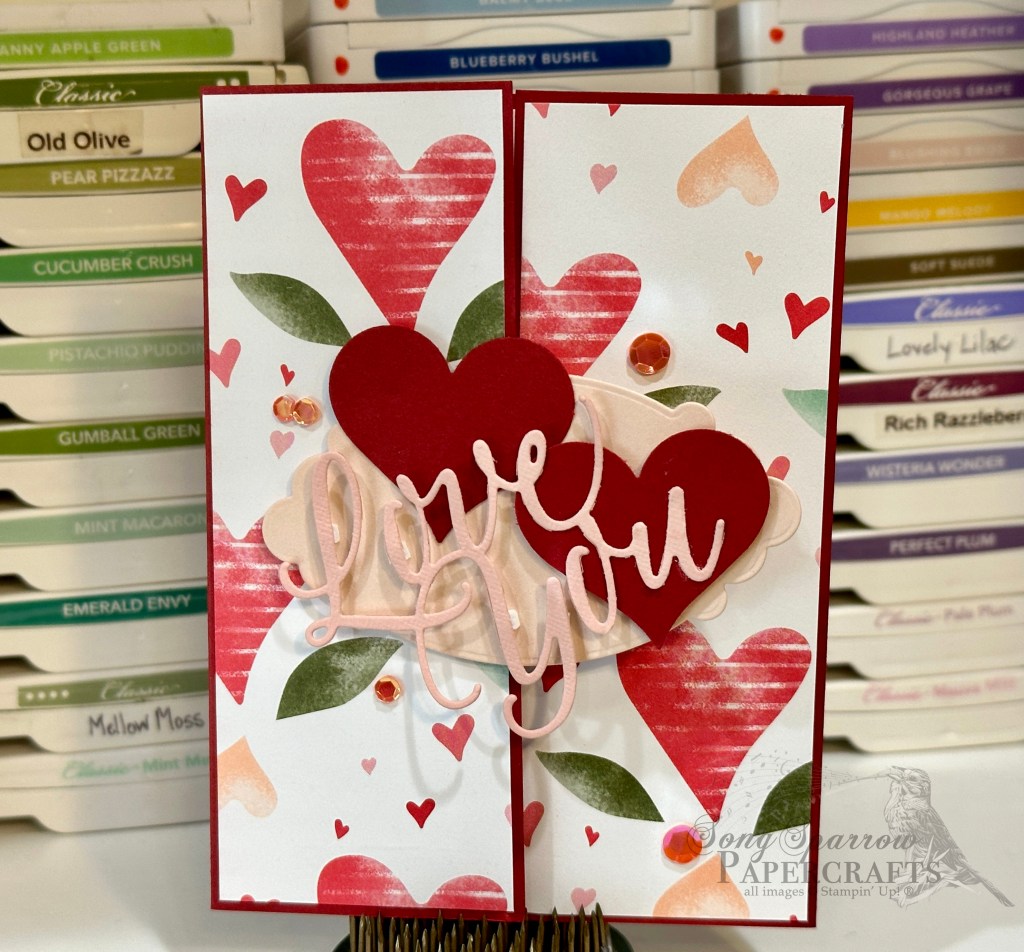
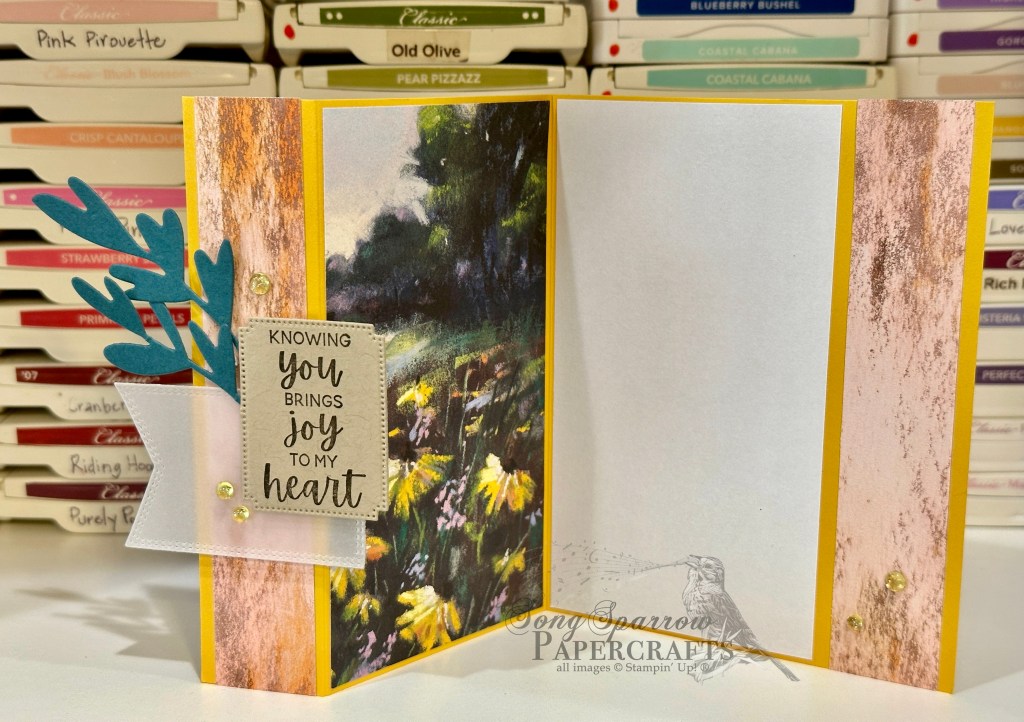
I recently ran across a small modification to the Z-fold that gives even more space for designer paper. As you look at the closed card, you may be thinking that the design looks oddly familiar. That’s because this fun fold is a combination of both a Z-fold and peek-through, but rather than cutting the one-inch strip from the card front, the card front is scored at the one-inch mark. Then this small flap is folded back toward the card front.
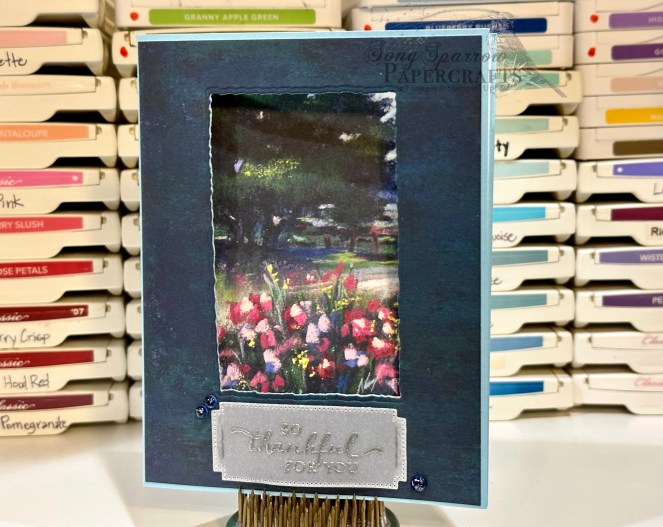
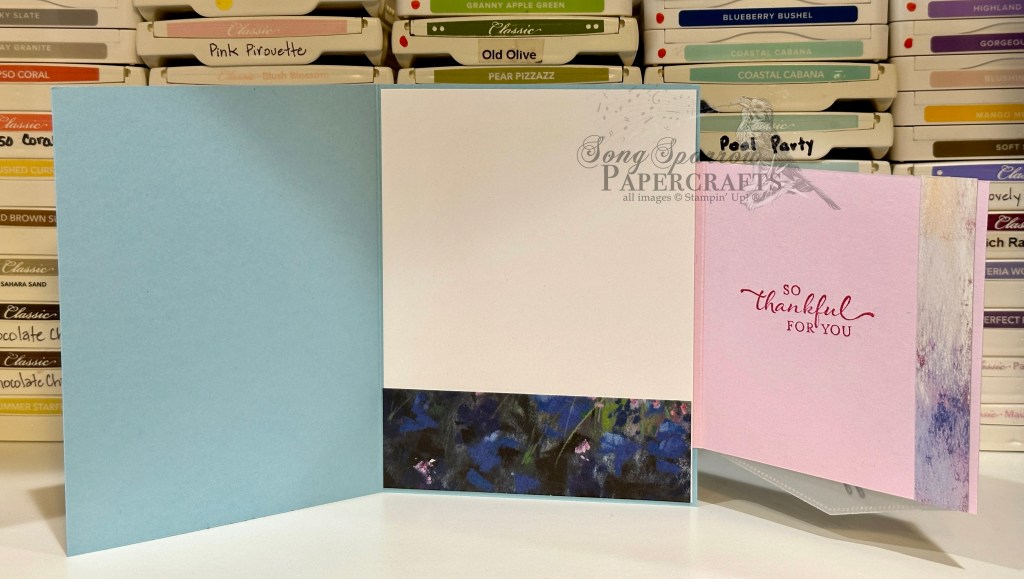
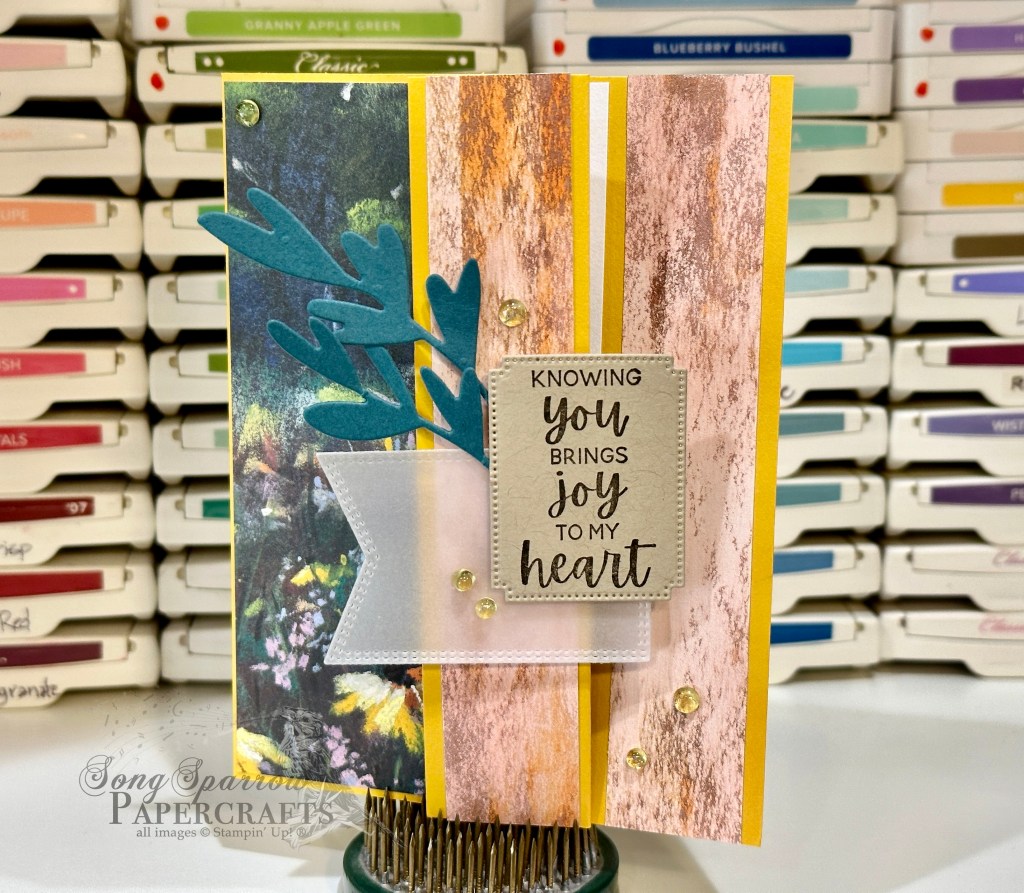
This card design begins with a base of Crushed Curry card stock. It is cut to a standard size of 4 1/4 x 5 1/2-inches with the 1-inch panel scored and folded back on the front panel. Two sheets of a single pattern of Meandering Meadow designer paper are needed for this design — one for the card front and flap and the other for the inside panel and inside base. I chose the beautiful fields of yellow daisies for this card because it perfectly represents the cheerful sentiment. The smaller strips of patterned paper are the reverse side of the sunny daisy paper. The focal sentiment panel is comprised of a vellum banner diecut using the Nested Essentials dies and a smaller sentiment panel diecut from Crumb Cake cardstock using the Autumn Leaves dies. The sentiment is from the So Sincere stamp set. To add a pop of additional color to the sentiment, a few sprigs of greenery cut from Pretty Peacock using the Bold Bouquet dies is tucked in the center. A scattering of sparkle gems add visual interest and move the eye across the design.
I really love this new fun fold variation and am looking forward to putting it to use with a few of my other favorite designer papers. What do you think of this fun fold variation? Interested in giving it a try? Check out the PDF tutorial here.
Products used:
Crushed Curry, Crumb Cake, Pretty Peacock, vellum cardstock
Meandering Meadow DSP
So Sincere stamps
Nested Essentials, Bold Bouquet, Autumn Leaves dies
Tinsel gems
Dimensionals
Adhesives