Today we continue our tour of the Winter Meadow designer series paper pack. Many of the designs remind me of snowy mountains. The two patterns included in this design are a perfect example. Don’t you feel like you’re in the winter woods when you see these patterns together?
Lost Lagoon cardstock serves as the base for this card design. It coordinates well with the designer paper and brings out the finer details in each sheet. This is a peek-through fun fold design, where the card front is just a touch short allowing you to see through to the pattern inside the card. The overall design for this card is quite simple with the paper doing the heavy lifting. Just a few special details with the sprigs of greenery and shimmery ribbon underneath the simple sentiment panel bring it all together for a stunning design with a real WOW factor.
Products used: Lost Lagoon, Basic White, Mossy Meadow, Soft Seafoam cardstock Winter Meadow DSP Peaceful Cabin stamps (retired) All That, Magical Meadow dies Fine sparkle gems Silver & White sheer ribbon Dimensionals Adhesive
All ads on this site are posted by WordPress and are based on your personal browsing history. I do not control ad content.
Have you seen the One Horse Open Sleigh designer series paper that is currently available in the Online Exclusives section of my online store? Every single sheet of paper in this 6×6 pack is gorgeous! It makes them so hard to cut and use! So I’m designing cards that use as much of each sheet in one card design as possible.
And I’m going to be bringing you a series of videos that show you how you can make stunning cards with the One Horse Open Sleigh paper pack, and your supply list will be pretty simple for each design because we’re going to have this beautiful paper take center stage in each design.
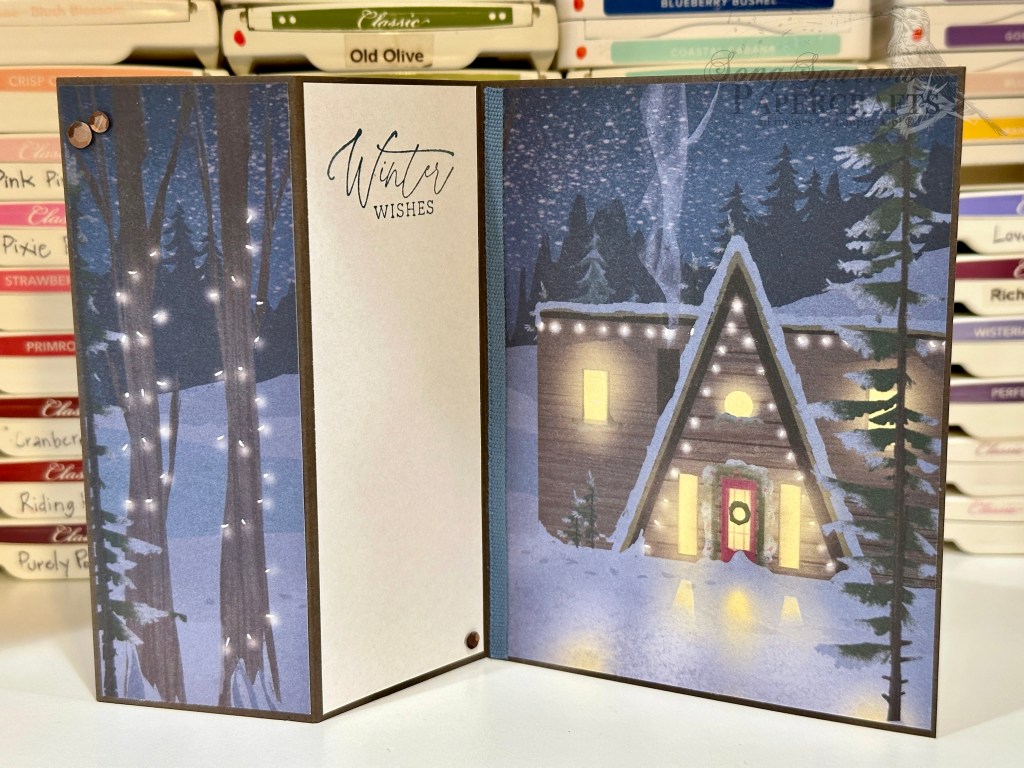
First up is this cozy cottage scene. We’ll be making a single panel z-fold card together using this sheet of designer paper. Won’t you join me?
Products used: Early Espresso cardstock One Horse Open Sleigh DSP Magical Meadow stamps Misty Moonlight ribbon Wink of Stella Adhesive-backed sequins Adhesives
All ads on this site are posted by WordPress and are based on your personal browsing history. I do not control ad content.
This week we are focusing on the additional design offerings in A Walk in the Forest designer series paper pack offered by Stampin’ Up! in the next Holiday Mini catalog which goes live next week. All of the designs are festive, but I especially love the holiday greenery designs because they are so versatile. I saw this fun fold design using a different designer paper and was inspired to create this card.
After seeing this fun z-fold design, I felt like it lent itself well to making a card that felt like a beautiful double door with a holiday wreath hanging on the front. A sheet of Crumb Cake serves as the card base and helps the lighter elements of the paper, like the branches and music notes, really stand out. The gold glimmer vellum keeps things festive and draws out the gold embossing and foiling on the outer portion of the card. I kept the interior of the card light and bright with a sheet of the white foiled holly design from the Joyful specialty paper pack.
This z-fold design also works really with designer series paper sheets that I like to call story sheets. They’re the designs that really look best when you can use larger portions because they have a scene that encompasses a much larger footprint of the sheet of paper. I’ll be showcasing a story sheet design with this fun fold in a few days and that post will include a video tutorial.
Products used: Crumb Cake, Basic White cardstock Shimmer vellum (retired) A Walk in the Forest, Joyful DSP Welcome Christmas (retired), Christmas Messages (retired) stamps Magical Meadow, Seasonal Labels (retired) dies Gold embossing powder Adhesive-backed sequins Dimensionals Adhesives
All ads on this site are posted by WordPress and are based on your personal browsing history. I do not control ad content.
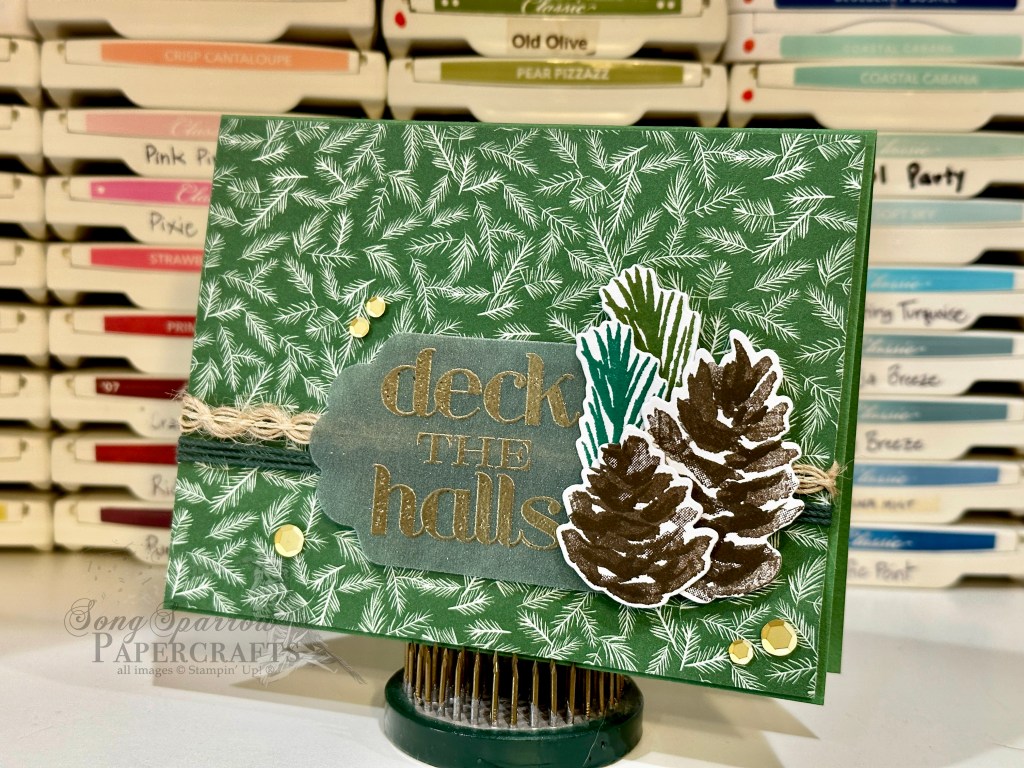
Our winter walk takes us under the pines today as we’re checking out another design in the paper pack called A Walk in the Forest by the Stampin’ Up!, which will release next week. This sheet is the perfect backdrop of freshly dropped pine needles and pairs perfectly with the winter foliage stamps and dies you may have in your stash. When I saw this particular sheet of designer paper, I knew that I had to pair it with the Christmas Season stamp/die set, which is one of my favorite foliage sets. Although this SU! set happens to be retired, there is a beautiful bundle of winter foliage in the Holiday Mini catalog called Joy of Noel and it would make the perfect substitute in this design!
I decided to compliment the sheet of pine needles with a card base of Mossy Meadow. I used Shaded Spruce and Mossy Meadow to make pine bough elements because I wanted to some realism to the age of the dropped branches. I love how the two-step stamps in Christmas Season add so much detail to the pinecones. I didn’t want to completely cover the beautiful background paper, so I chose a sheet of green shimmer vellum for the sentiment panel. To bring in the woody element of the branches, I used the natural wavy trim. The touch of gold in the sequins and sentiment help the eye move easily across the design. A super simple design with a lot of impact!
Products used: Mossy Meadow, Basic White cardstock Shimmer vellum (retired) Christmas Season stamps & dies (retired) Gold embossing powder Natural wavy trim Twine Adhesive-backed sequins Dimensionals Adhesives
All ads on this site are posted by WordPress and are based on your personal browsing history. I do not control ad content.
Last week, we took A Walk in the Forest with the bear as we looked at several sheets of the new designer series paper Stampin’ Up! is launching in just a few weeks. This week, I wanted to show you a few of the other designs included in the paper pack. These designs from A Walk in the Forest focus more on the winter foliage. So let’s get started on our walk down the winter nature trail, shall we?
For today’s card, I let the beautiful sheet of designer paper be the centerpiece and kept the design very simple. To pull the more subtle colors from the patterned paper, I used Shaded Spruce as the card base and matted the designer paper on Mossy Meadow. You’ll notice how the mat really helps pull those lighter colors forward. The sentiment is heat embossed in gold on white cardstock, and I used additional gold embellishments to highlight the lighter colors and aid the movement of the eye across the design. I added some Cherry Cobbler twine to help the berry elements come through and add a little pop of festive color.
Products used: Shaded Spruce, Mossy Meadow, Basic White cardstock A Walk in the Forest DSP PTI Think Big Favorites #8 stamps (retired) All That dies Gold embossing powder Twine (color retired) Adhesive-backed sequins Gold holly leaves (retired) Dimensionals Adhesives
All ads on this site are posted by WordPress and are based on your personal browsing history. I do not control ad content.
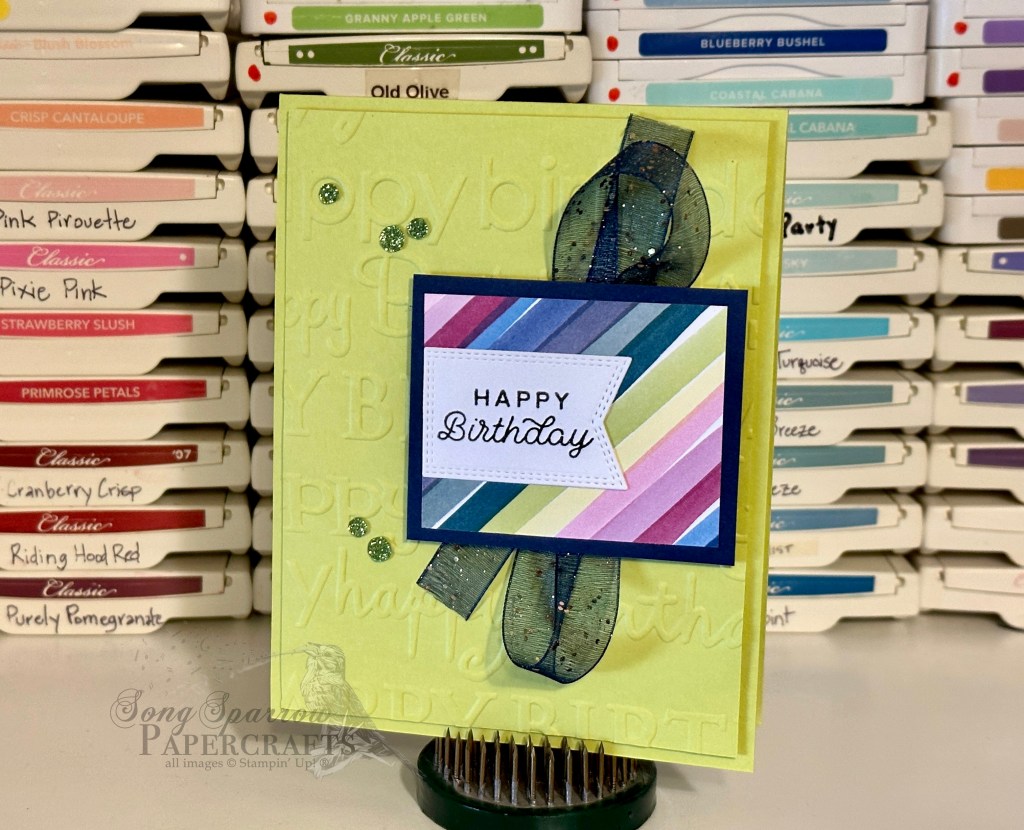
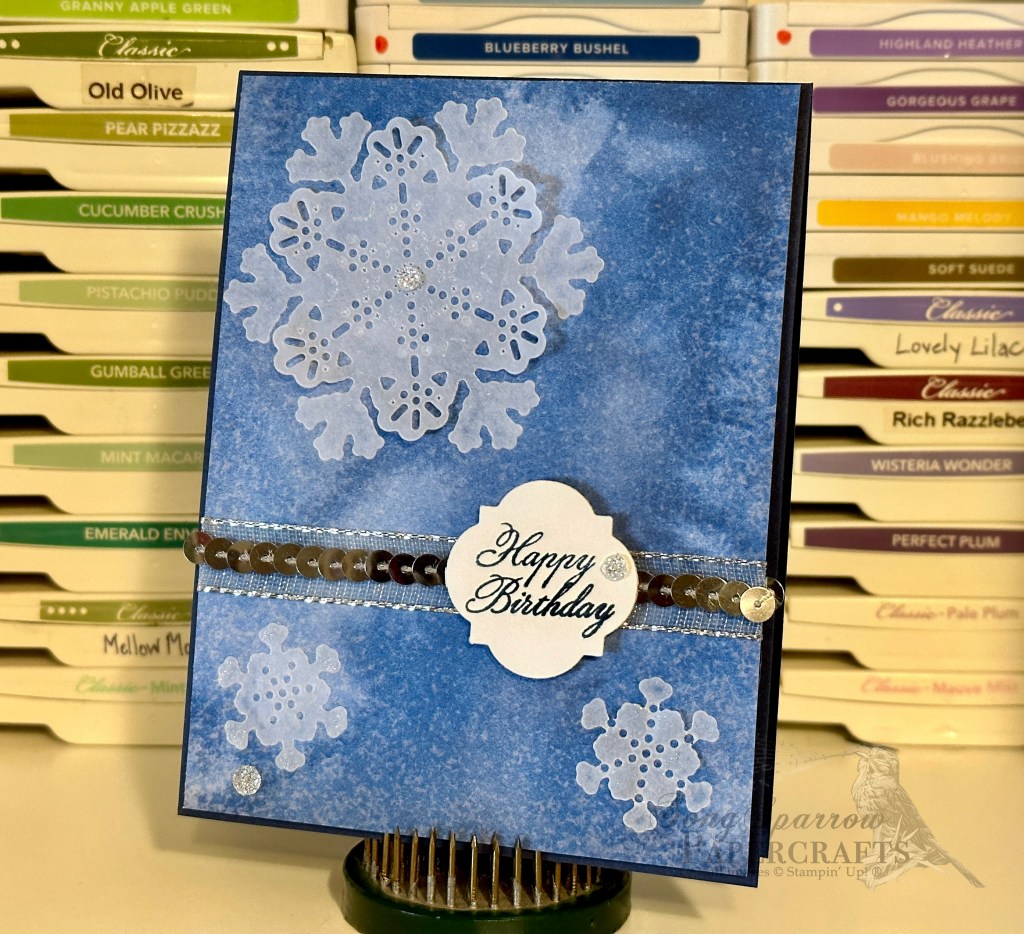
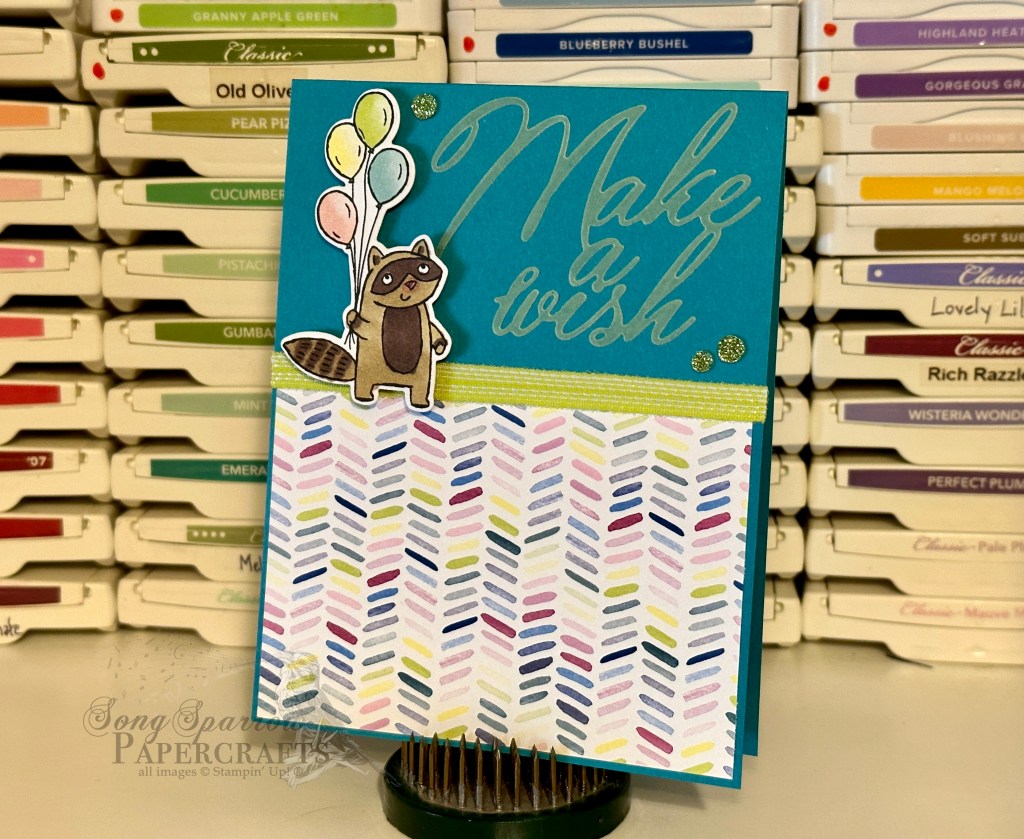
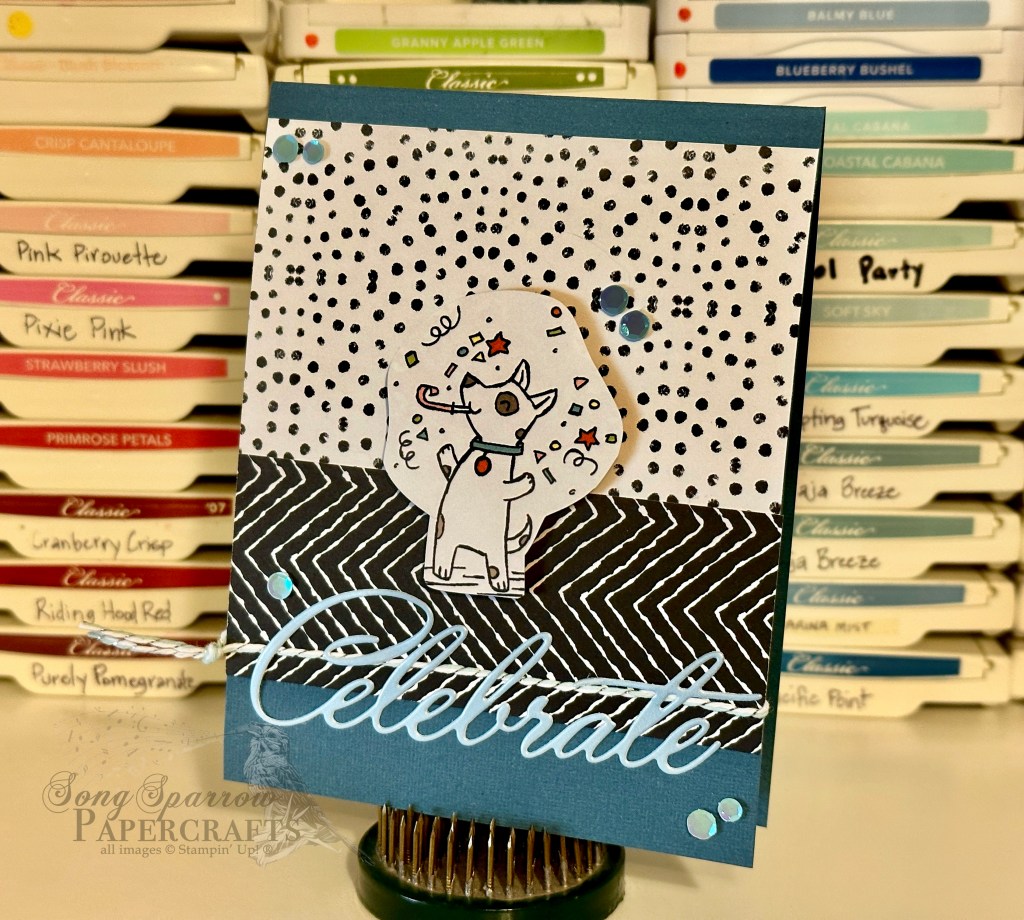
If you have been visiting for a while, you probably already know that most of the designs you see here are available for purchase in my Esty shoppe. But did you know that I also accept custom orders? Well, I absolutely do.
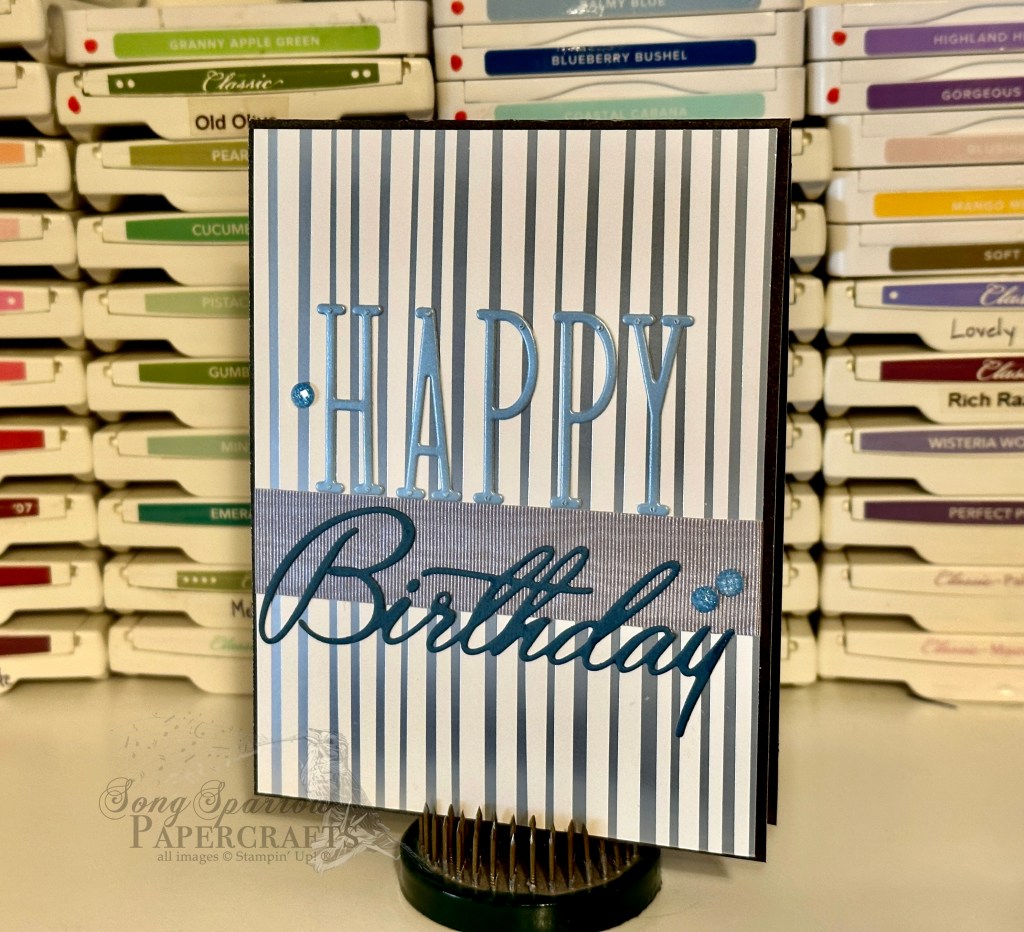
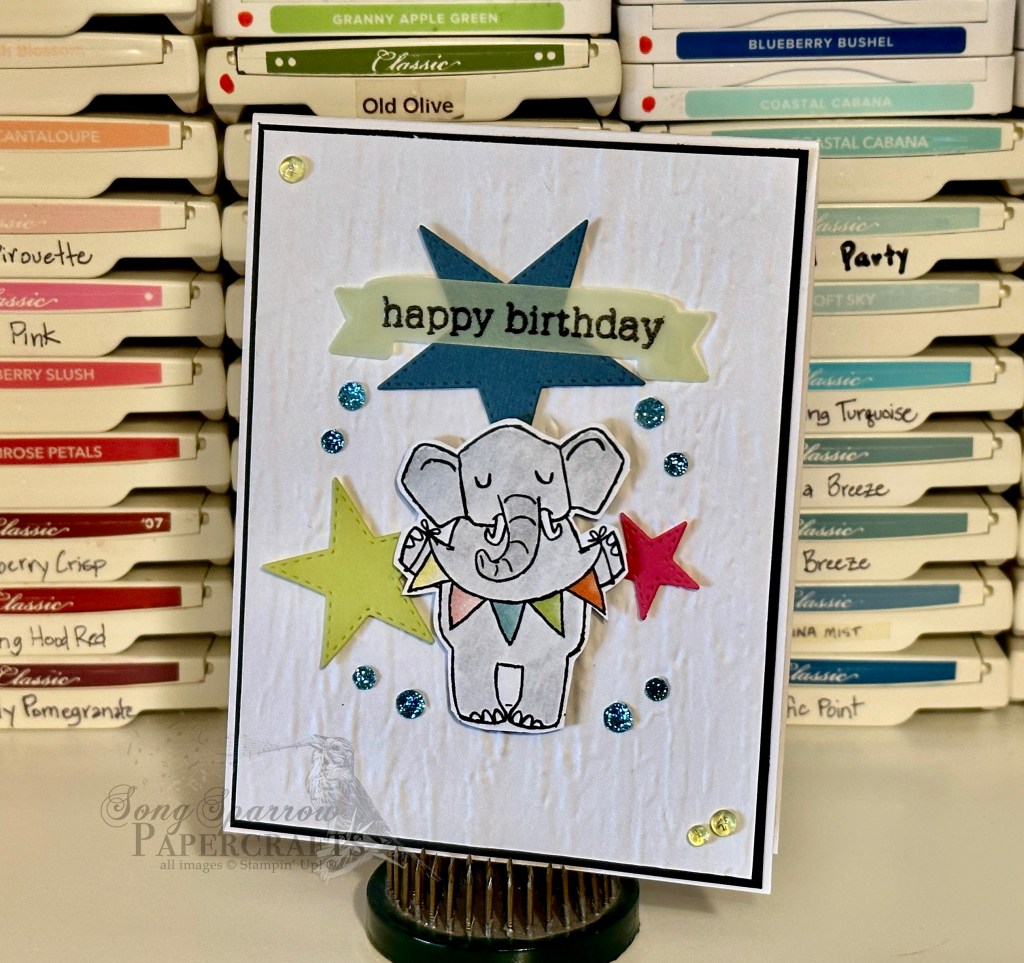
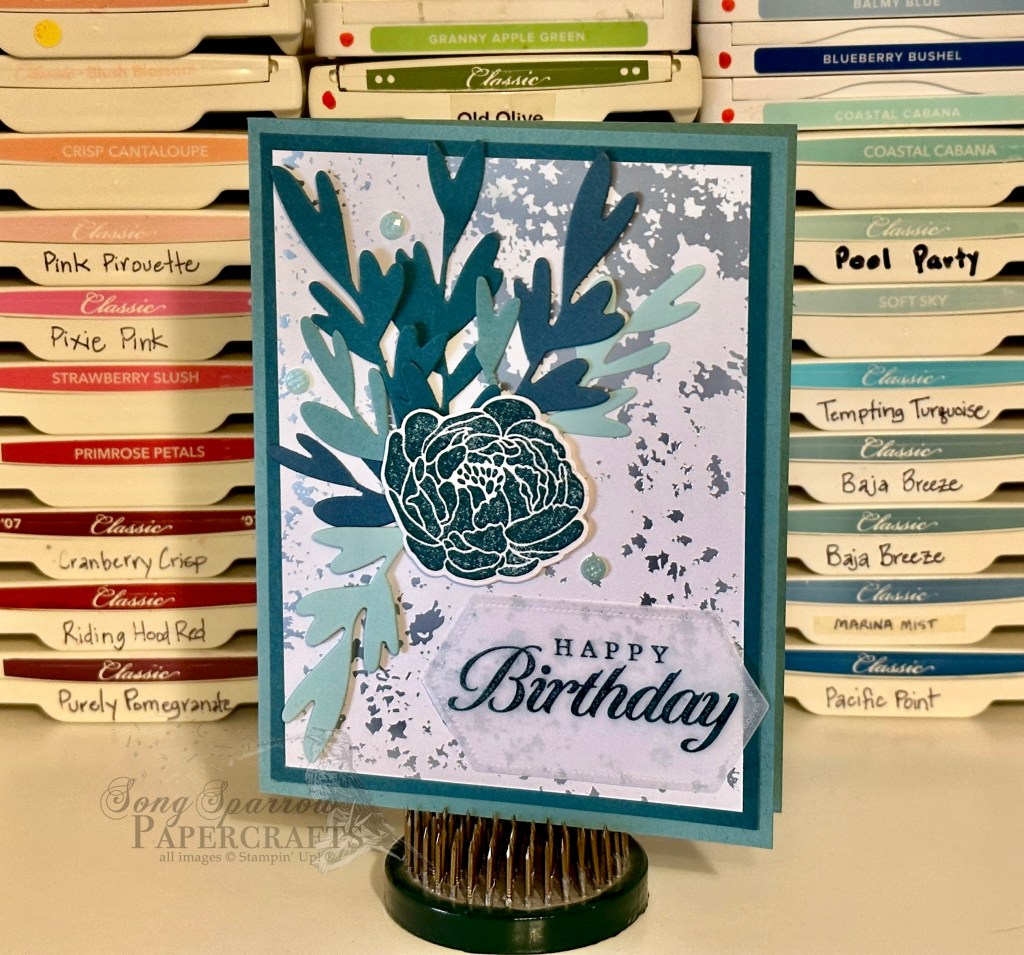
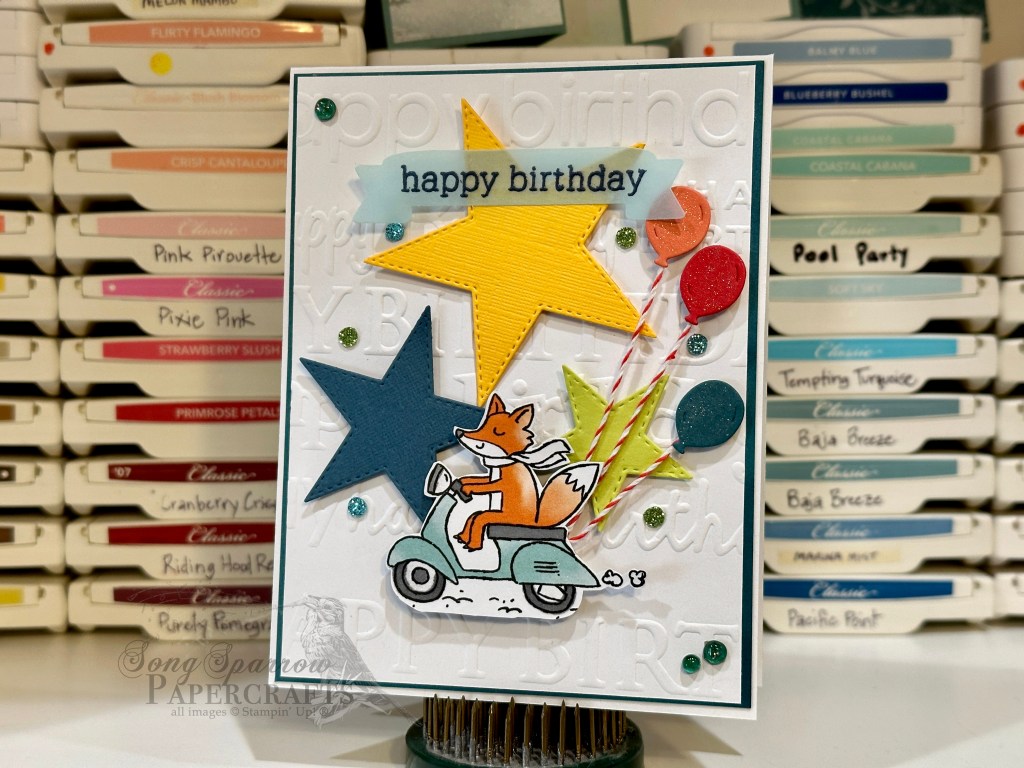
I have a wonderful client who recently placed an order for a box of custom birthday cards. I had so much fun creating these cards. Each design in this box was completely different. The designs were a mix that could be given to kids and adults, young and old, girl and boy. Here is a gallery of samples from the box.
If you’re interested in placing a custom order, simply fill out this inquiry form to get started on your custom order today!
All ads on this site are posted by WordPress and are based on your personal browsing history. I do not control ad content.
The end of August presents many opportunities for new birthday designs as we have lots of friends celebrating birthdays. So this week I cranked out several cards for friends with birthdays in the next week.
First up is this cute fella buzzing in to bring some birthday cheer. This design is for one of my son’s friends. They’re in those awkward preteen years so it’s always hard to know which way to go with card themes, but something whimsical really fits this particular kiddo’s personality. So I pulled out the Zoo Crew designer paper and fussy cut this scootering fox as the focal image. I added a little color and some Wink of Stella here and there on the image from the DSP to add more color and realism to the image. I thought it would be cute to have foxy motoring in the birthday balloons, so I diecut a set from various shades of cardstock and added a little Wink of Stella for some added pizzazz. The whole scene sits atop a piece of embossed cardstock matted on Pretty Peacock cardstock to really help the whole scene stand out nicely.
Products used: Basic White, Pretty Peacock, Calypso Coral, Poppy Parade, Granny Apple Green cardstock; vellum; Zoo Crew DSP; So Many Stars (retired), Bunch of Banners (retired), Zany Zoo dies; Sizzix embossing plate; PTI sentiment; glitter sequins; dimensionals
I had a lot of fun building this cute birthday scene. Once again, I pulled out my Zoo Crew designer paper for this adorable croc pedaling in some flowers. I kicked up the color by adding some to the bike and flowers and also added a bundle of balloons to punch up the birthday theme here. To help it feel as though the croc is trekking to a party, I added some simple trees and a cloud as background scenery.
Products used: Pretty Peacock, Lost Lagoon, Granny Apple Green cardstock; Bright & Beautiful DSP; vellum; Zoo Crew DSP; PTI scalloped circle (retired), Zany Zoo dies; adhesive-backed discs; twine (retired); dimensionals; adhesives
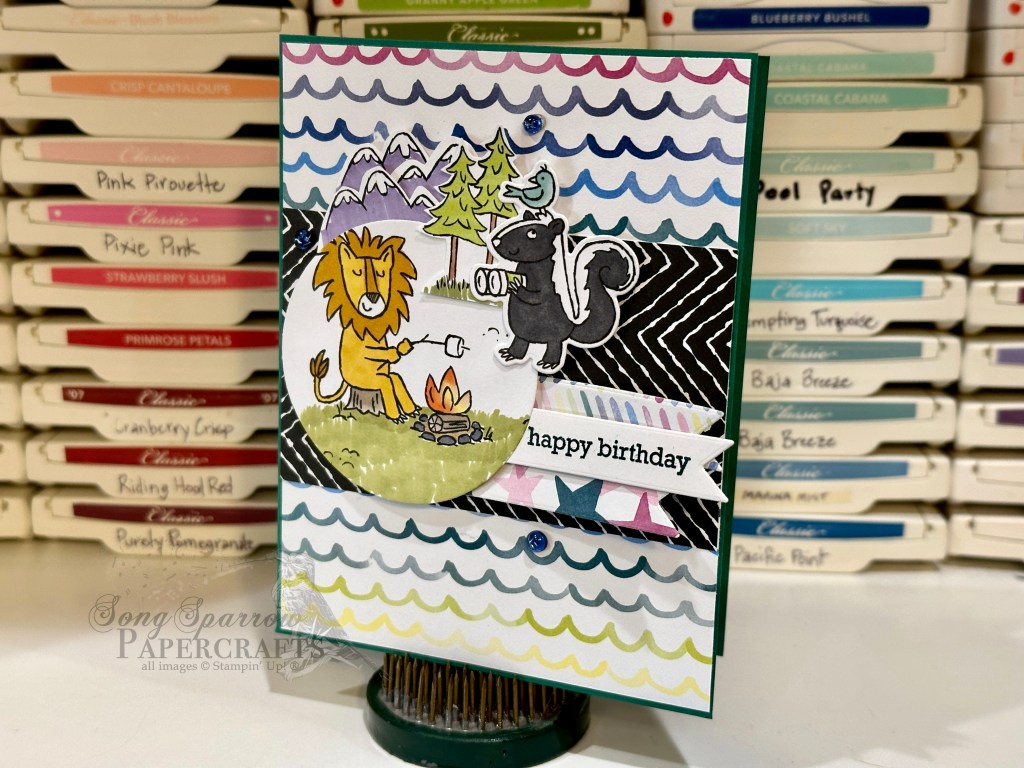
Have any adventure types in your circle of friends or family? There’s a terrific sheet of Zoo Crew DSP for that! And I pulled it out and started working on a scene for my outdoorsy friend. I used a circle punch to cut out the scene with the lion roasting a marshmallow. I used the Zany Zoo dies to cut the adorable birdwatching skunk and then fussy cut the mountains and trees. I filled in with a lot of color using the Stampin’ Blends markers to really help the scene come to life. On a scale of 1 to 10, I rank my coloring skills about a 4, but I’m pretty pleased with how things came out for this design.
Today, the bear is finishing its trek as we wrap up a sneak peek at the newest card pack called A Walk in the Forest. This designer series paper, which will be available in the Stampin’ Up! Holiday Mini catalog in just a few weeks, is simply lovely, and I was truly captivated by the sheet of paper with the bear traversing the evergreen forest.
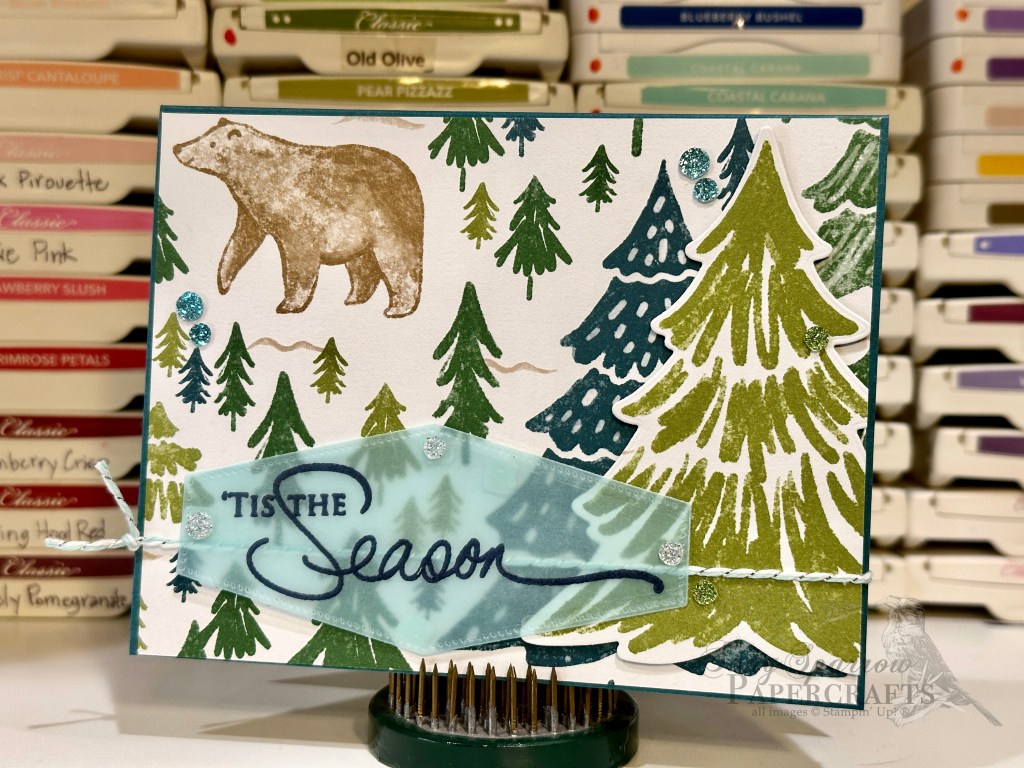
For today’s design, I wanted the trees to be more of the focal point than the bear. You will note that the bear is making its way in the background of this scene, while the stately evergreens are front and center. I heat embossed the sentiment on vellum because I wanted each of the evergreens to show through on this design. I added an additional tree in the forefront on dimensionals and the shimmery sequins move the eye up and across the design, which adds to the feeling that you’re taking a walk up the mountain trail. Can you picture yourself on this trail?
Products used: Pretty Peacock cardstock Vellum A Walk in the Forest DSP PTI Think Big Favorites #8 stamps (retired) Nested Essentials, Merriest Trees dies Glitter sequins Glitter twine (retired) Embossing powder Dimensionals Adhesive
All ads on this site are posted by WordPress and are based on your personal browsing history. I do not control ad content.
How have you enjoyed A Walk in the Forest so far? This pack of Stampin’Up! designer paper is simply delightful with a mixture of playful and wintery designs. On our journey with the bear thus far, you may have noticed that I have done a lot of punching and diecutting, which leaves an awful lot of scraps. Do you ever wonder what happens with those paper scraps?
Today’s design is a perfect example of how scraps can be put to use to create a beautiful card. The bear and tree images I have been highlighting thus far are all diecut/punched from the same sheet of designer paper. This particular sheet of paper also has beautiful groves of smaller evergreen trees and I really loved the look of them because they very much reminded me of the snowy mountains where I’ve been snow skiing. So when I cut the bear and trees for other cards, I carefully cut around the evergreen groves, leaving me some sizable ones to work with.
For this card design, I decided to mimic a scene I’ve seen in one of the Arctic adventure shows my hubby and I like to watch — with the bear looking out from the trees across a frozen river to the other side. I used a sheet of snowflakes from A Walk in the Forest to serve as the frozen river in this scene. I cut a few snowflakes from a sheet of Snowflake Magic designer paper to catch a little silvery sparkle. A few of these snowflakes are on dimensionals to give some depth, along with the bear to bring it to the forefront of the groves of evergreens. With the sentiment panel also on dimensionals, the eye moves easily across the card through each of the key elements.
Products used: Balmy Blue cardstock Shimmer cardstock Vellum A Walk in the Forest, Snowflake Magic DSP Magical Meadow stamps Nesting Labels (retired), Merriest Trees dies Beary Cute punch Embossing powder Adhesive-backed sequins Dimensionals Adhesive
All ads on this site are posted by WordPress and are based on your personal browsing history. I do not control ad content.
We’re continuing our journey through A Walk in the Forest designer paper pack, which will be available to customers in the new Stampin’ Up! Holiday Mini catalog in just a few weeks. Earlier this week, we were trekking through the snow, while today’s card has us on a walk through an evergreen forest along with our friend, the bear.
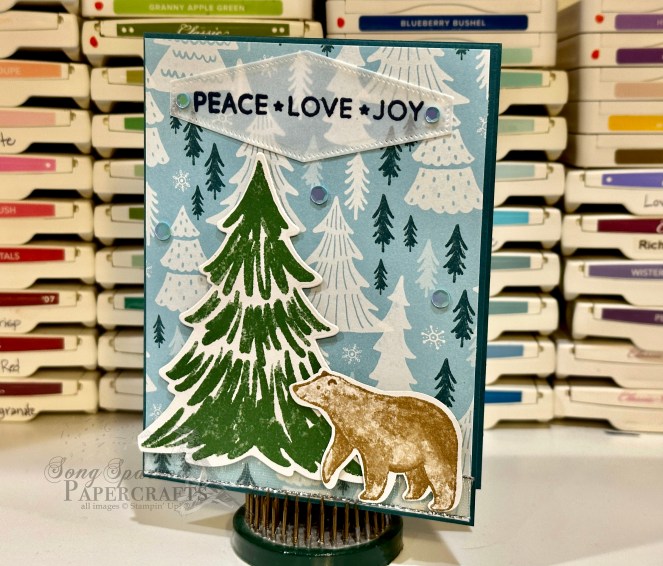
In order to have the designer paper pop, I mounted the background scene on Pretty Peacock cardstock. This really brought out the smaller trees and gives a sense of realism to the scene. I used the Merriest Trees dies to cut the evergreen in the foreground from a sheet of A Walk in the Forest paper and punched the bear using the Beary Cute punch. Adding dimensionals of various heights allows the bear to stand out against the evergreen in the foreground. I set the tree and bear atop a strip of silver & white sheer ribbon (also from the Holiday Mini) to look as though they’re both on the edge of a frozen pond. The sentiment is heat embossed in a deep navy on a piece of vellum, which allows the background to show through for a snowy effect. I love the simplicity and realism of this cute forest scene. Do you feel like you’ve gone on a walk through the woods?
Products used: Pretty Peacock, vellum cardstock A Walk in the Forest DSP PTI Stylish Sentiments: Holiday stamps (retired) Merriest Trees, Nested Essentials dies Beary Cute punch Silver & White sheer ribbon Navy embossing powder Adhesive-backed sequins Dimensionals Adhesive
All ads on this site are posted by WordPress and are based on your personal browsing history. I do not control ad content.