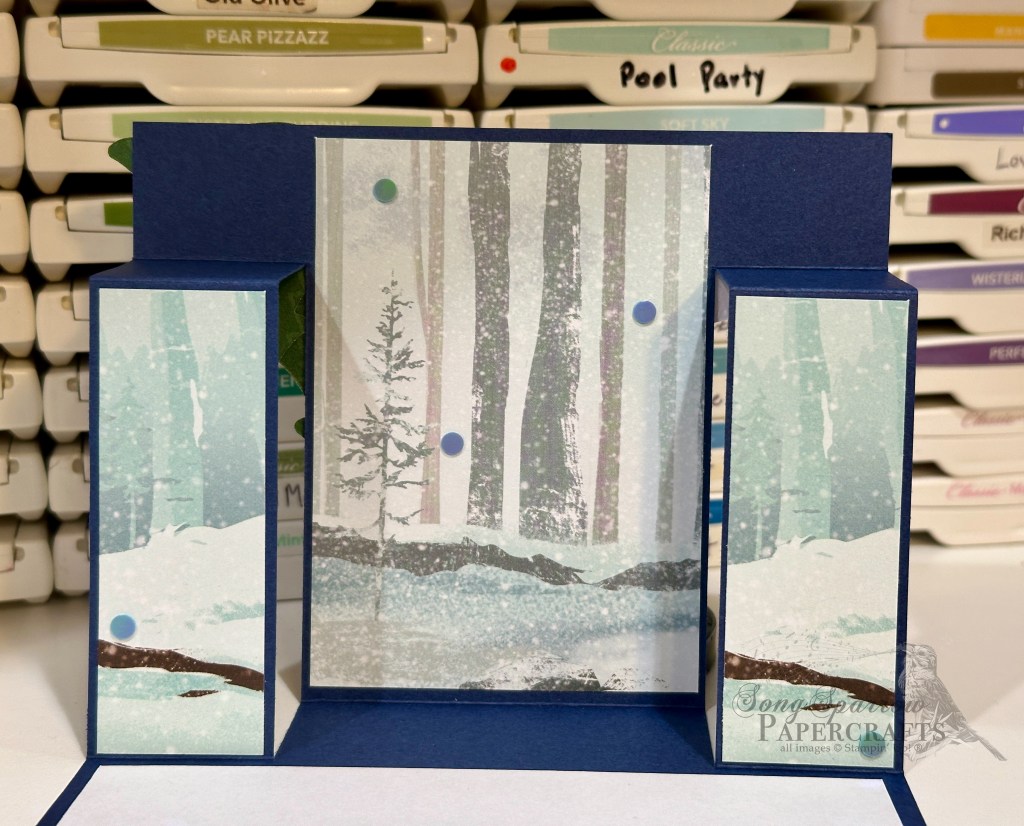
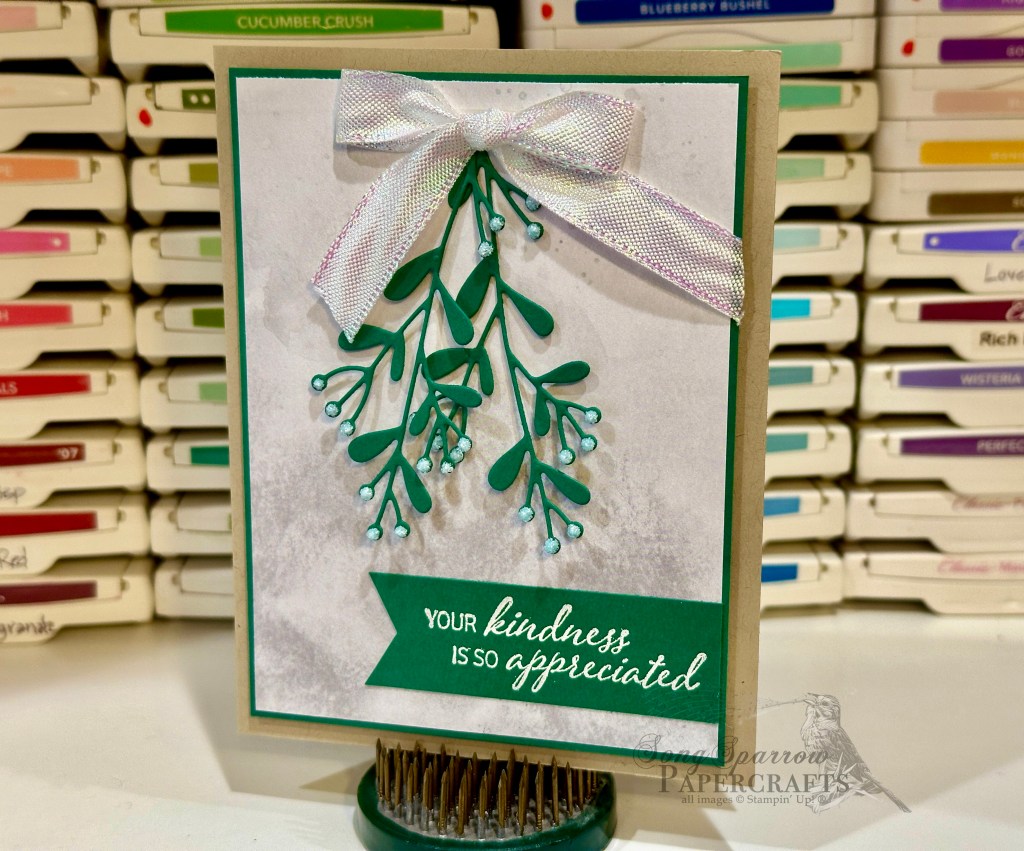
Just because we’re looking to create a more masculine design doesn’t mean we have to leave fun at the door! I don’t often make shaker cards and so I thought this would be a perfect opportunity to stretch the ol’ creative wings. With the idea of making it fun, I decided a truck scene would be just the ticket.
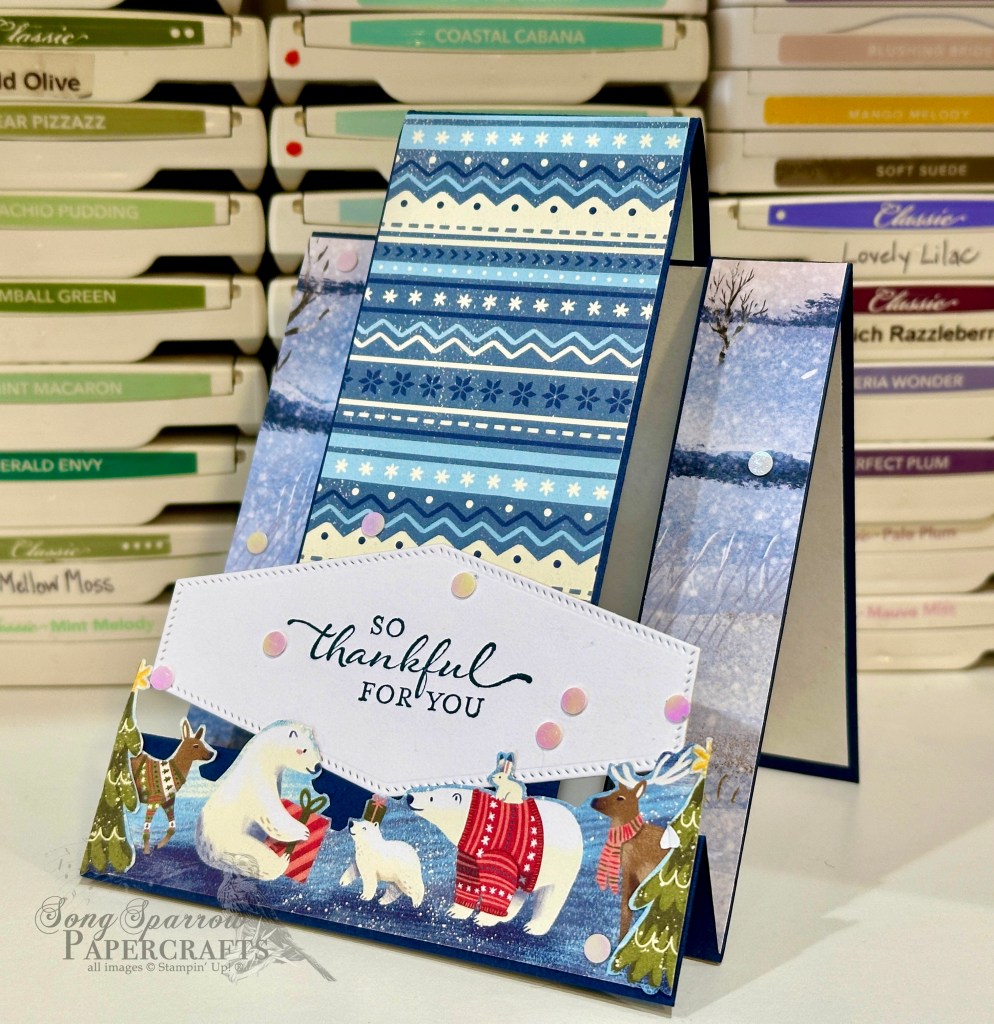
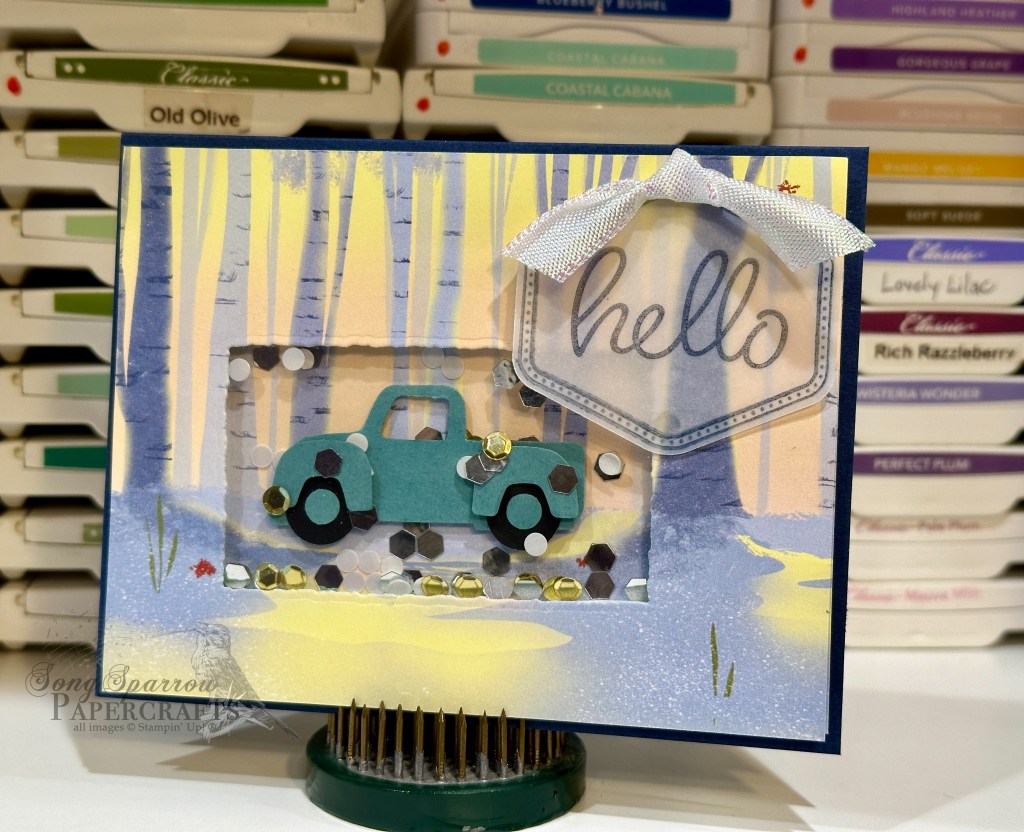
This card is built on a base of Night of Navy to help the scene stand out in a dramatic way. I used two identical sheets of designer series paper from the One Horse Open Sleigh pack — one serves as the forefront, while the other gives the backdrop for the truck in the shaker window. I used a Deckled Rectangle die to cut the window out of the front panel for the truck, making sure that the window allowed just enough room for the truck to be visible and allow space for the shaker elements. A piece of acetate is adhered to the back of the window on the front panel and then the back edges of the window are lined with foam adhesive strips to create a box in which the shaker elements will be poured and then closed in with the back panel. The truck is punched from Lost Lagoon and black using the Trucking Along punch and adhered to the back panel with dimensionals. The sentiment from Heartfelt Hellos is stamped in Night of Navy on vellum and then punched with the coordinating hexagon punch. The vellum panel allows the scene to show through.
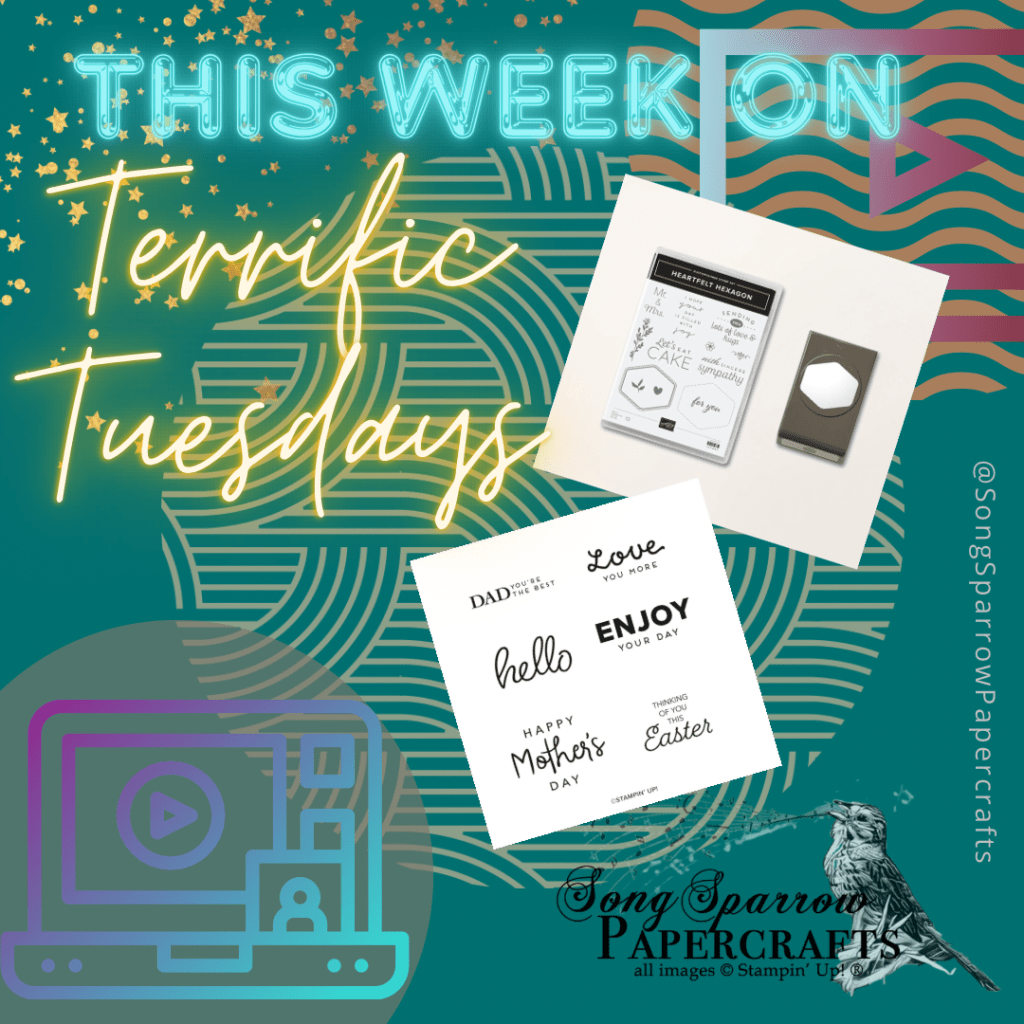
Interested in a few more conventional masculine card designs? Check out this week’s Terrific Tuesdays episode where we made 3 masculine cards together.
Products used in today’s design:
Night of Navy, vellum, acetate cardstock
One Horse Open Sleigh DSP
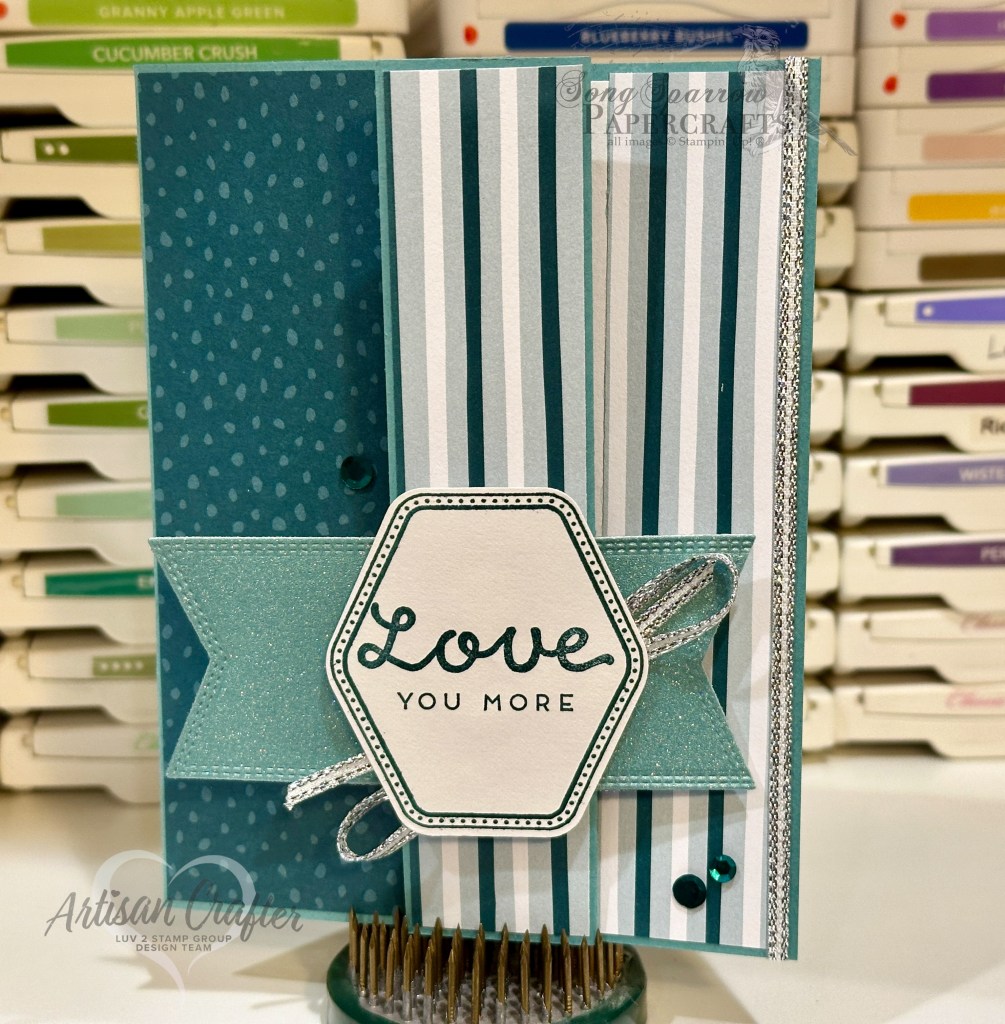
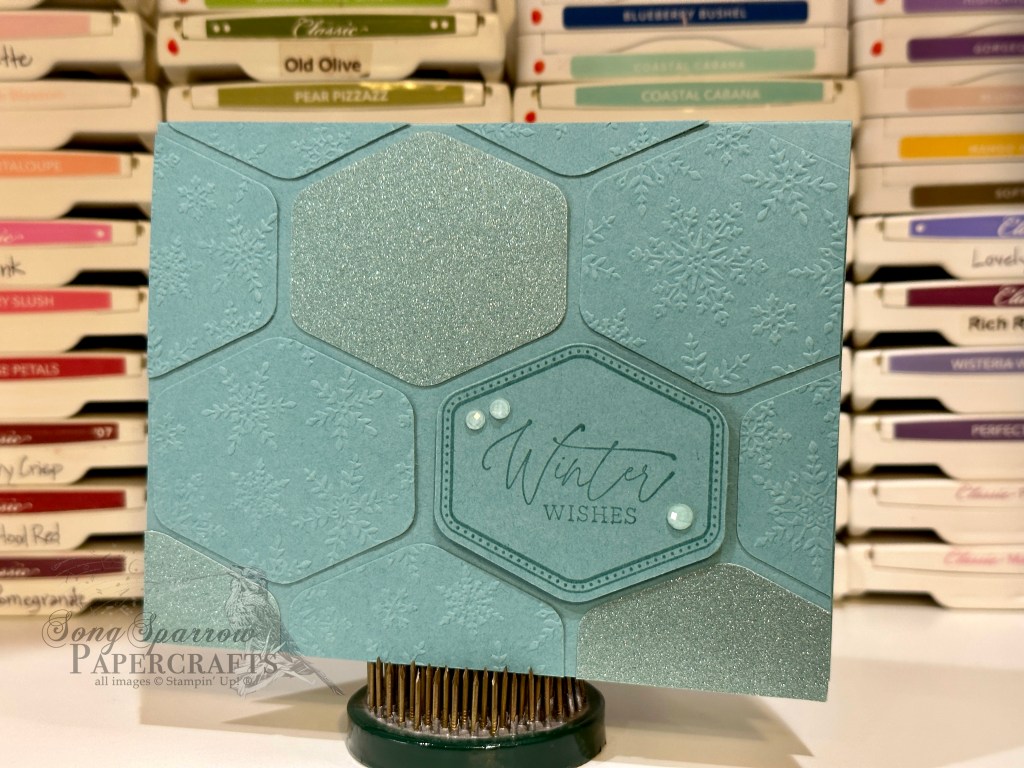
Heartfelt Hexagon stamps & punch
Heartfelt Hellos stamps
Sequins for Everything (retired)
Foam adhesive strips
Iridescent ribbon (retired)
Glue dots
Dimensionals
Adhesives
All ads on this site are posted by WordPress. Song Sparrow Papercrafts is not responsible for ad content.