I often find that starting the design process with a particular layout in mind helps things come together faster. For me, that often means turning to my collection of sketches. I keep sketches in a few different places based on whether I saved it digitally or it’s hand-drawn.
Today’s card design began with a sketch that I recently saved in my digital sketch file. This sketch is from the lovely folks over at Freshly Made Sketches. If you’re ever looking for a great repository of sketch inspiration, you should check them out!
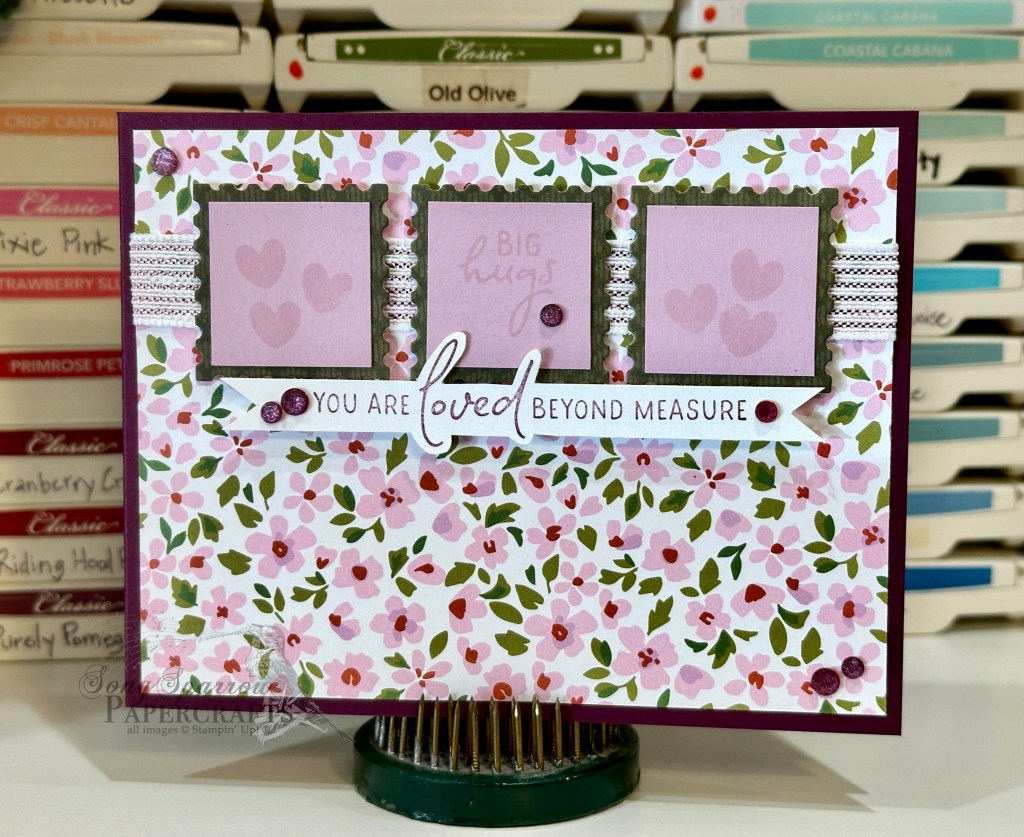
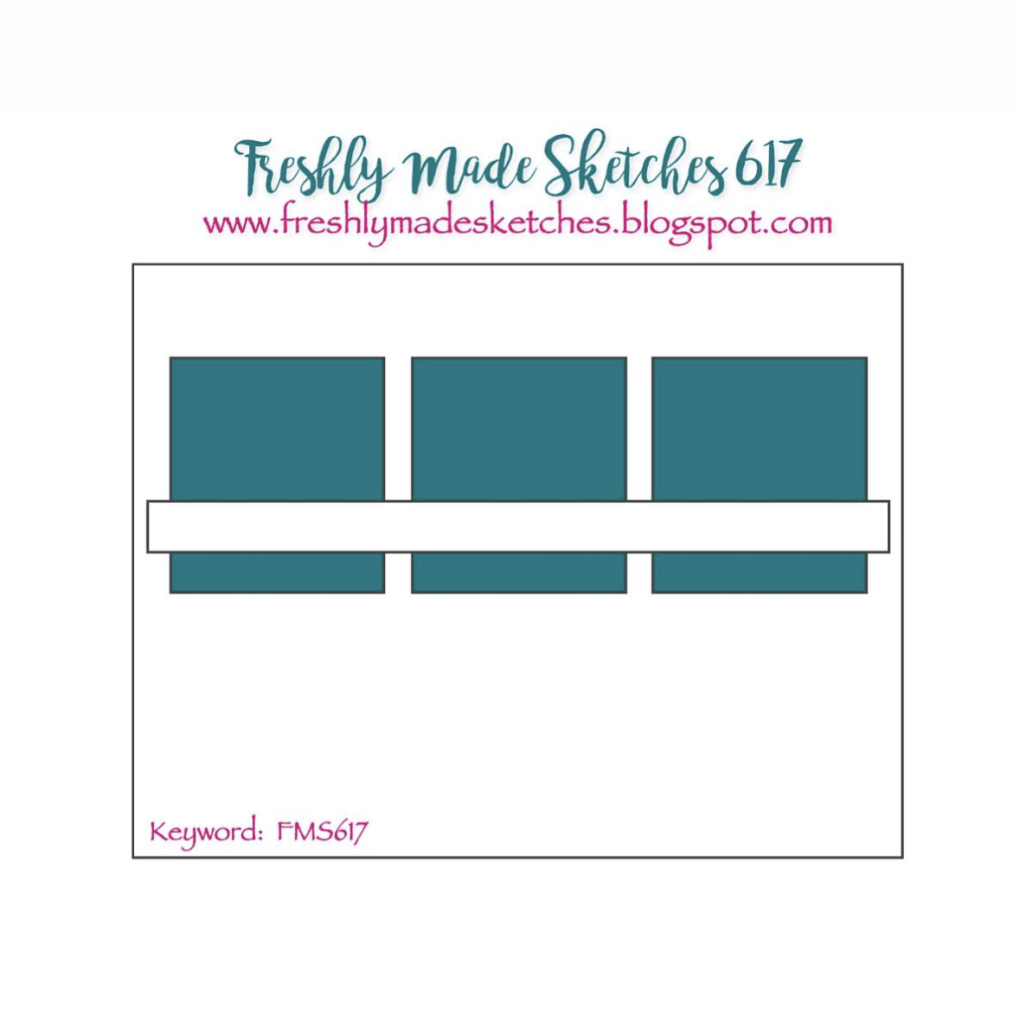
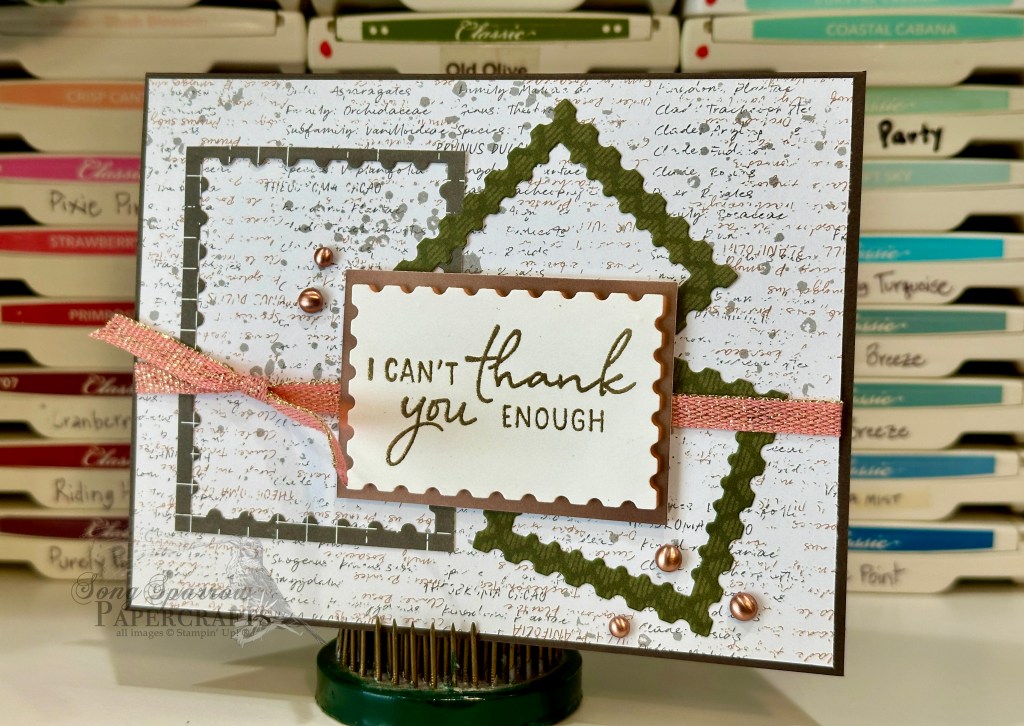
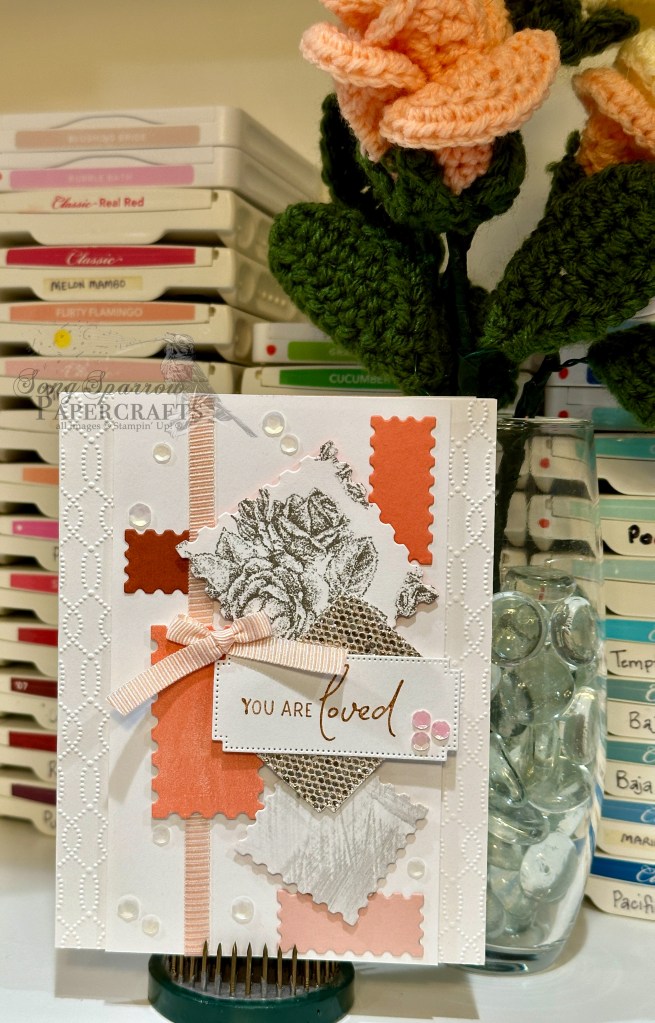
So this card begins with a base of Blackberry Bliss. I really love how it pulls out the subtle purples in the sheet of Delightfully Eclectic designer series paper that is the backdrop for this card. The little images are supposed to resemble a mini picture wall. The mats for each image are diecut using the Perennial Postage dies. A strip of rose gold and white striped ribbon provides a little grounding for the small image panels amongst the busy-ness of the floral patterned background. The focal sentiment is fussy cut to accentuate the word “loved” in the sentiment. Some fine shimmer gems are scattered across the card front to draw the eye across the design.
You can see this design come together in its entirety in this week’s Terrific Tuesdays video.
All ads on this site are posted by WordPress. Song Sparrow Papercrafts is not responsible for ad content.