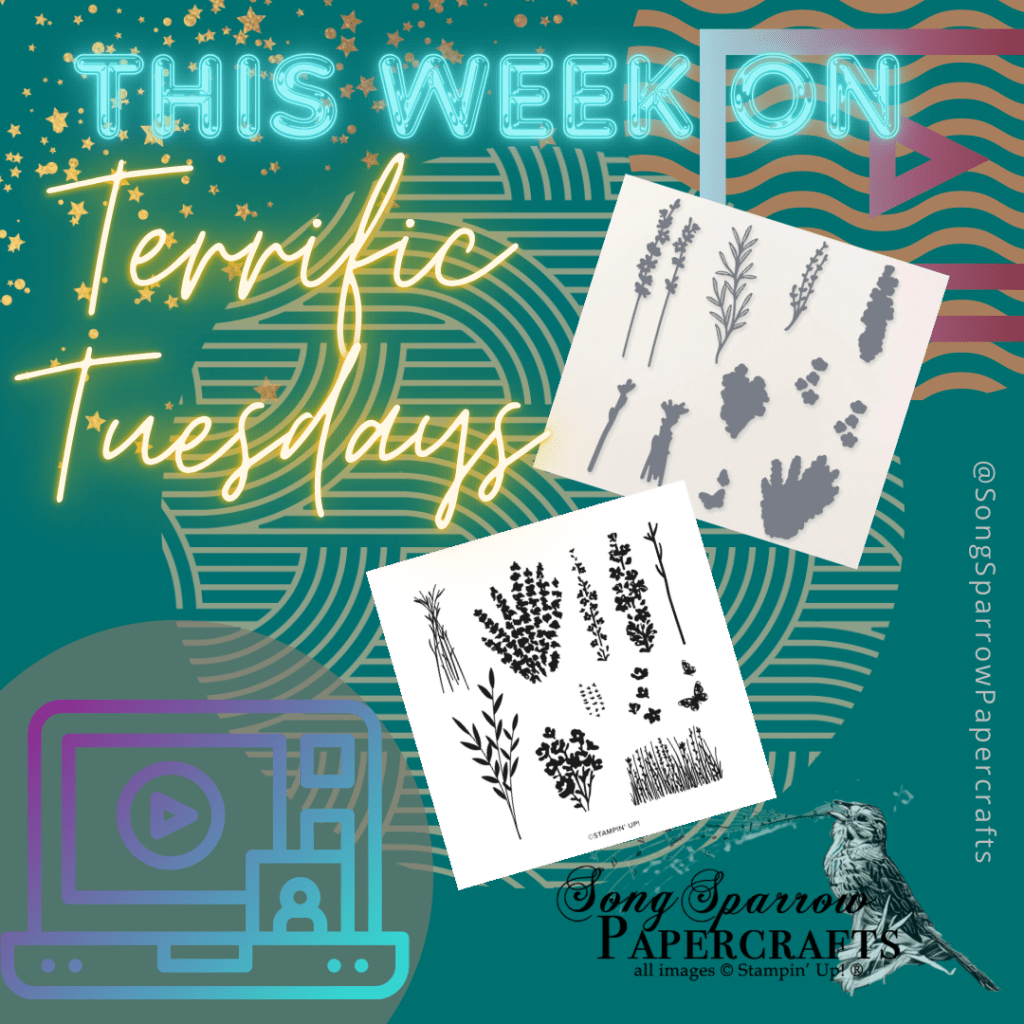
I have really enjoyed working with the Painted Lavender bundle in preparation for this week’s Terrific Tuesdays video. And for today’s bonus post, we use a masking technique to create this lovely fun fold.
The Painted Lavender bundle is part of a larger suite of products called Perennial Lavender, which includes the Perennial Postage bundle we worked with last week, along with the Perennial Lavender designer series paper, paper butterflies, and purple fine sparkle gems which are all a part of today’s featured card.
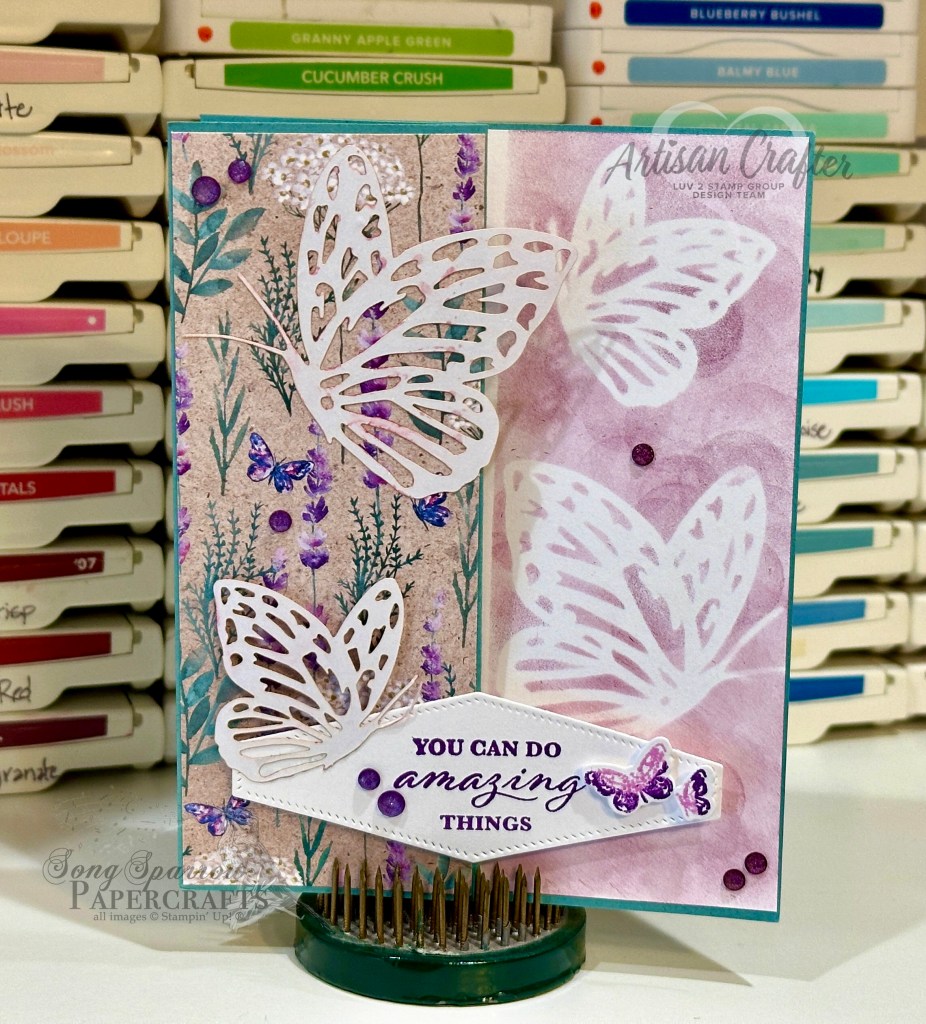
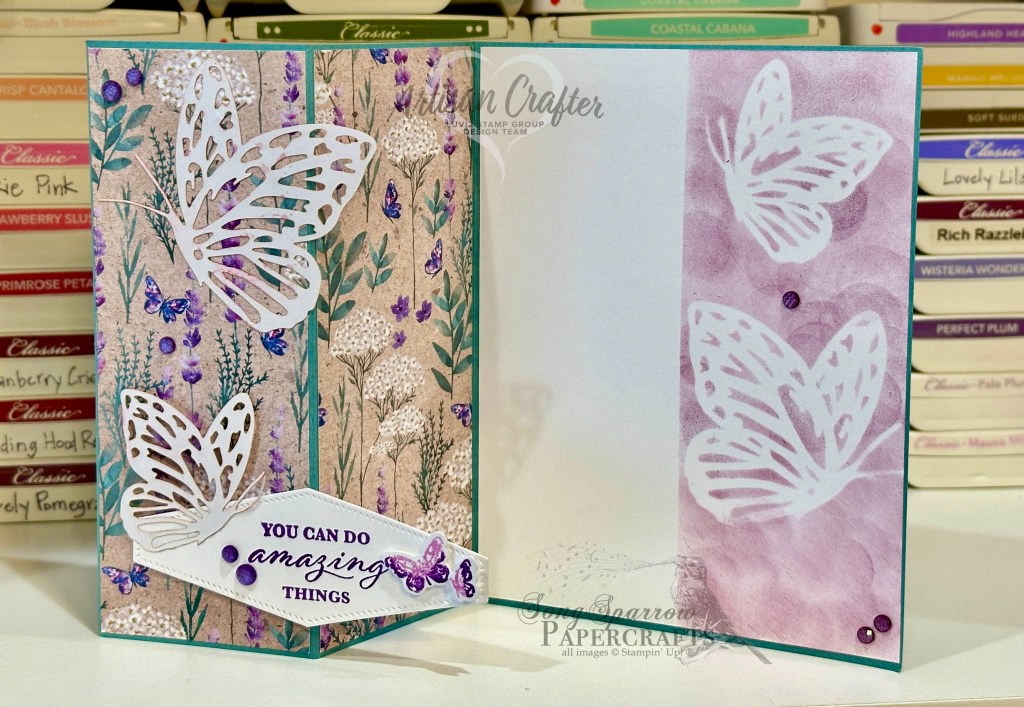
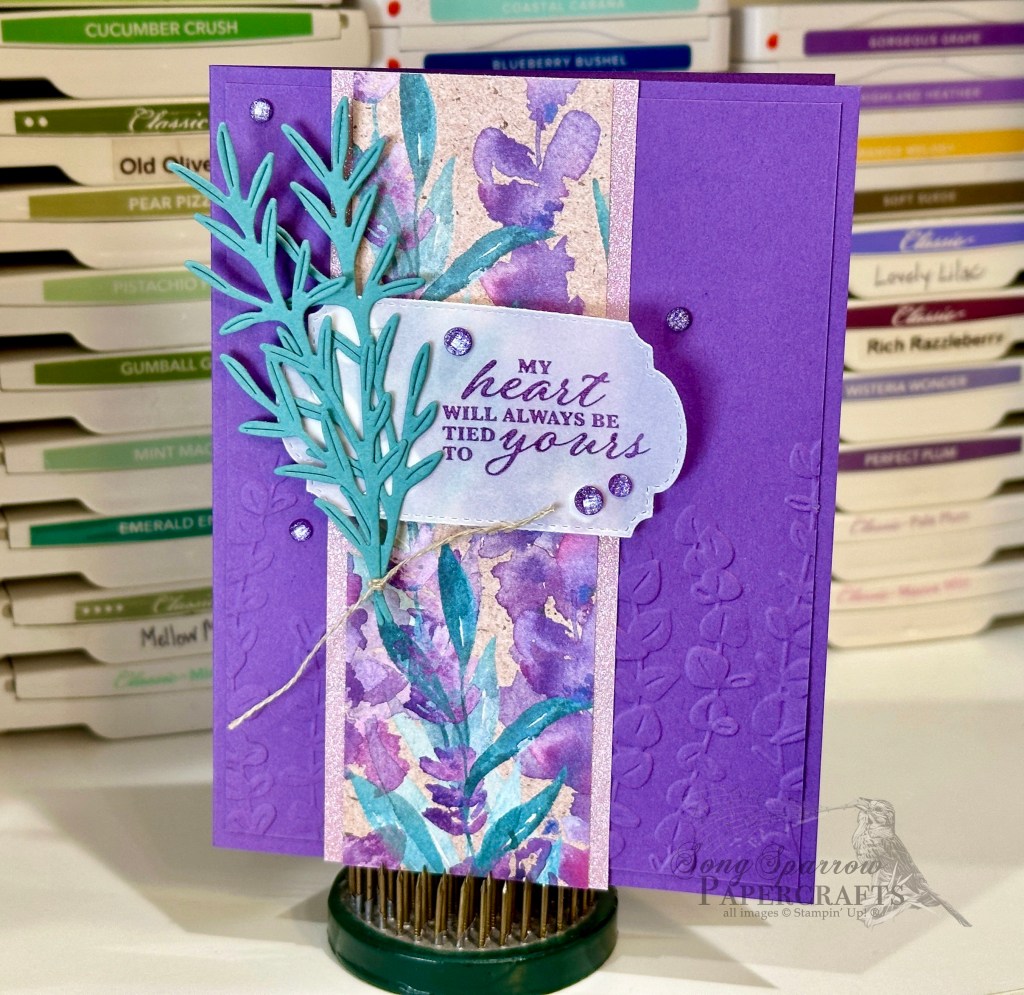
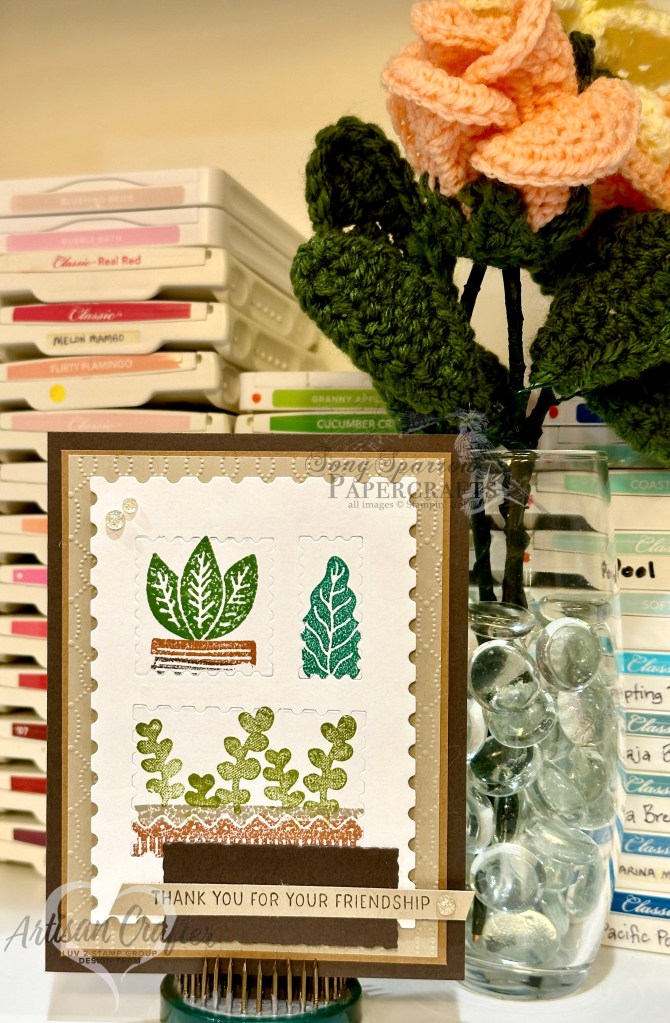
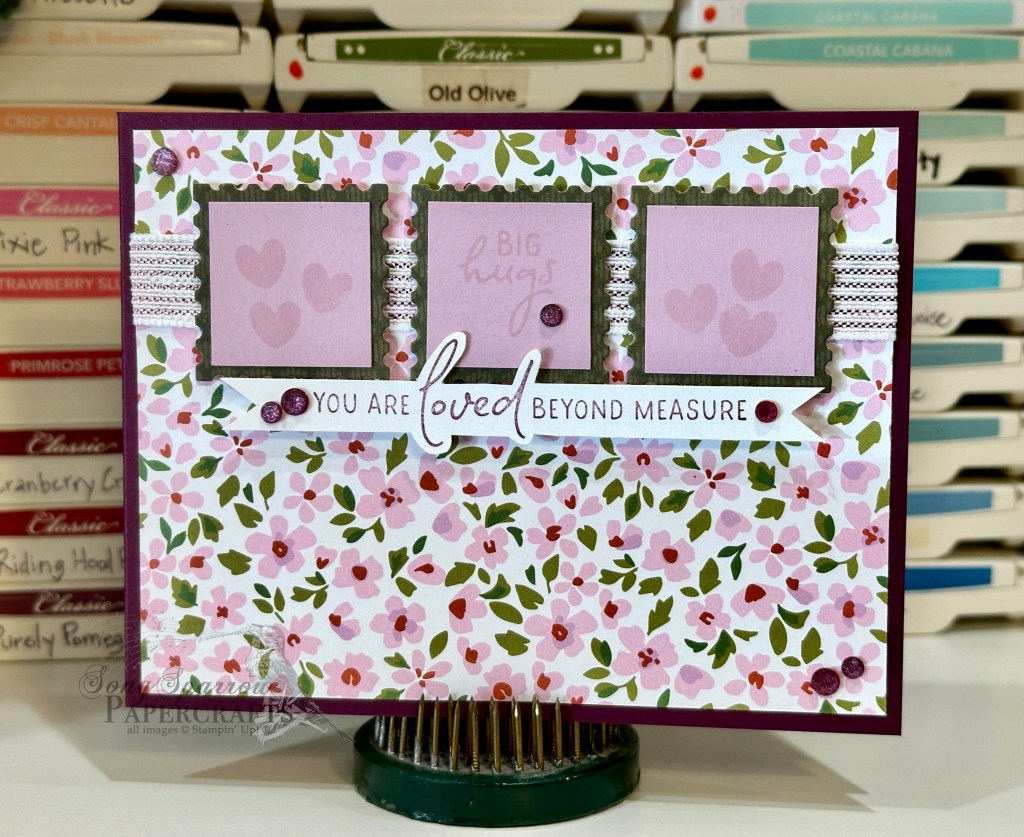
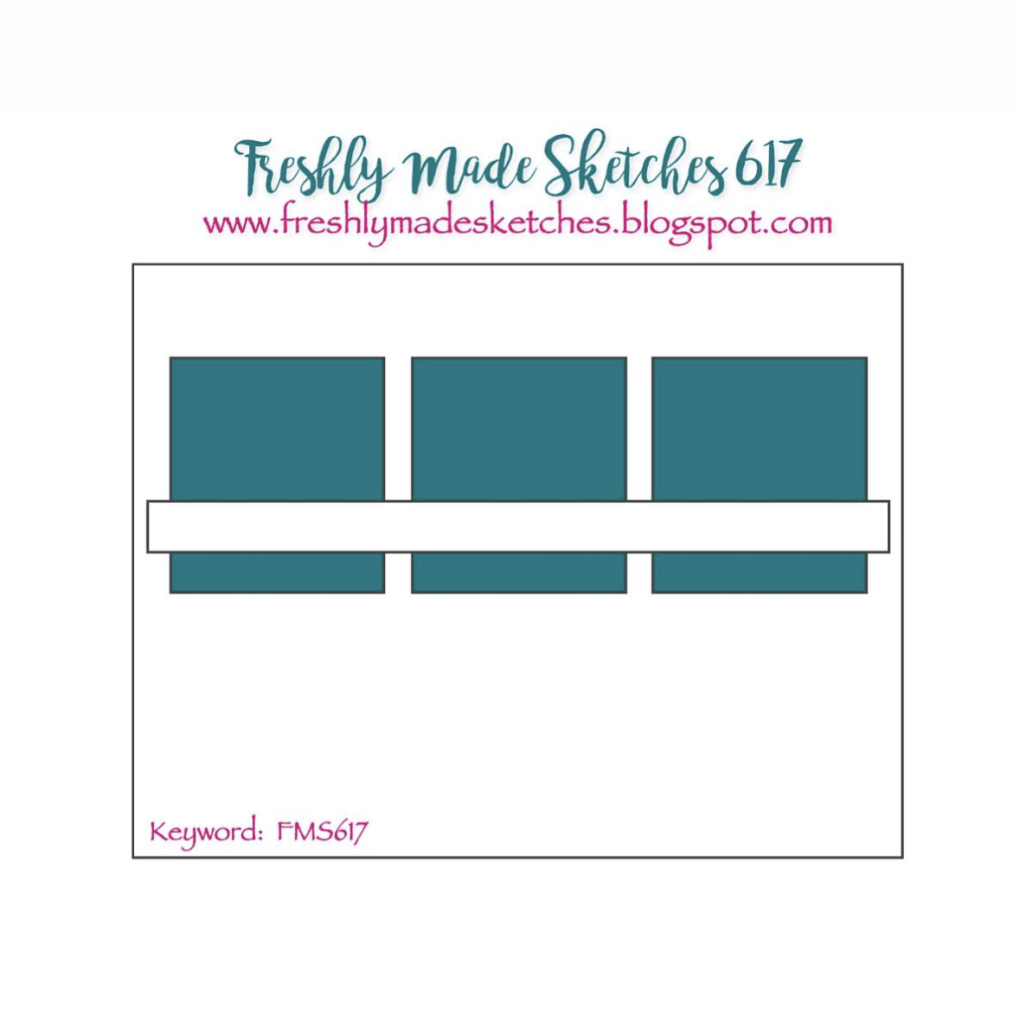
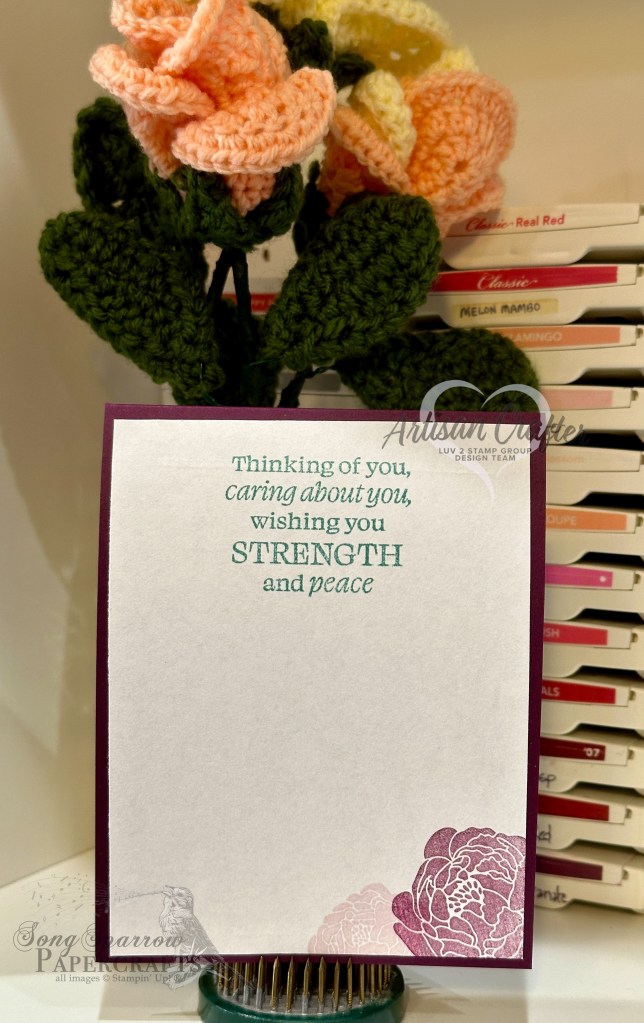
I wanted to try using the paper butterflies ask masks and decided that a peek-through z-fold would be the perfect way to showcase a masked section. We begin with a card base of Lost Lagoon. I chose the sheet of Perennial Lavender designer paper that includes both flowers and butterflies in a tight-knit pattern. White cardstock serves as the base for the inside of the card and the peek-through section of the card. I used a larger and smaller paper butterfly as masks and inked over them with sponge daubers and Blackberry Bliss ink directly on the inside card base on the peek-through section. To keep a nice, even border on the left of the butterflies, I used a strip of washi tape to keep the sponged section just where I wanted it. Each of the butterflies are then flipped over to the uninked side and adhered to the front of the card. The sentiment from the Wonderful Thoughts stamp set is stamped on white cardstock diecut with the Nested Essentials dies. Two small butterflies from the Painted Lavender stamp set help draw the eye to the sentiment. Purple sparkle gems are scattered over the card front for pops of color and sparkle and to help the eye travel across the card design.
Interested in more inspiration for the Painted Lavender bundle? Check out this week’s Terrific Tuesdays episode for more designs!
Products used in this design:
Lost Lagoon, Basic White cardstock
Perennial Lavender DSP
Painted Lavender, Wonderful Thoughts stamps
Painted Lavender, Nested Essentials dies
Paper butterflies
Purple fine shimmer gems
Dimensionals
Adhesives
All ads on this site are posted by WordPress. Song Sparrow Papercrafts is not responsible for ad content.