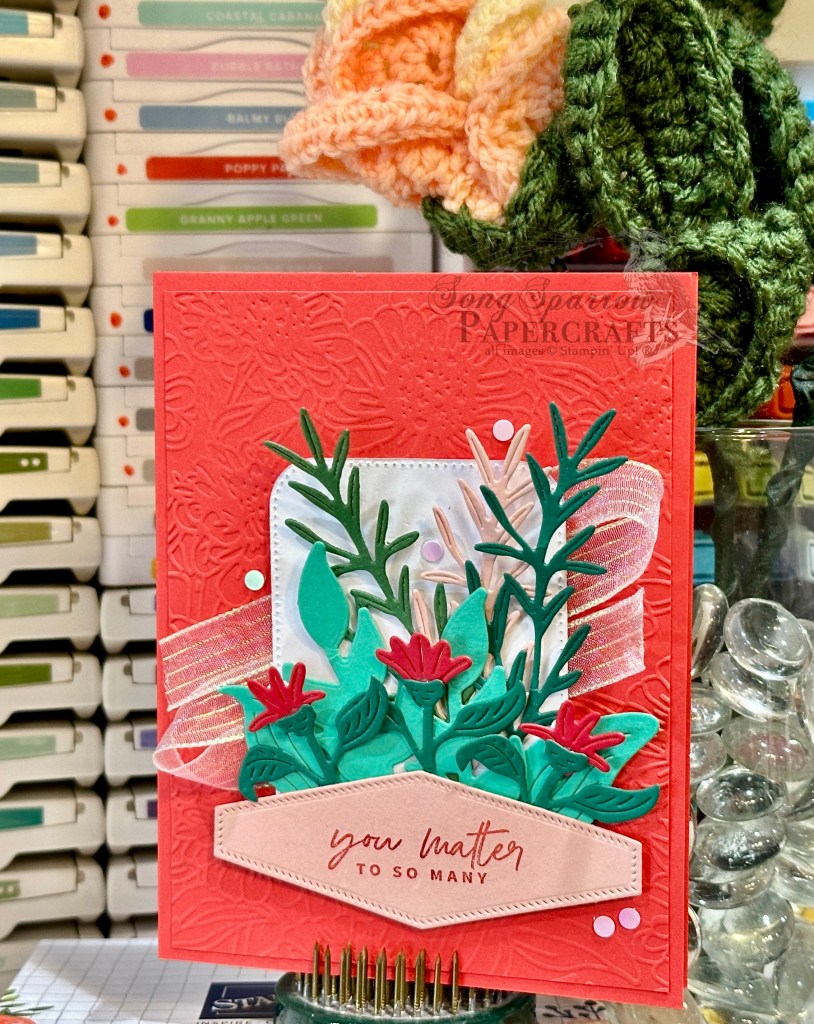
We’re moving right along here in our tour of the garden this week. And today, we’re keeping things simple with a focal image taken directly from the Nature’s Sweetness designer paper pack by Stampin’ Up! Did you know that SU! will often have at least one pattern in a 12×12 pack of paper that can be divided evenly into 6 card front panels? Several current packs that include a sheet like this are Nature’s Sweetness, Perennial Lavender, and Flowering Zinnias. These types of sheets are what I often refer to as one sheet wonders, where one sheet of paper creates 6 cards. I’m sure other stamps refer to these sheets by other names, but that’s how I like to think of them.
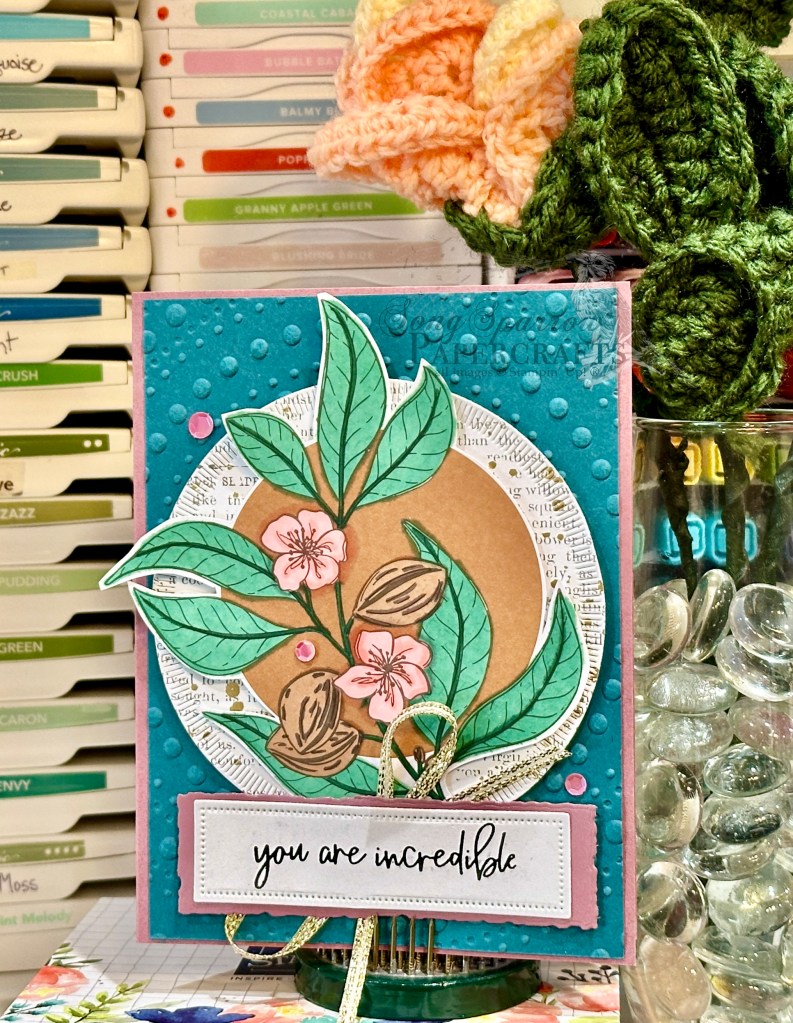
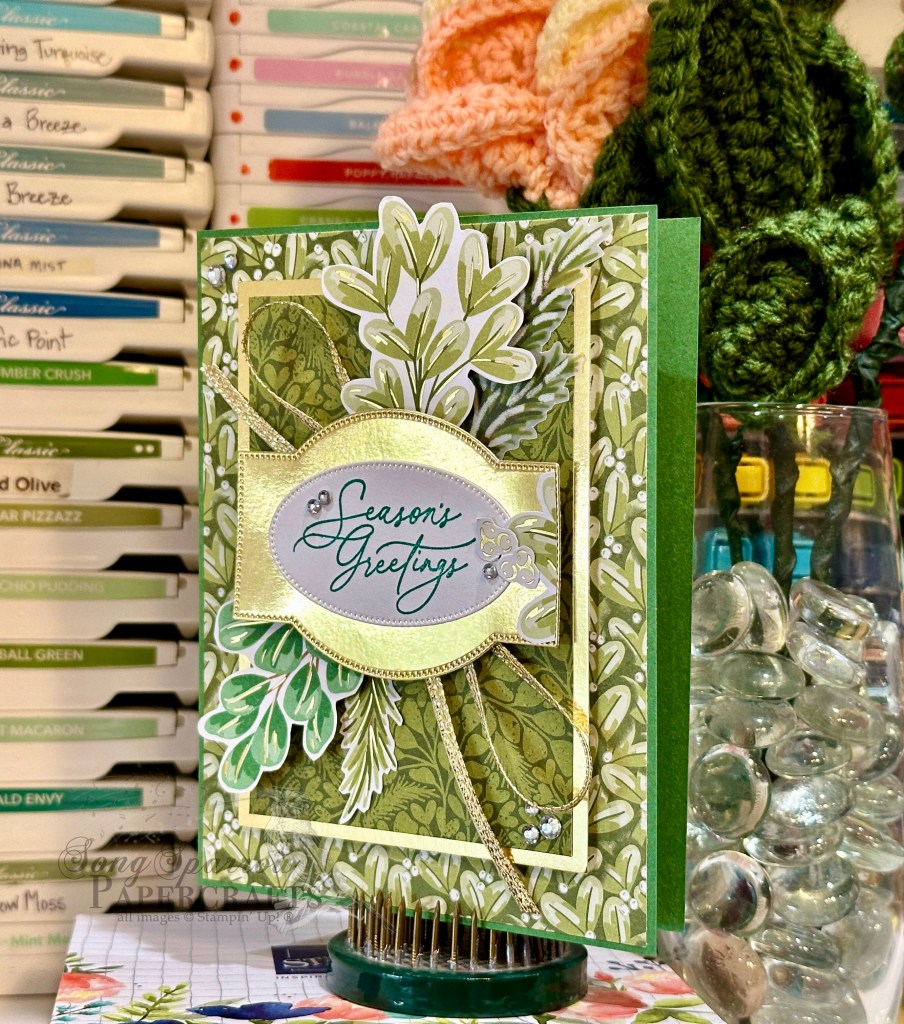
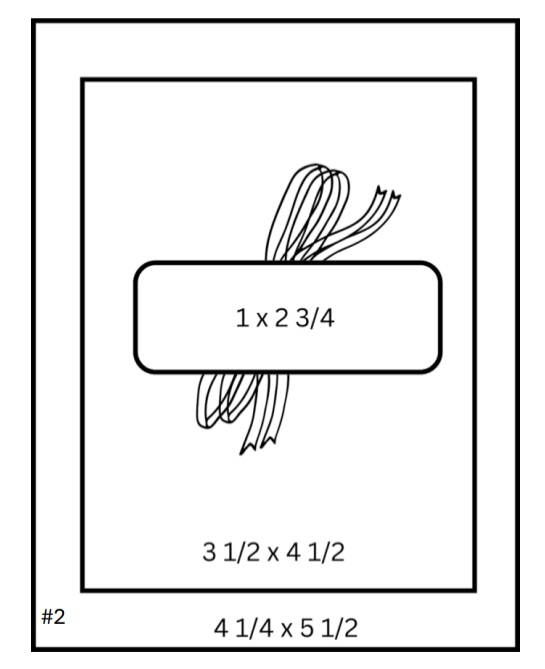
For today’s card, we get started with a base of Moody Mauve cardstock. Our background panel is a sheet of Pretty Peacock cardstock that is cut slightly smaller than our card front and is then machine embossed using the Dotted Circles embossing folder. Our focal image mat is the gold-flecked bookprint sheet from the Nature’s Sweetness paper pack that has been diecut using one of the largest circles from the Spotlight on Nature die set. I then pulled the one sheet wonder pattern sheet from the Nature’s Sweetness designer paper pack and cut one 4-inch strip and then cut the two-image panel in half in order to use one image for our card front. The image is colored using Stampin’ Blends and then cut out using paper snips before being adhered to the diecut circle. Our sentiment from Happy Little Things is stamped in black on white cardstock and then diecut with the Everyday Details dies using the extension method. The mat is Moody Mauve luster paper diecut with the smallest Deckled Rectangle die, also using the extension method. The sentiment is adhered over a faux bow of gold trim using dimensionals. A few shiny sequins finish things off with a little sparkle.
The beauty of these one sheet wonder patterned paper sheets is how quickly you can make a whole stack of cards without sacrificing a single bit of ooo-la-la. And speaking of ooo-la-la, you must tune in tomorrow to check out the newest installment of Sketchy Fridays.
Products used in today’s card:
Moody Mauve, Pretty Peacock, Basic White cardstock
Nature’s Sweetness, Moody Mauve luster DSP
Happy Little Things stamps
Spotlight on Nature, Deckled Rectangles, Everyday Details dies
Stampin’ Blends
Gold trim
Shiny sequins
Dimensionals
Adhesives


 Luster Specialty Paper")
 Specialty Designer Series Paper")


")


 Trim Combo Pack")


 Designer Series Paper")
")

")


 Bordered Ribbon")


 Glimmer Specialty Paper")
")
 Striped Trim")


 Designer Series Paper")
")


 Designer Series Paper")
 Designer Series Paper")
 Specialty Designer Series Paper")
")


 Specialty Designer Series Paper")

")


")


")