This week has been quite the whirlwind. And how did we get to Friday so quickly?! Whew. The weekend is now upon us and we’ll be closing out our last week of summer break next week. Anyone have any ideas for fun things to do with a preteen?

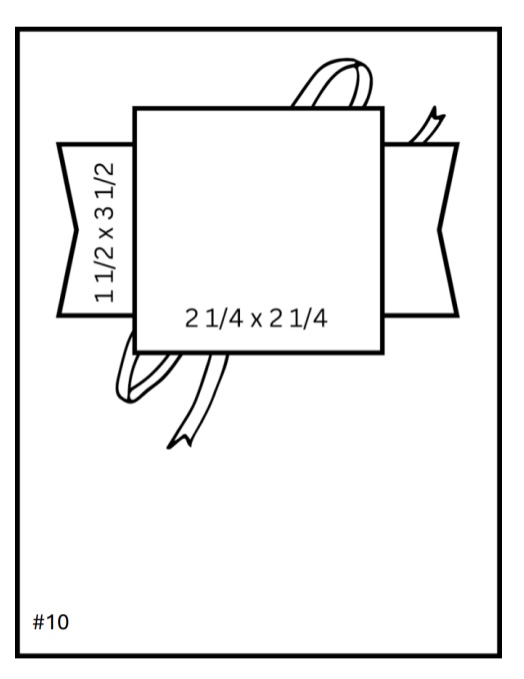
It’s time for another installment of Sketchy Fridays, where each week we’ll be using a card sketch to design our featured card. Right now, we’re working through a full series of designs using the card sketches found on page 22 of the current Stampin’ Up! Annual Catalog.
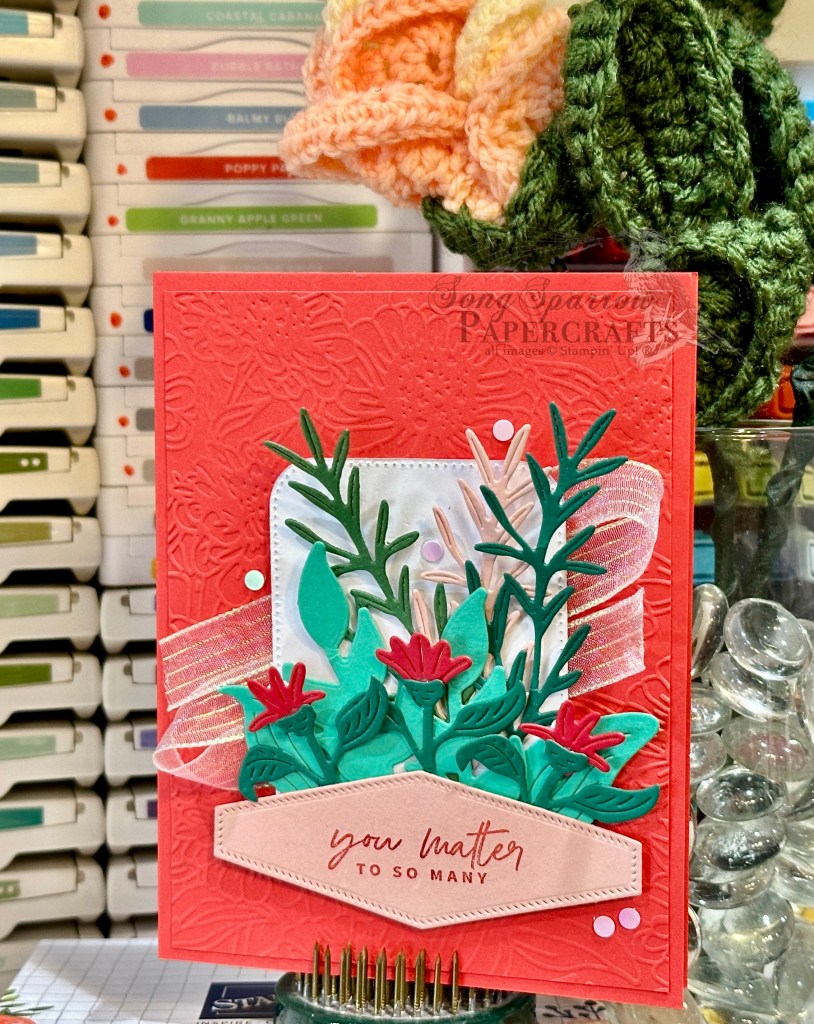
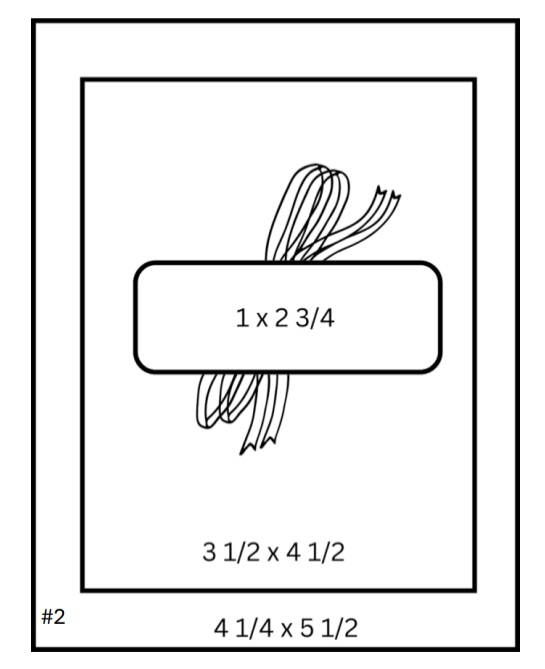
This week’s card is based on Sketch #10 and features the Unbounded Beauty designer series paper by Stampin’ Up!. While I have found this paper to be challenging to incorporate into designs, what I have found is that I simply needed to look at the paper differently. Sometimes the paper gives design inspiration on its own, but I work better with this pack when I have a solid design and then work with sheets that fit. That was true with the tuxedo fold and grid designs, and it’s true for today’s sketch where the backdrop of the focal section allows for a busy pattern. So let’s see how this comes together.
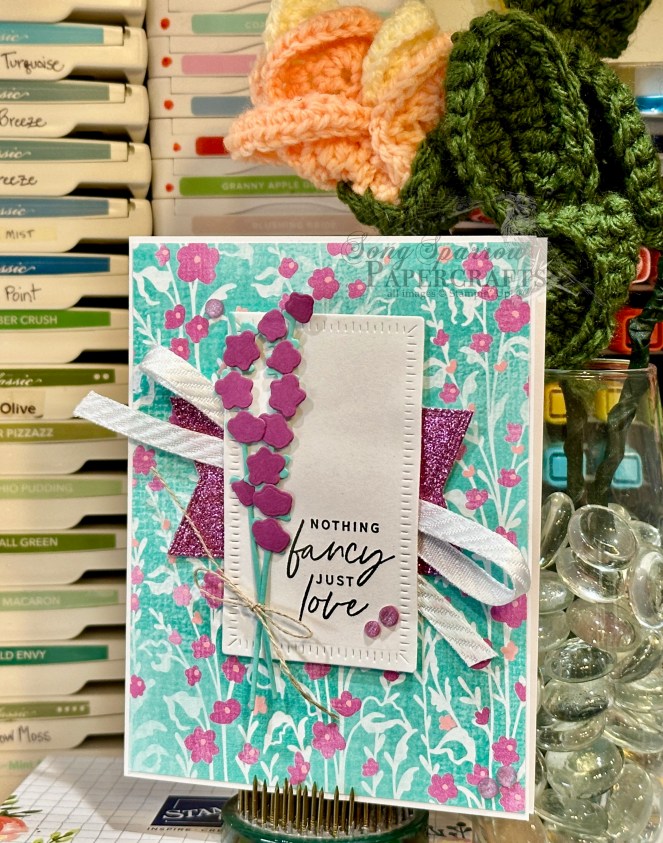
We get started with a simple card base of Basic White cardstock. I was drawn to the sheet of Unbounded Beauty designer paper that resembled the lavender stem from the Painted Lavender die set. We pull out the darker pink of the patterned paper in several ways. First, we use a piece of Petunia Pop glimmer paper diecut with the Nested Essentials dies to serve as the banner behind the sentiment panel. Next, we use Petunia Pop cardstock to cut small flowers for our Summer Splash floral stems that are diecut using the Painted Lavender die set. Our floral stems are tied with linen thread to bring a natural element to the design. The sentiment from Something Fancy is stamped in black on white cardstock and then diecut using the Radiating Stitches dies. Our floral bunch is then adhered next to the sentiment. A faux bow of diagonal trim sits behind the sentiment over the sparkly banner. A few carefully placed In Color shimmer gems finish things off by drawing the eye to the focal panel in the center.
Isn’t this the perfect sketch for just about any sheet of patterned paper? No more fumbling for ideas for how to use that busy pattern. Here’s an easy, go-to sketch that will suit even the busiest pattern!
Tune in tomorrow as we close out our week in the garden with a clean and simple zinnia design! It’s a knockout!
Products used in today’s card:
Petunia Pop, Summer Splash, Basic White cardstock
Unbounded Beauty, In Color glimmer paper
Something Fancy stamps
Painted Lavender, Radiating Stitches, Nested Essentials dies
White diagonal trim, linen thread
In Color shimmer gems
Dimensionals
Adhesives

 Designer Series Paper")
 Specialty Paper")


")


 Diagonal Trim Combo Pack")


 Luster Specialty Paper")
 Specialty Designer Series Paper")


")


 Trim Combo Pack")


")


 Bordered Ribbon")

 Glimmer Specialty Paper")
")
 Striped Trim")


 Designer Series Paper")
")


 Designer Series Paper")
 Designer Series Paper")
 Specialty Designer Series Paper")
")


 Specialty Designer Series Paper")

")


")


")