Welcome to a brand new week and the start of FALL! Have I mentioned that fall is my absolute favorite season? Unfortunately, Texas isn’t being very cooperative with me right now, and it doesn’t feel a bit like fall. Not one bit!! In fact, it’s still feeling like we’ve been thrown into the deep end of the frying pan. But we’re only a couple of good cold fronts away from fall officially being here to stay! *wink-wink*
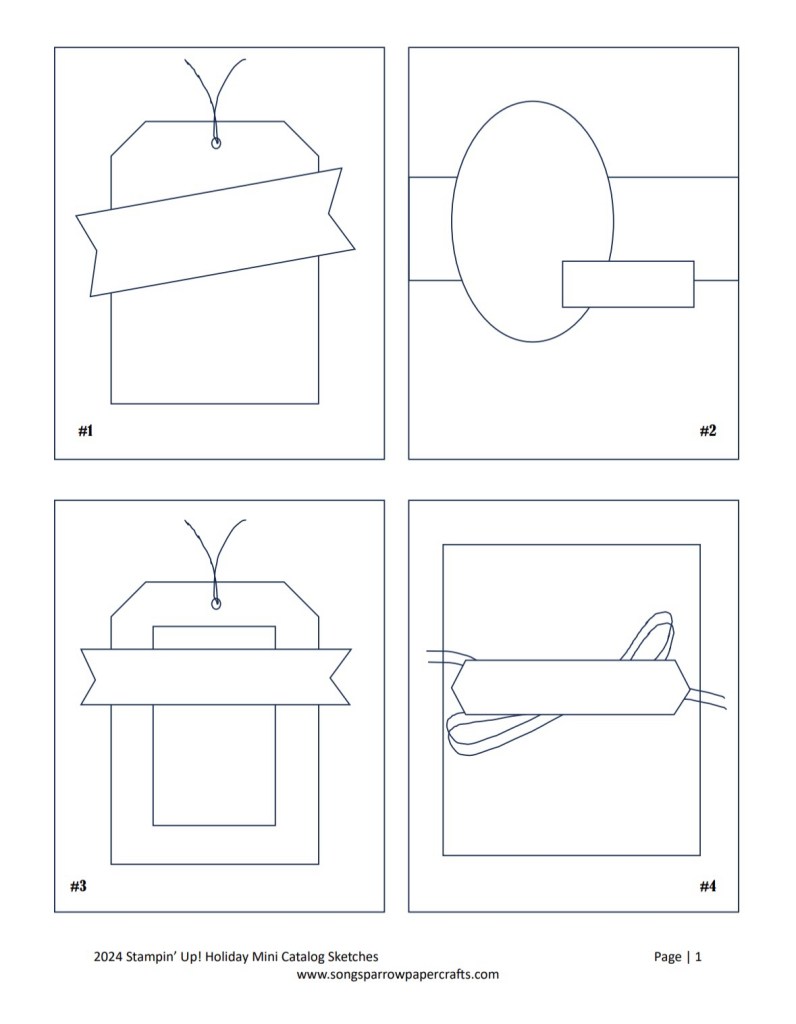
This week, we’re going to be spending time with the Season of Green & Gold suite of products by Stampin’ Up! And we’re going to mix it up with some obvious holiday designs and some out-of-the-box fall designs. Today’s card is solidly in the holiday mood.
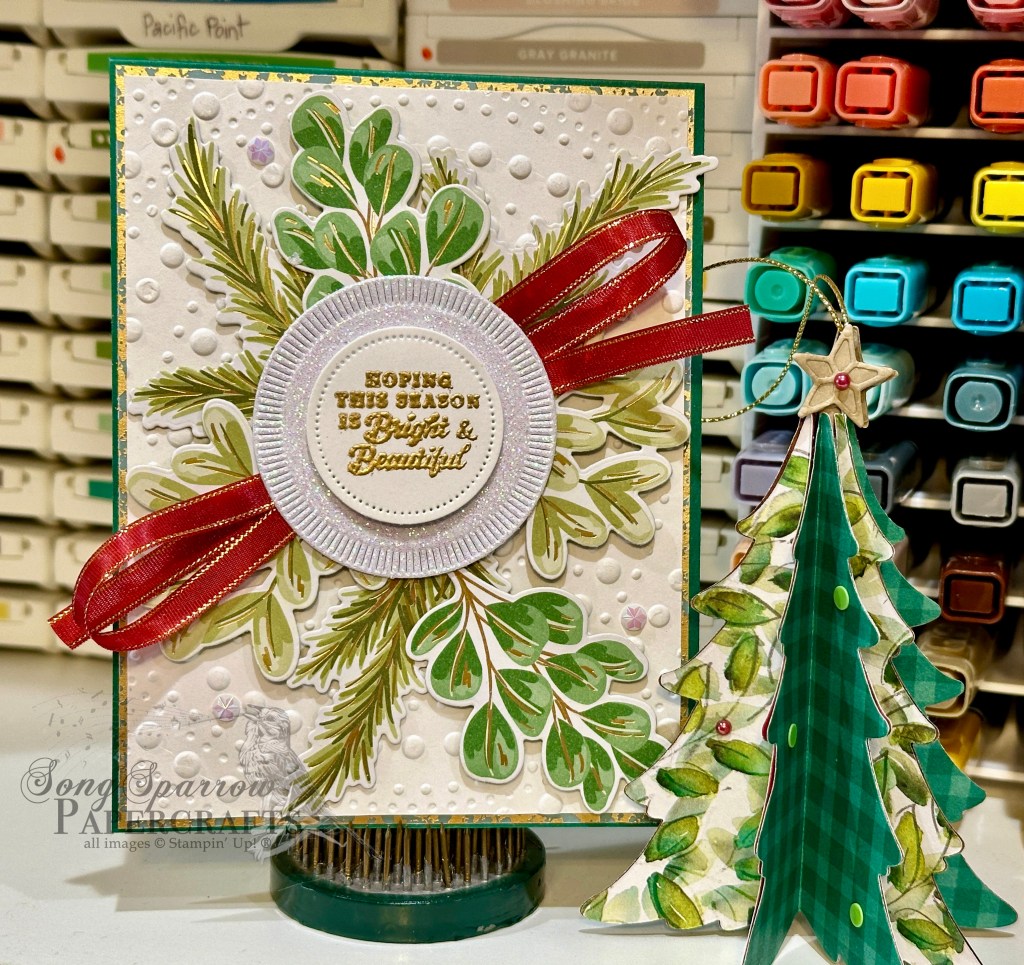
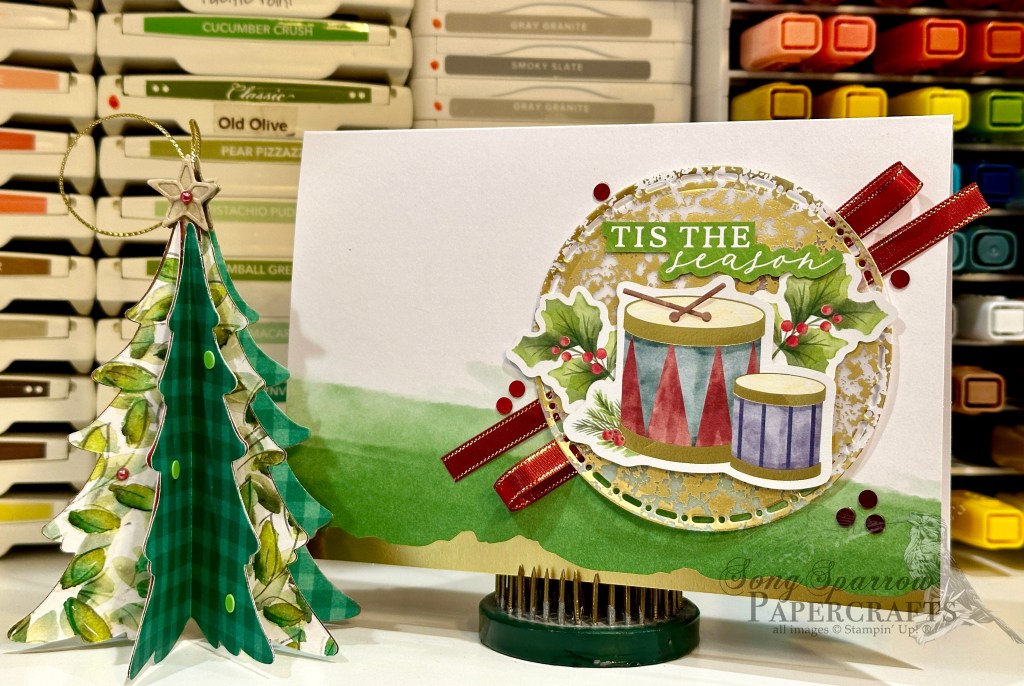
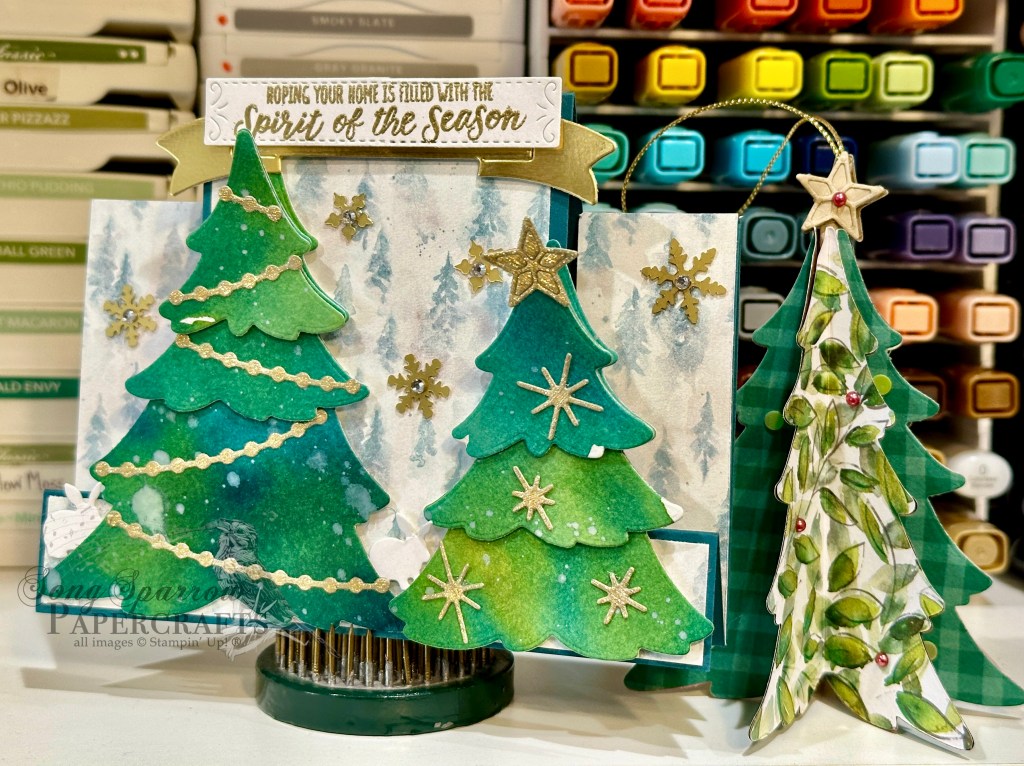
We get started with a base of Shaded Spruce cardstock. Our focal panel is a sheet of white cardstock that has been diecut using the Dotted Circles embossing folder and then the panel is matted with gold mercury vellum. Using the Golden Greenery dies, we cut a variety of greenery from the Season of Green & Gold patterned paper with coordinating shapes. These are then layered on the focal panel using dimensionals to create several different visual planes. Our sentiment from Peaceful Season is stamped white cardstock in Versamark and then heat embossed with gold embossing powder. We cut it out with the smallest circle from the Everyday Details die set. This is then mounted on a circle of white glimmer paper cut using the Spotlight on Nature dies and adhered over a twist of Cherry Cobbler & Gold satin ribbon in the center of our greenery. A few iridescent faceted gems finish things off with a nice sparkle.
Tune in tomorrow as we keep things in the holiday zone.
Products used in today’s card:
Shaded Spruce, Basic White cardstock
White glimmer, gold mercury vellum, Season of Green & Gold DSP
Dotted Circles embossing folder
Golden Greenery, Spotlight on Nature, Everyday Details dies
Peaceful Season stamps
Versamark
Gold embossing powder
Cherry Cobbler & gold satin ribbon
Iridescent faceted gems
Dimensionals
Adhesives


 Specialty Designer Series Paper")
 Glimmer Specialty Paper")
 Specialty Designer Series Paper")


")


 Metallic Ribbon")


 Specialty Designer Series Paper")

")
 Metallic Ribbon")


 Designer Series Paper")


 Designer Series Paper")
 Specialty Paper")

")

")


 Glimmer Paper")
")
")


